
An automatic gate opener is a convenient and efficient way to enhance the security and accessibility of your property. However, like any electronic device, the gate opener may encounter issues over time, and a faulty control board is a common culprit. If you find yourself facing this problem, don't worry! In this article, we will guide you step-by-step on how to replace a control board in your gate opener, ensuring that your automated gate operates smoothly again.
Step 1: Safety Precautions
Safety should always be your top priority when dealing with electrical components. Before attempting any repairs, make sure to turn off the power supply of your gate opener. This precaution prevents potential accidents or electrical shocks during the replacement process.
Step 2: Take a Reference Photo
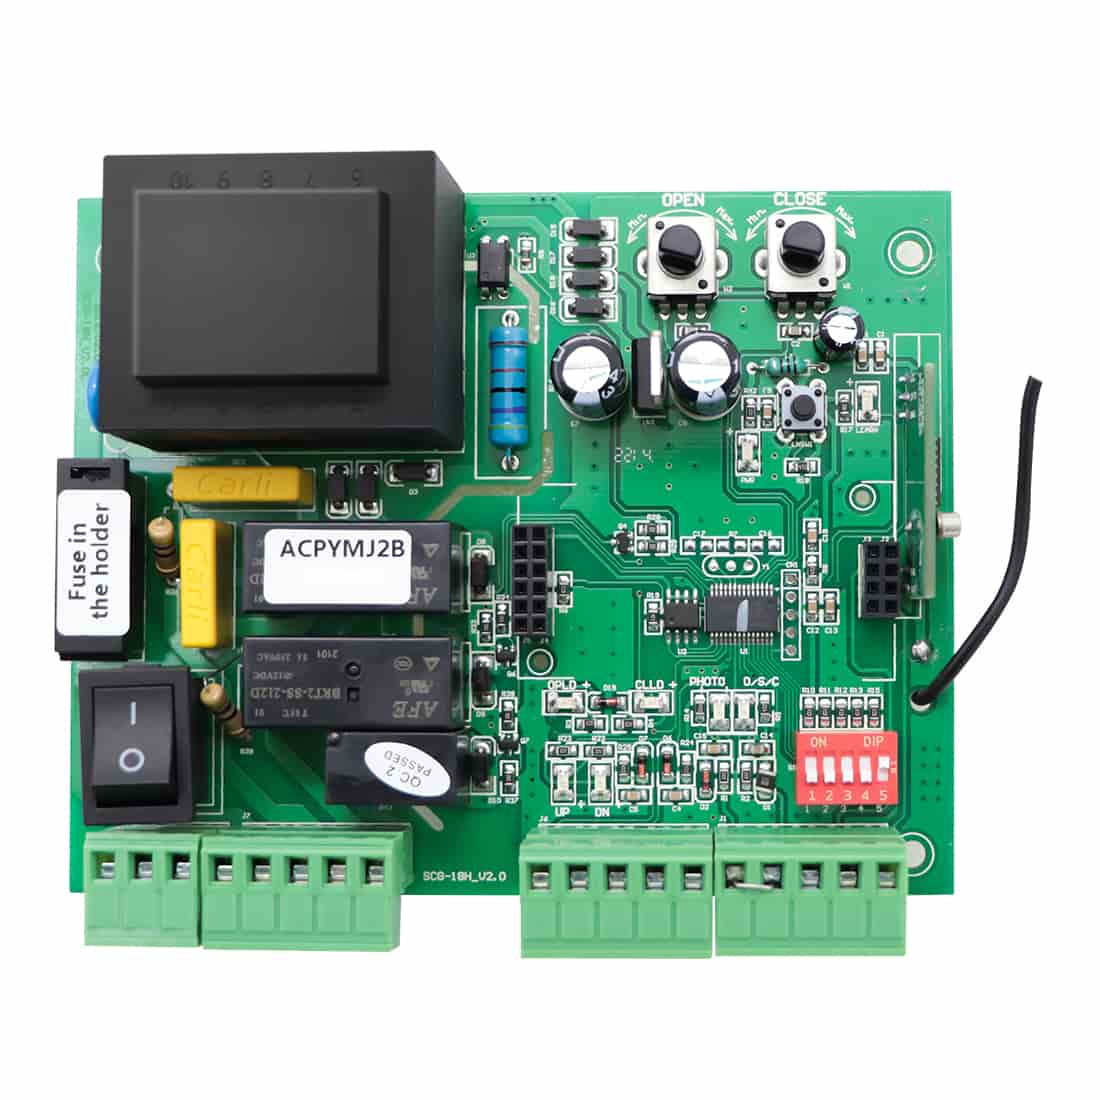
Before disassembling the control board, use your smartphone to take a clear picture of its configuration. For the control board with a digital display, it is recommended to jot down the corresponding value of each setting with pen and paper. This simple step serves as a useful reference in case you need to double-check any connections or settings later.
Step 3: Disconnect and Remove Parts and Accessories
Carefully disconnect all components, such as wires and connectors, from the old control board. Take your time and handle each item with care. Once everything is disconnected, carefully remove the old control board.
Step 4: Install the New Control Board and Reconnect Parts and Accessories
Now that the old control board is out, it is time to install the new one. Place the new control board securely and reconnect all components, ensuring that you match them to their respective terminals on the new control board. Double-check each connection to ensure they are securely and correctly seated.
Step 5: Verify Settings
With the new control board in place and all connections made, it's crucial to check that the settings on the new board match those of the old one. Compare the settings carefully to avoid any operational issues once the gate opener is powered back on.
Step 6: Reprogram Your System
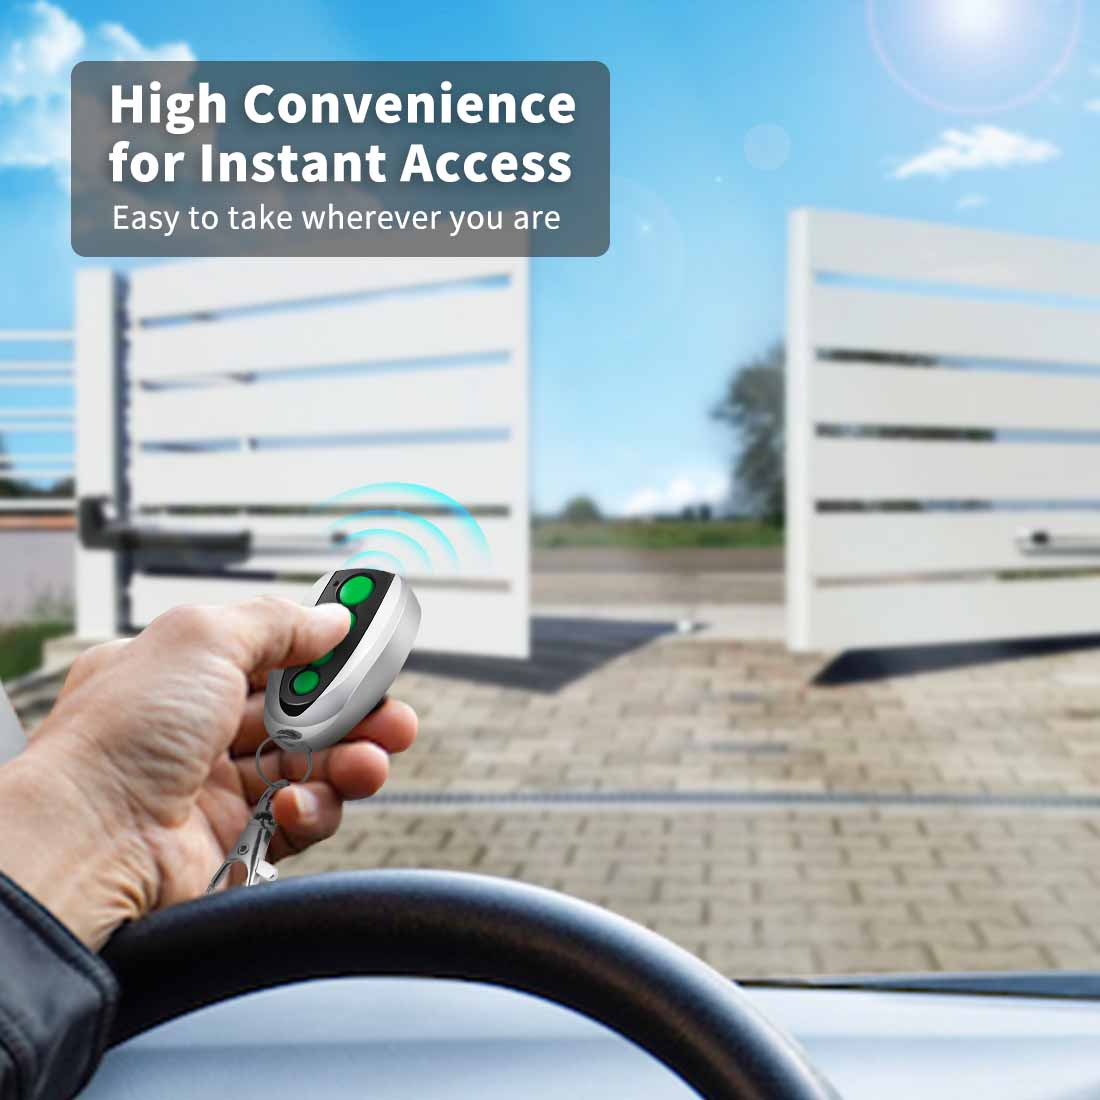
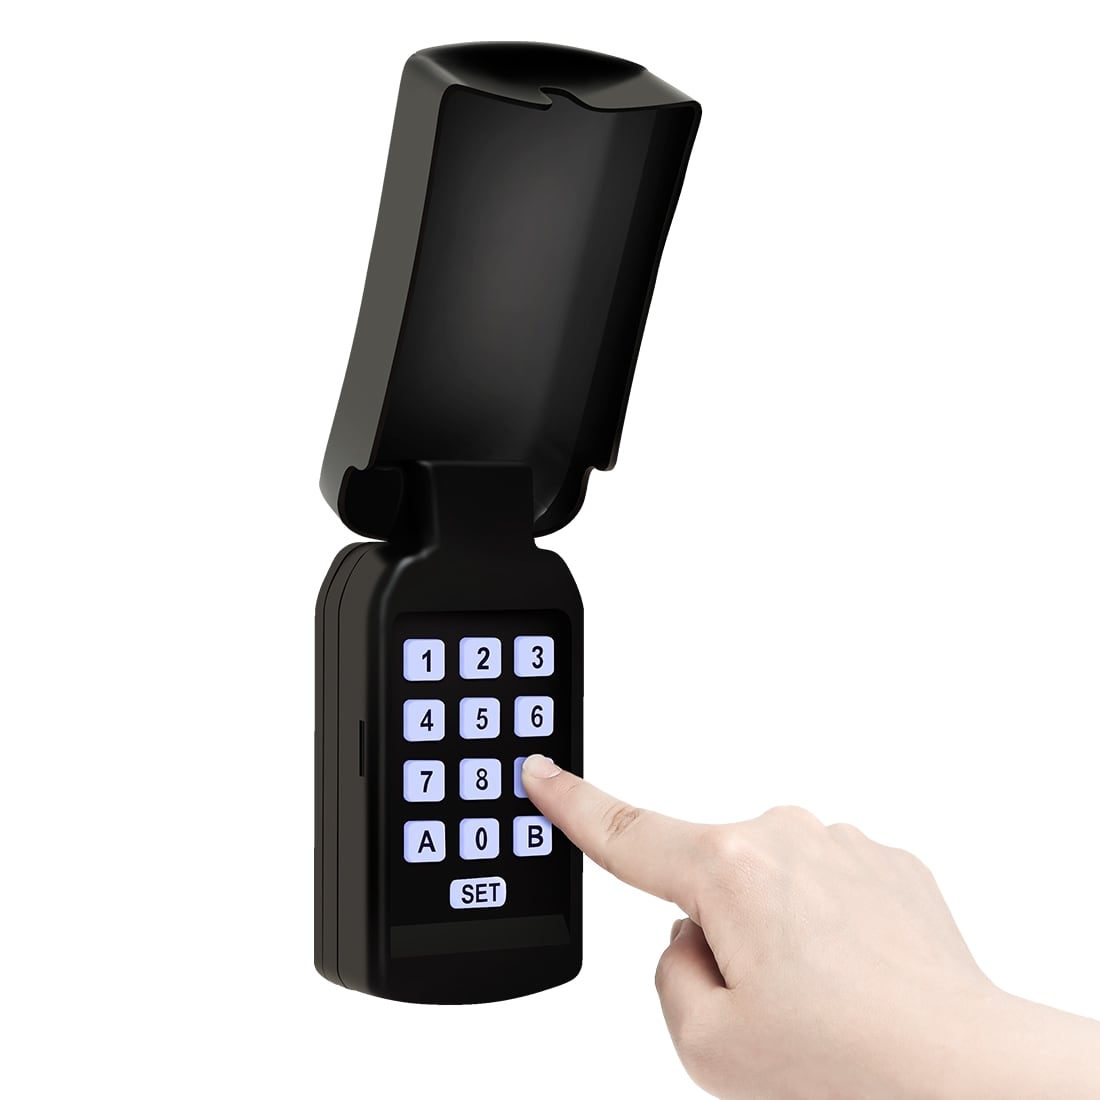
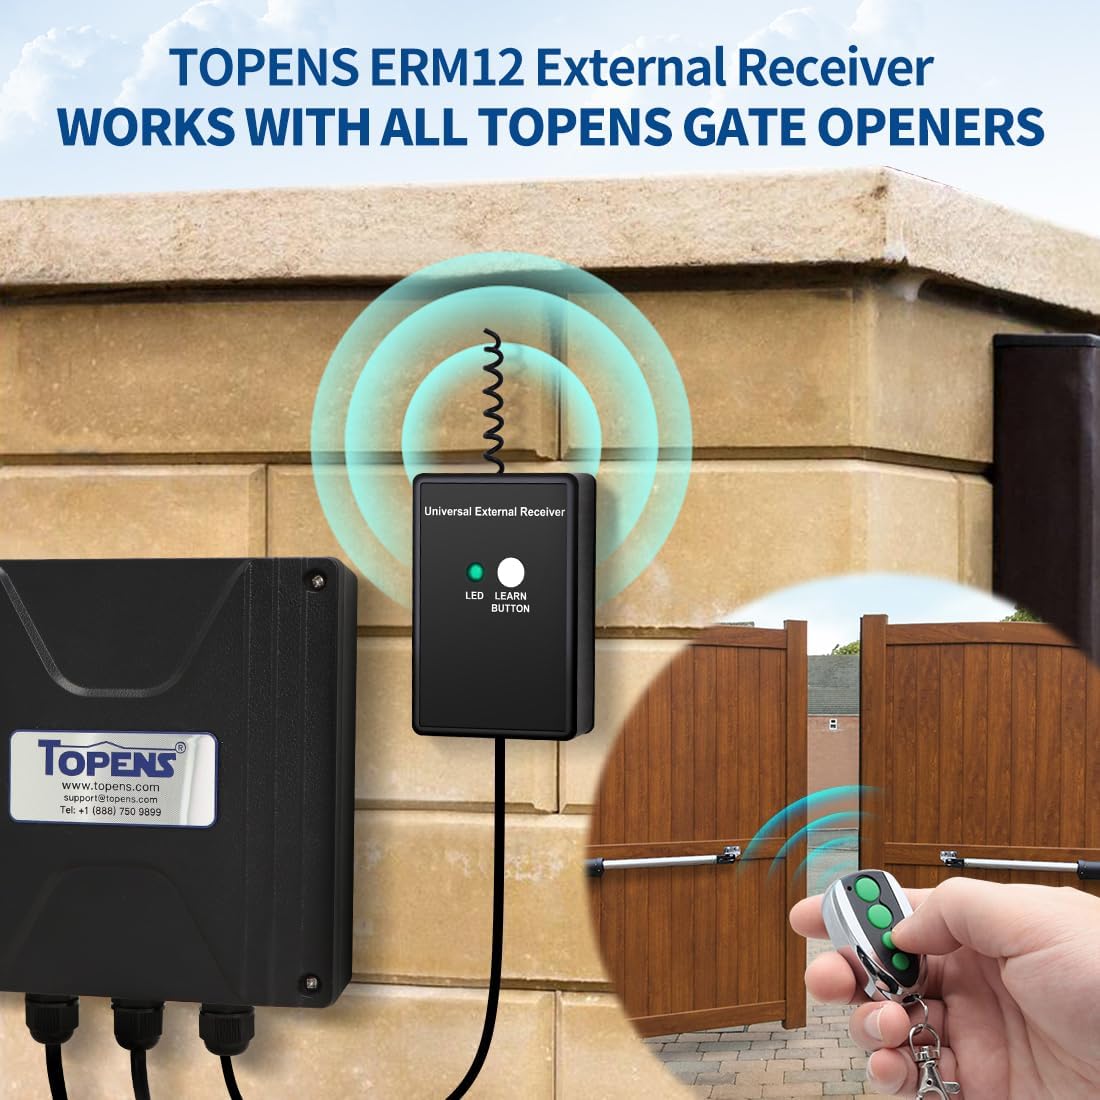
After installing the new control board and verifying the settings, reprogram the remote control and any other wireless control devices that interact with the system. Reprogramming ensures that these devices can communicate with the new control board, allowing you to regain full control of your automated gate.
Step 7: Test Full Functionality
After reprogramming all wireless control devices, verify that everything is working correctly. Test each control device to ensure that it communicates effectively with the new control board, leaving no functions or features compromised.
Important Notes:
- If the wiring terminals of the old control board function correctly, there is no need to remove the wires. Simply unplug the old terminals along with the wires and insert them directly after installing the new control board securely.
- When handling multiple accessories or in potentially confusing situations, it is highly recommended to reconnect or reprogram them individually, testing each one before proceeding to the next. This systematic approach ensures comprehensive testing and minimizes the likelihood of errors.
Replacing a control board in your gate opener may seem challenging, but with this step-by-step guide, you can confidently tackle the task and have your gate opener running smoothly again.