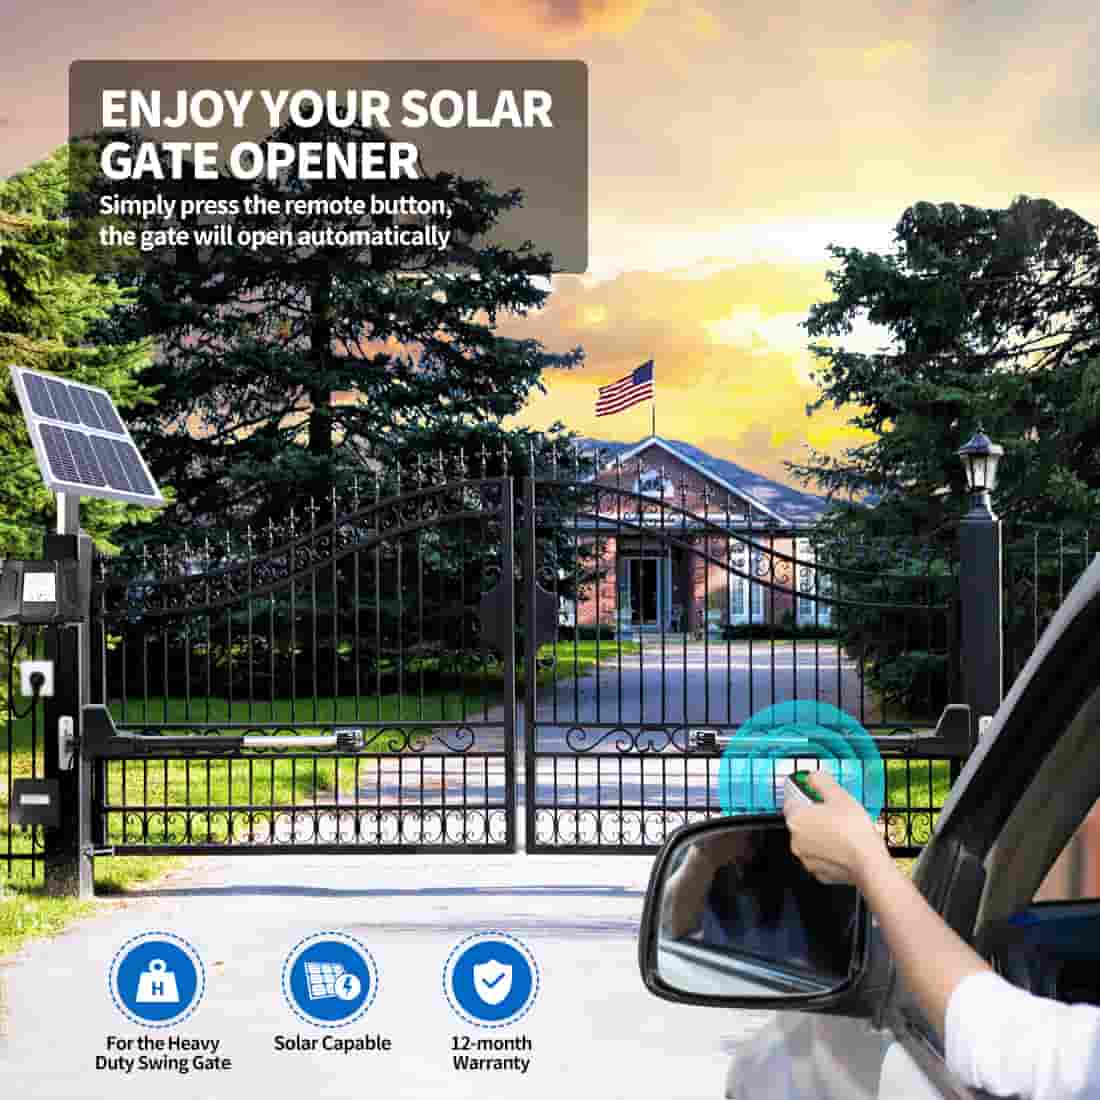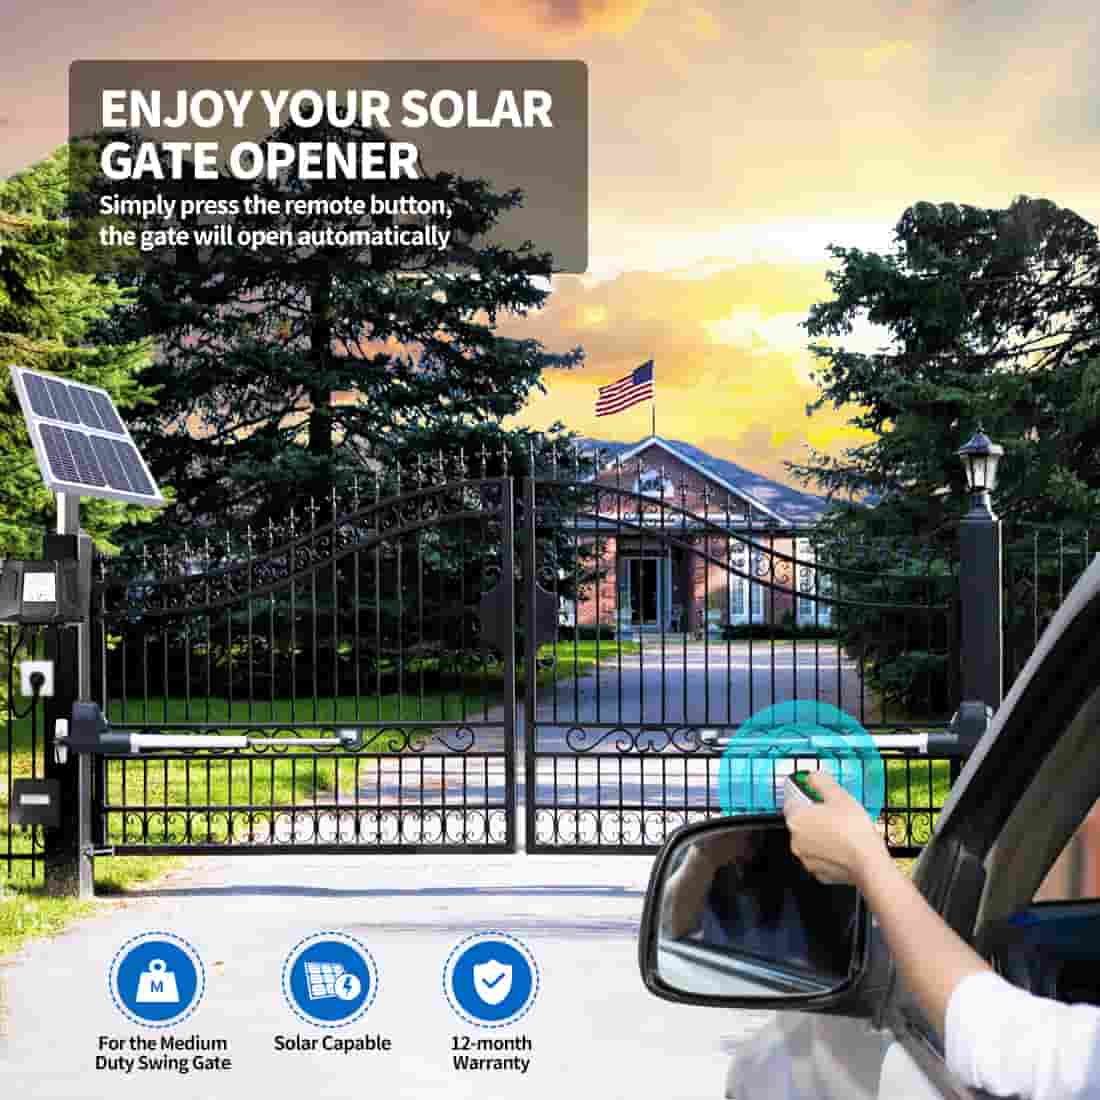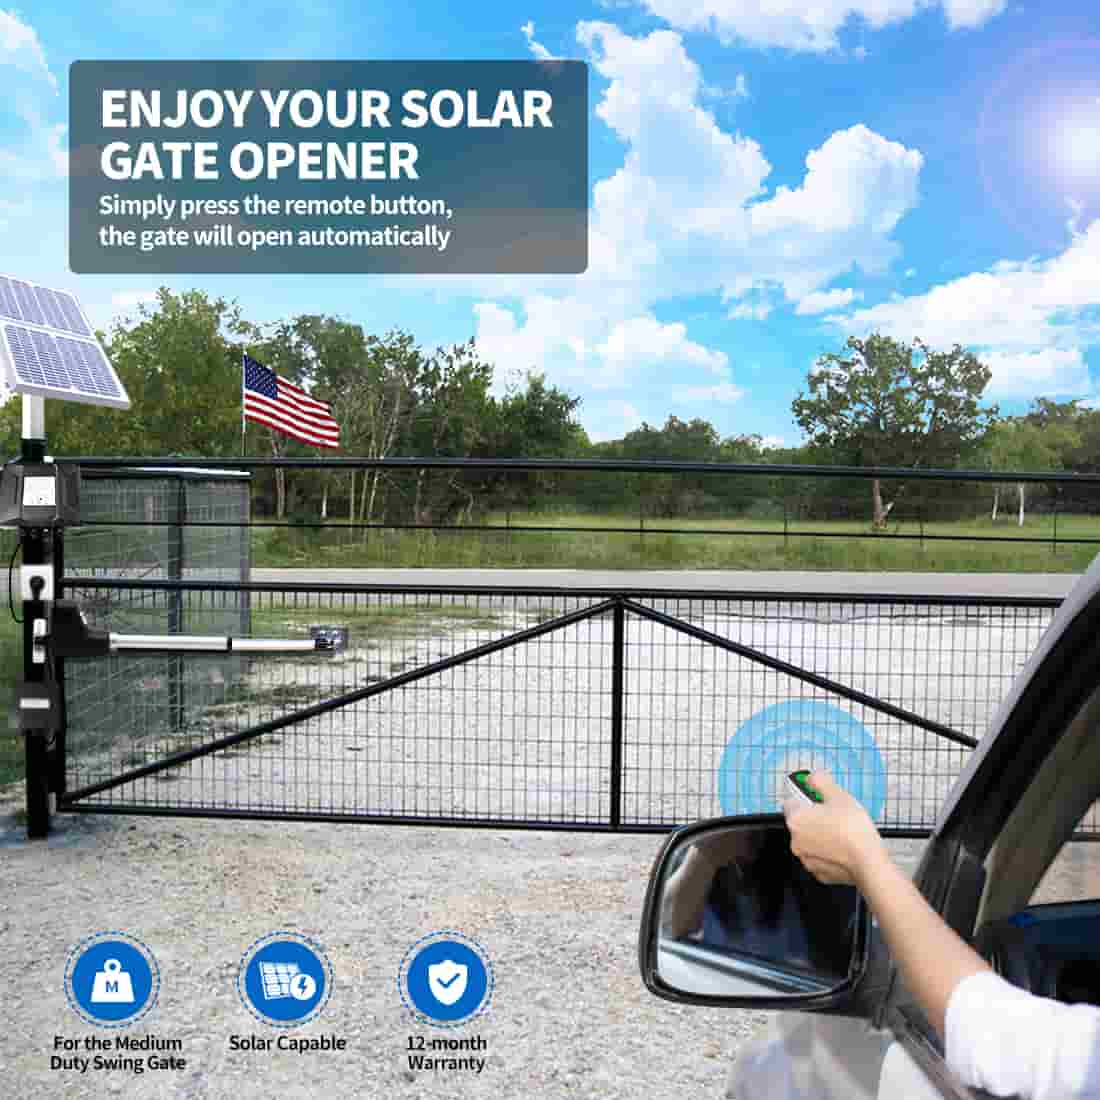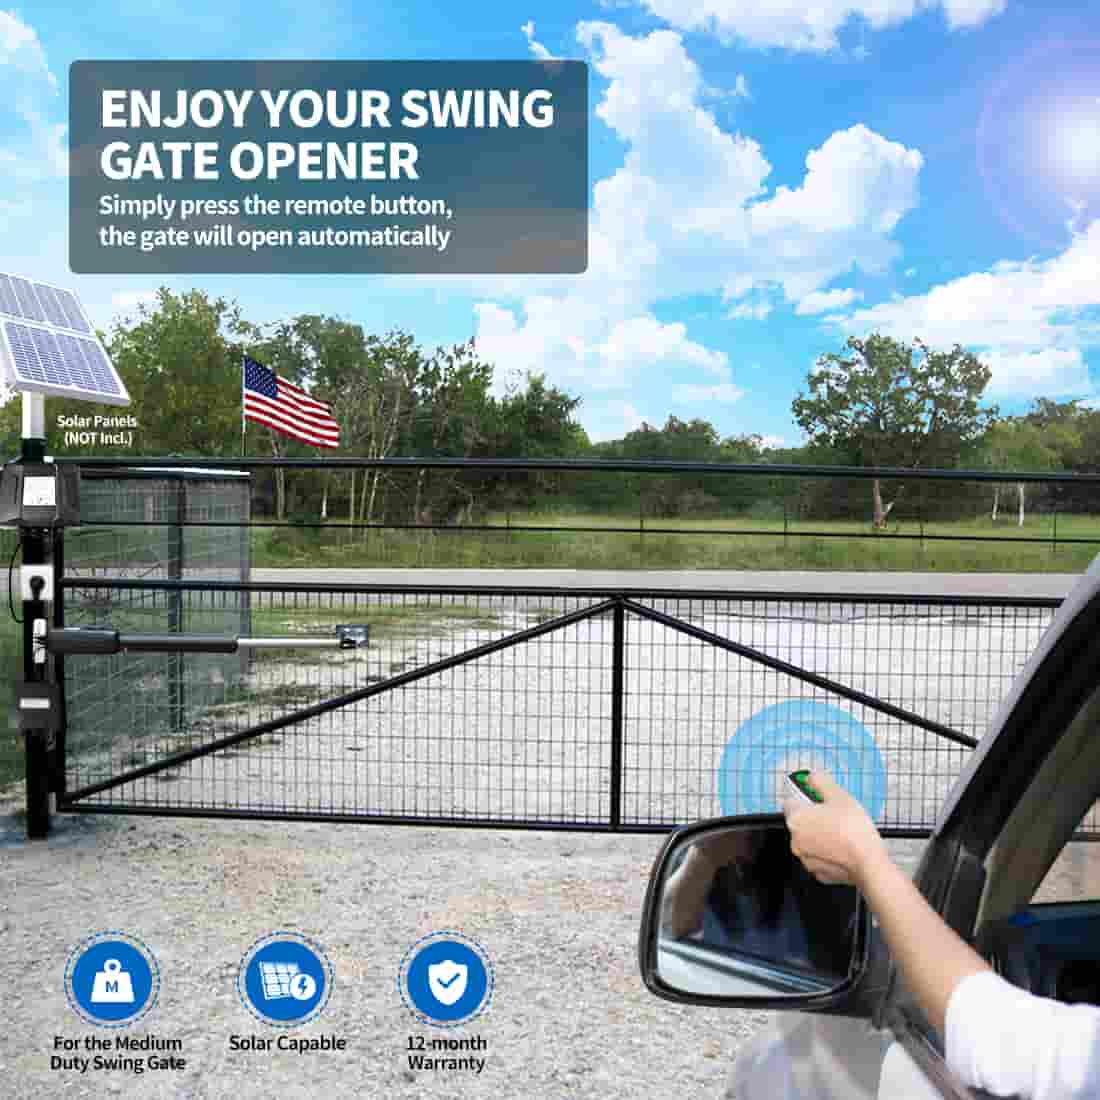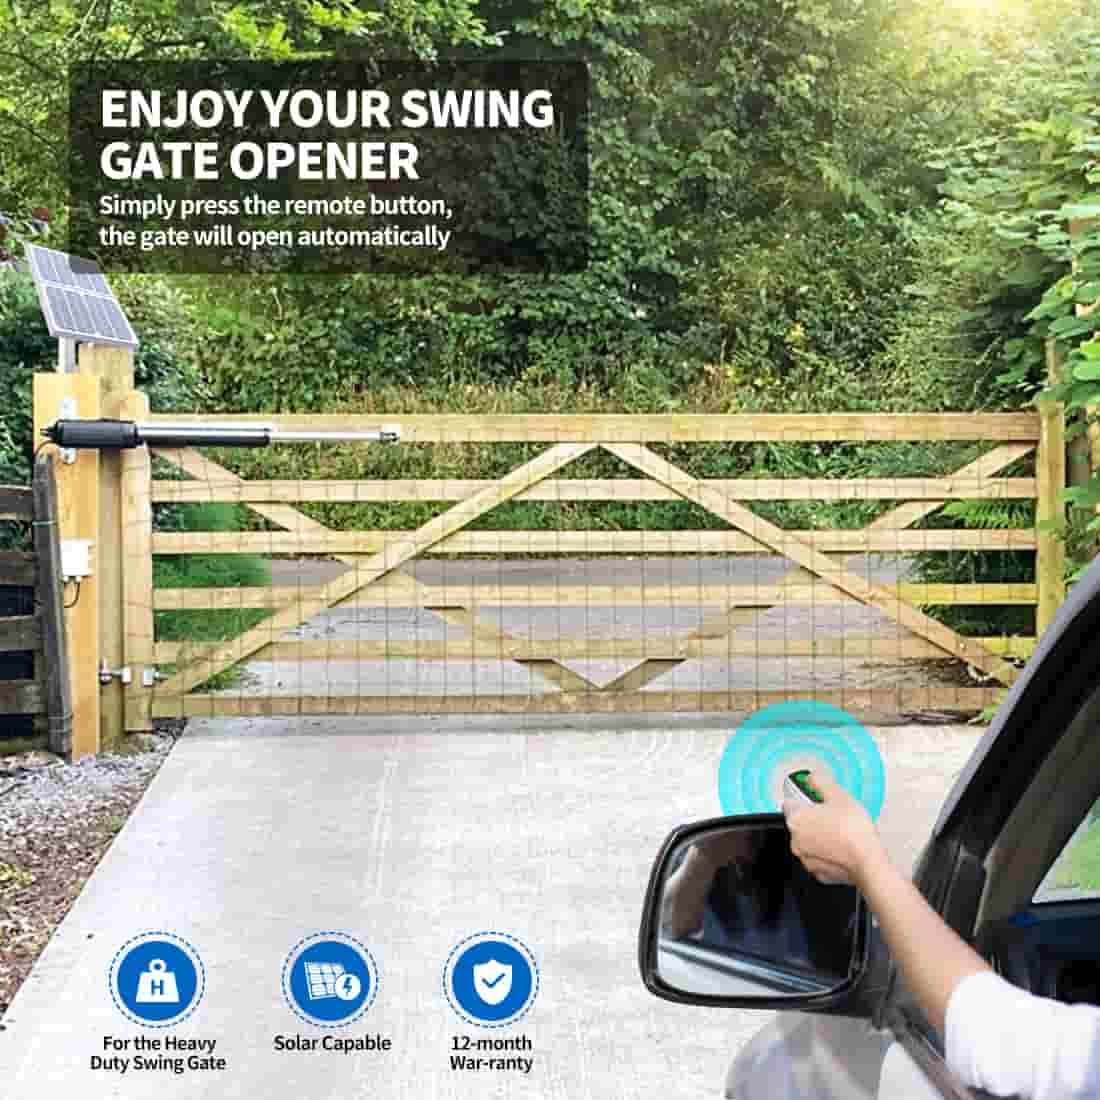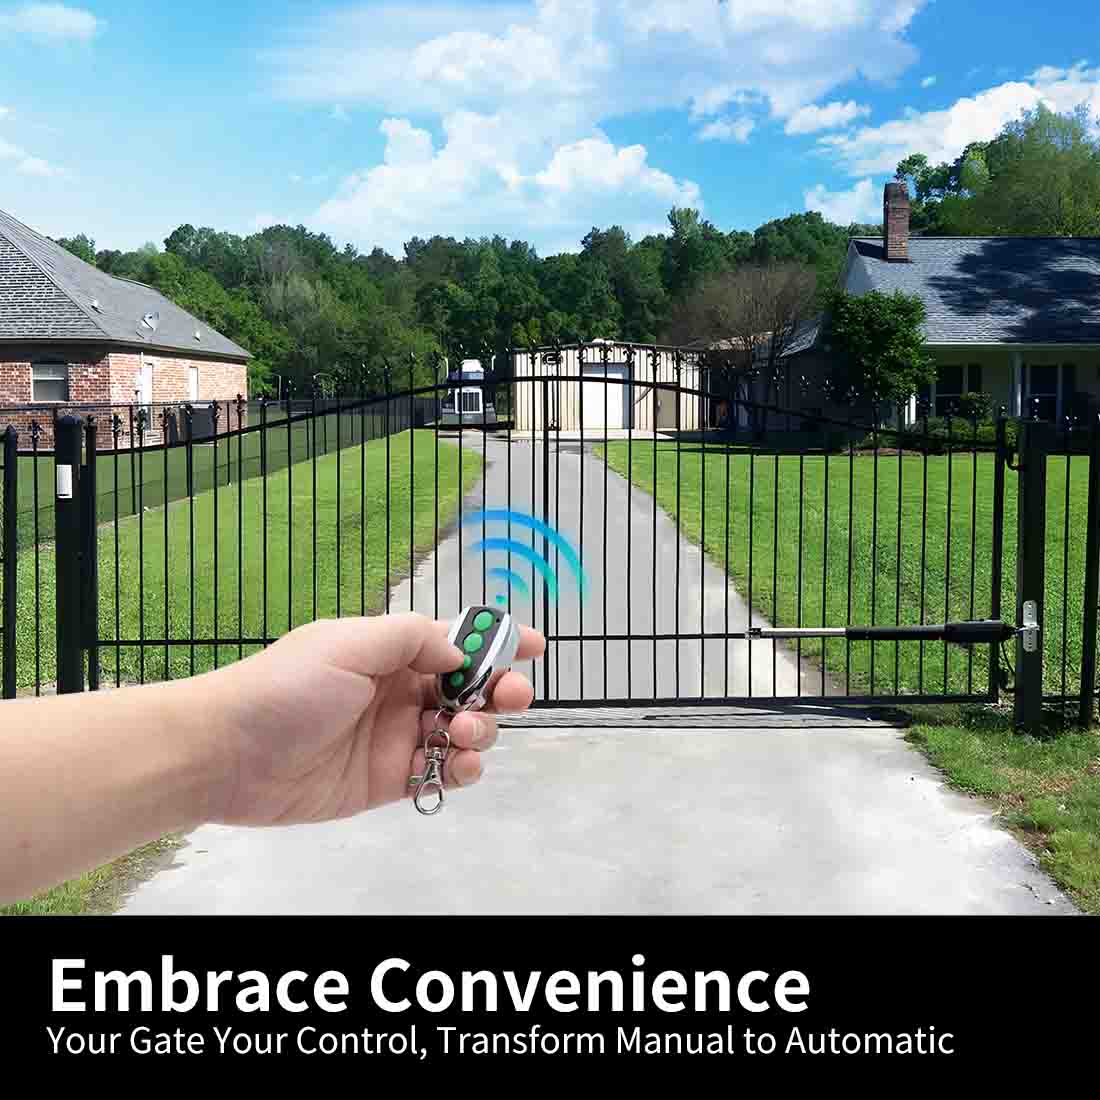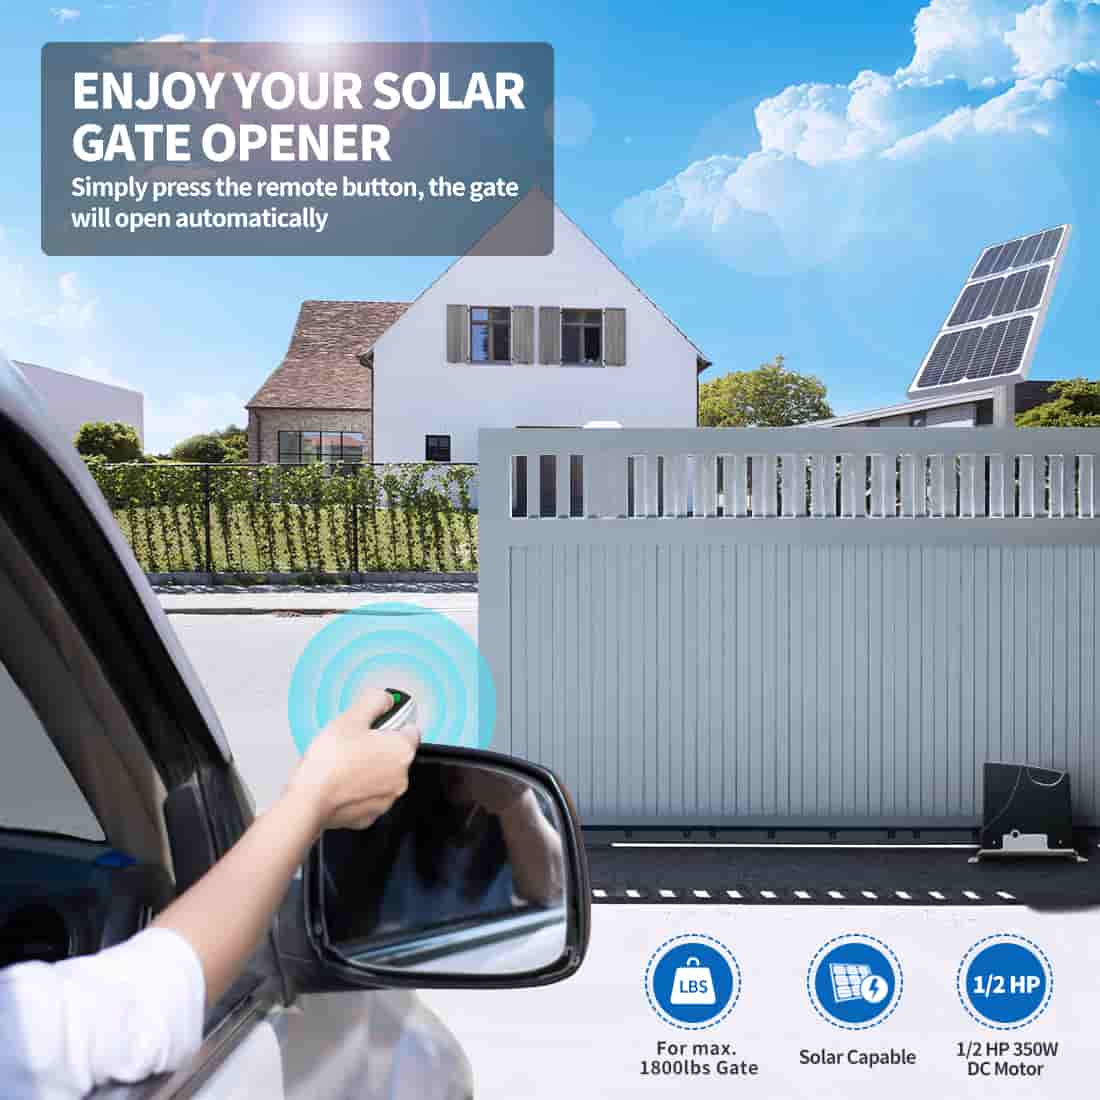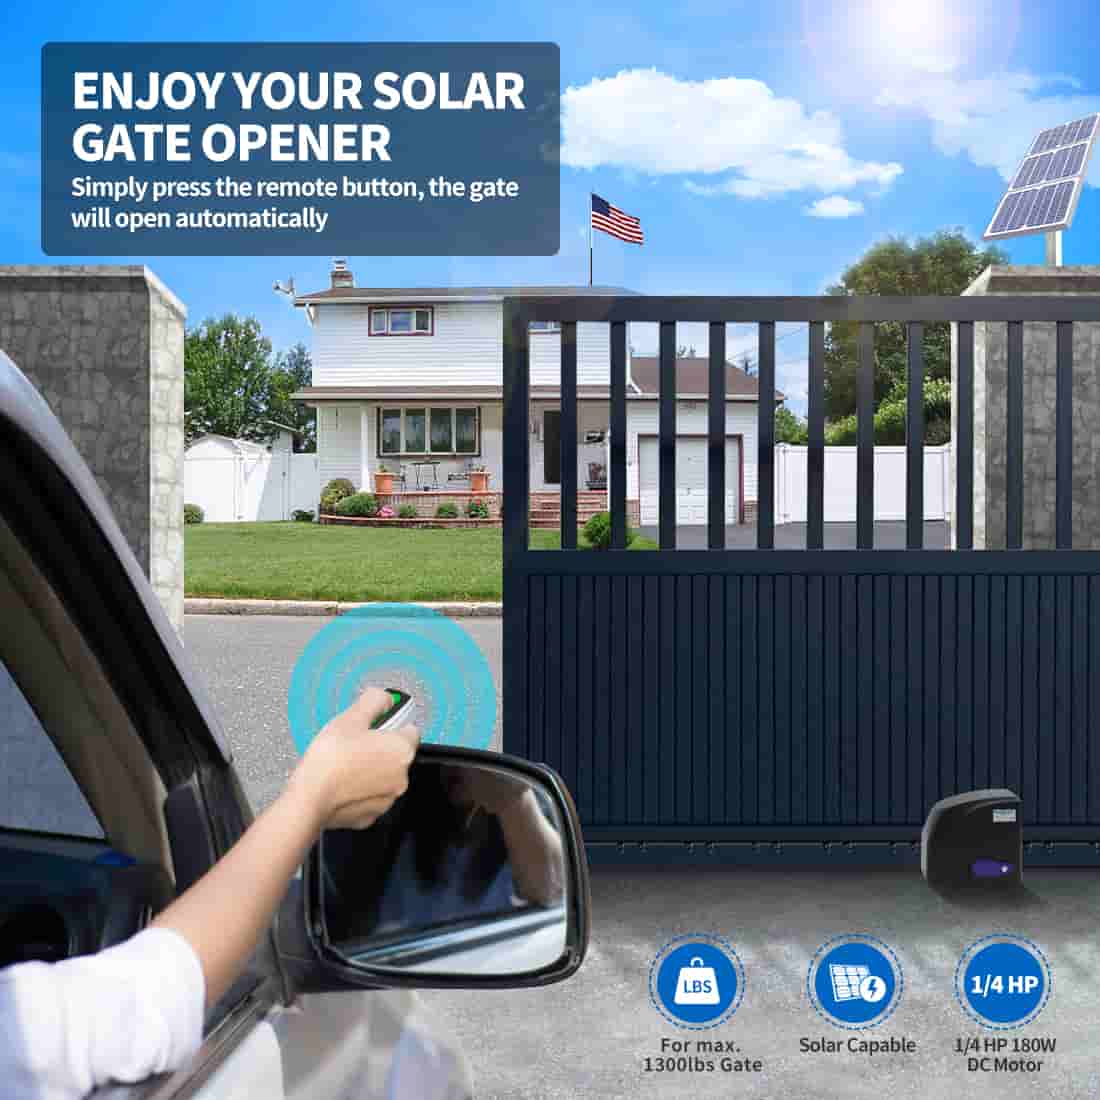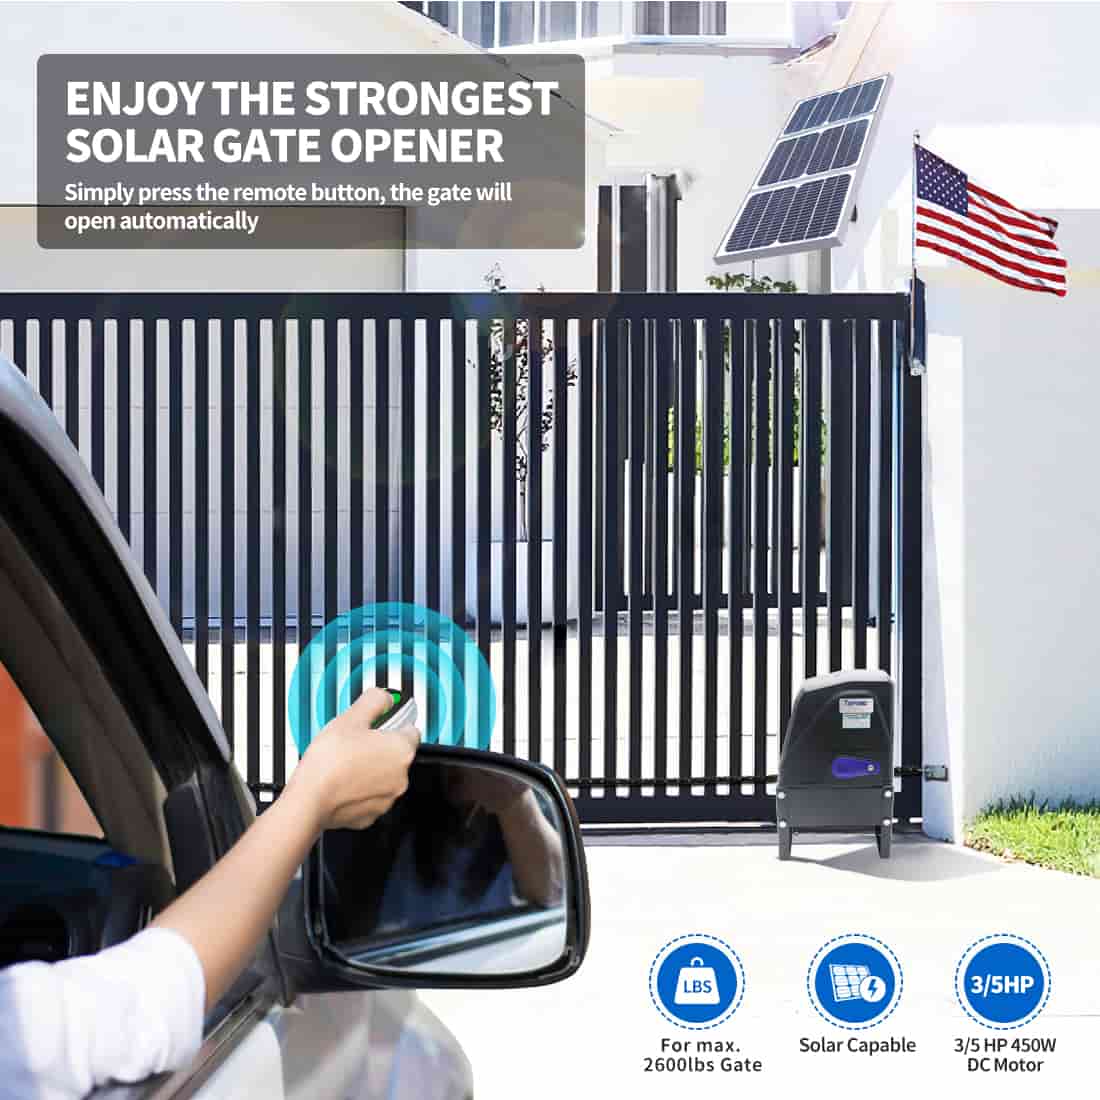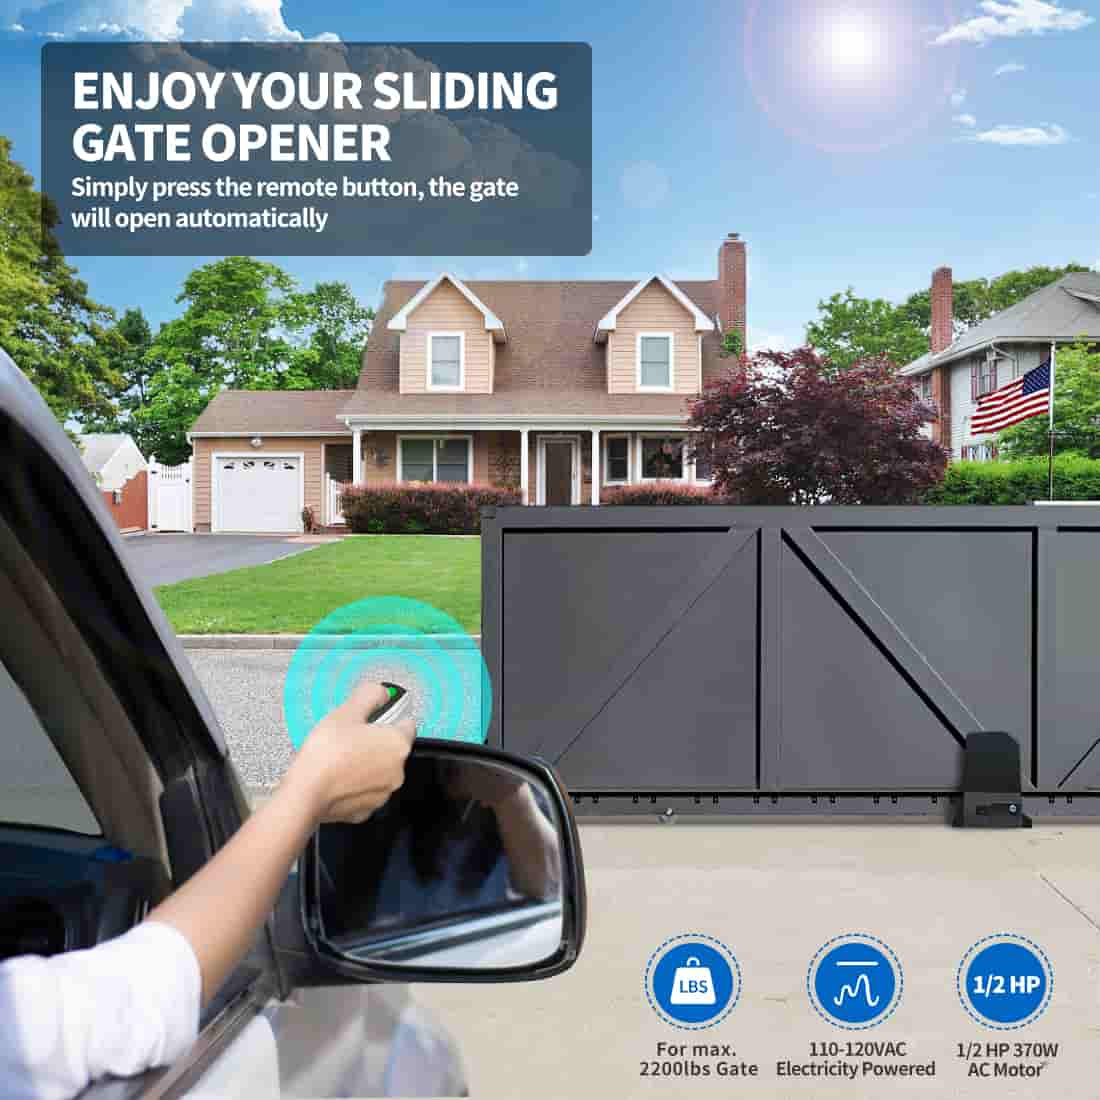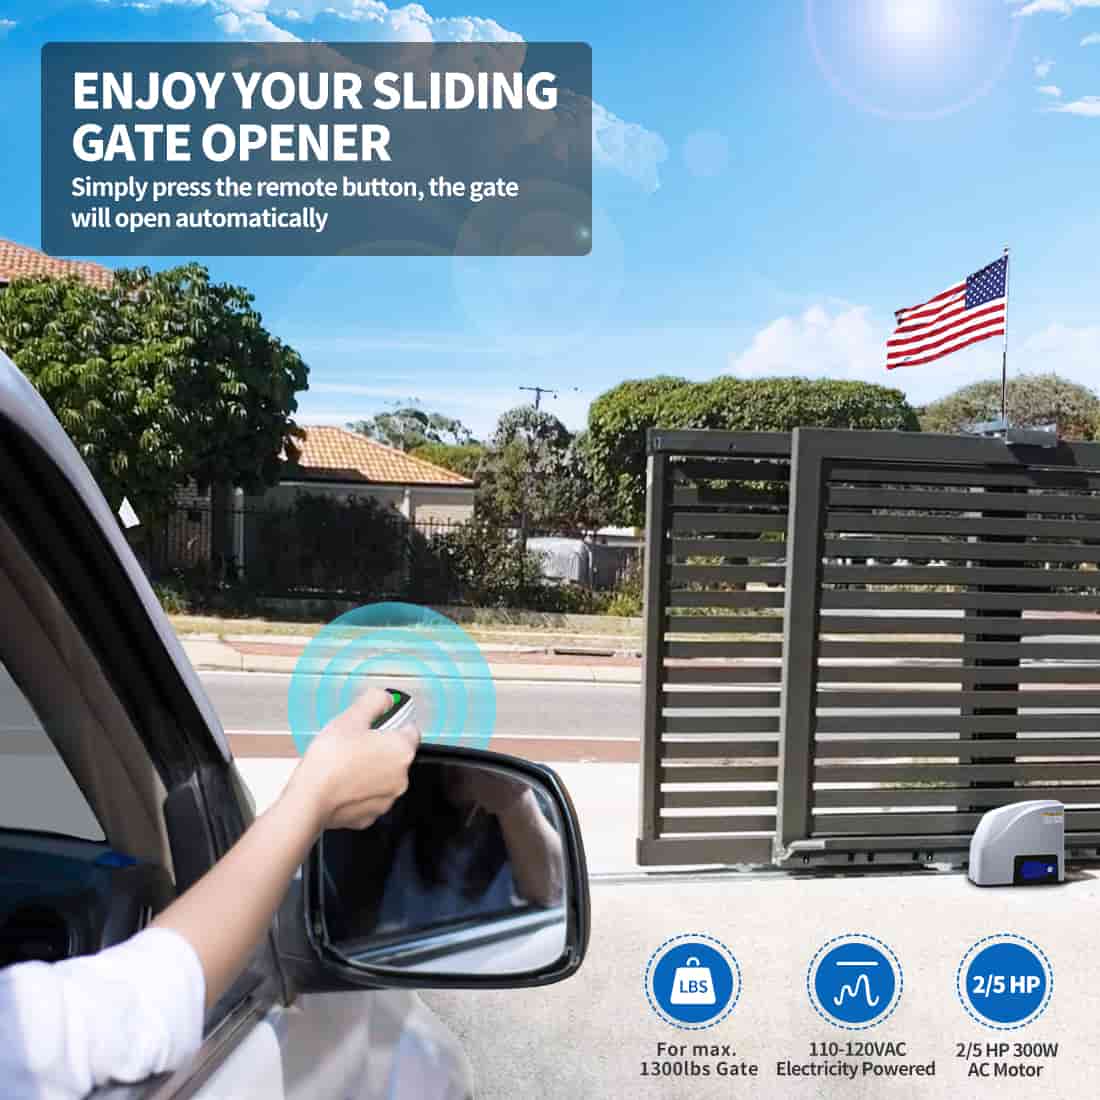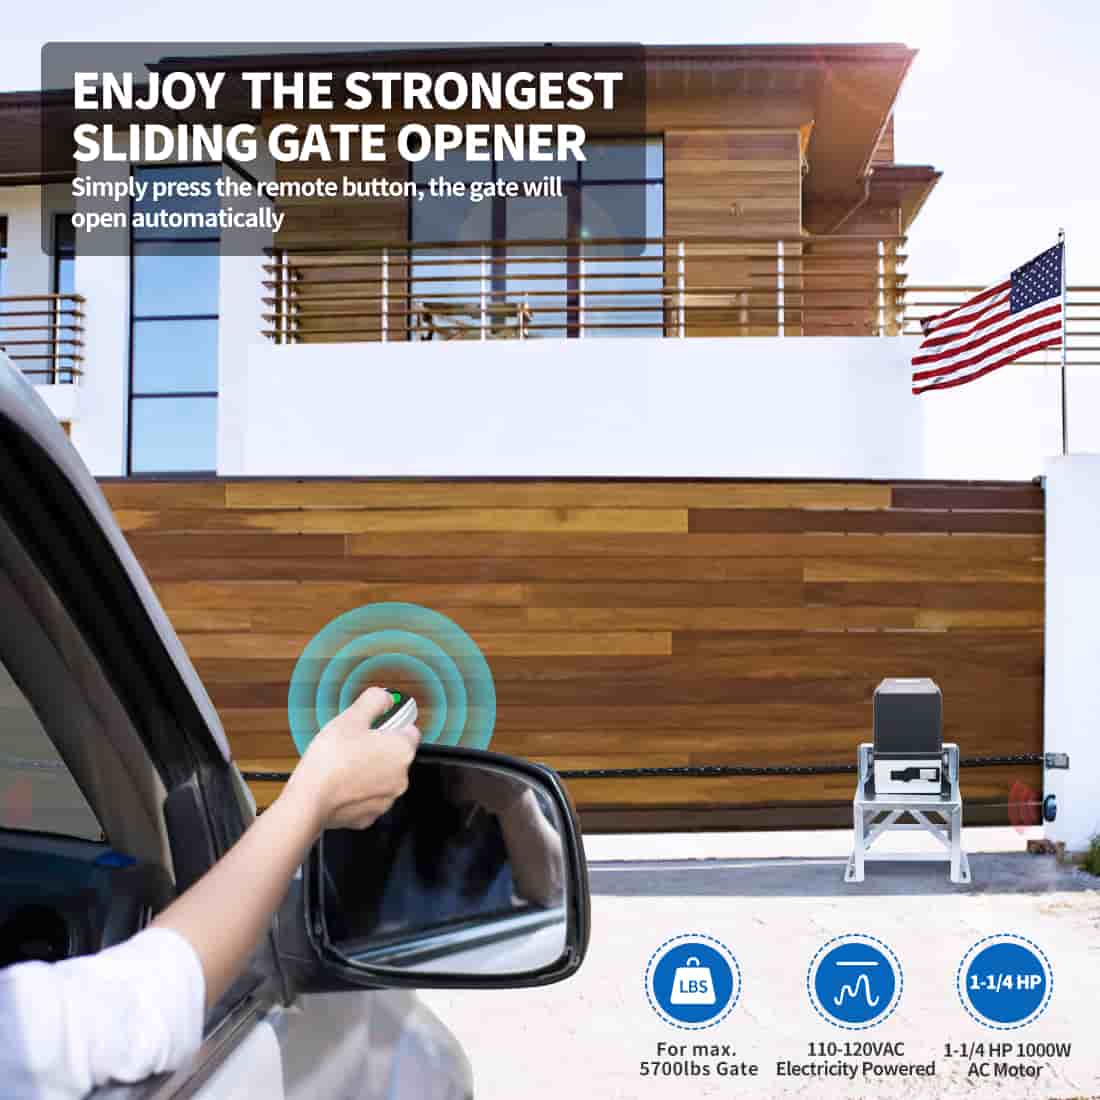

Installing a solar powered gate opener not only adds convenience to your property, but also saves money on your monthly electricity bill. TOPENS, a trusted name in gate automation, offers a range of solar gate openers designed for easy installation. In this guide, we will take you through the step-by-step process of installing a TOPENS solar gate opener to ensure a smooth and hassle-free experience.
Step 1: Gather Your Equipment and Tools
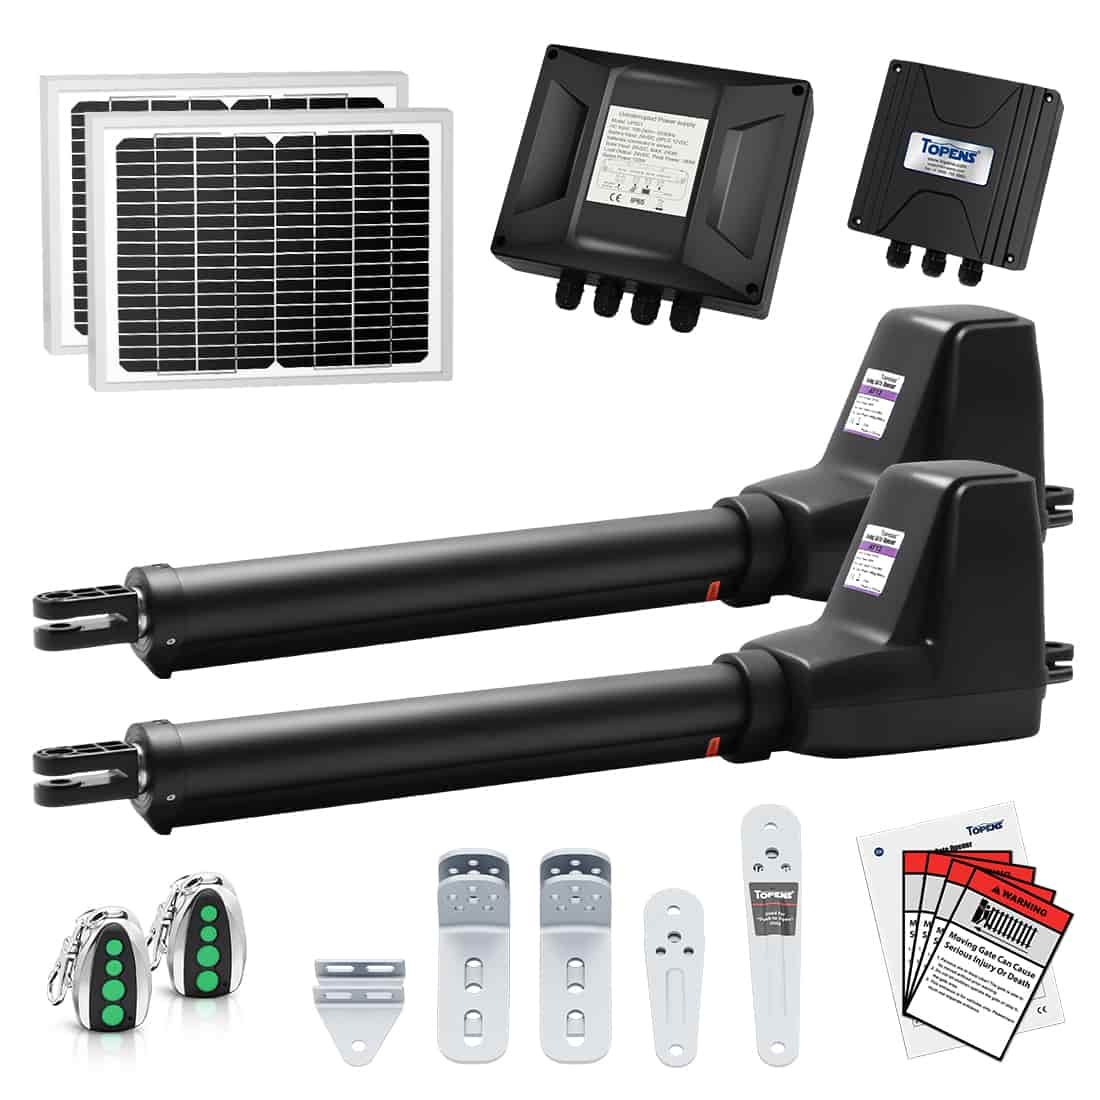
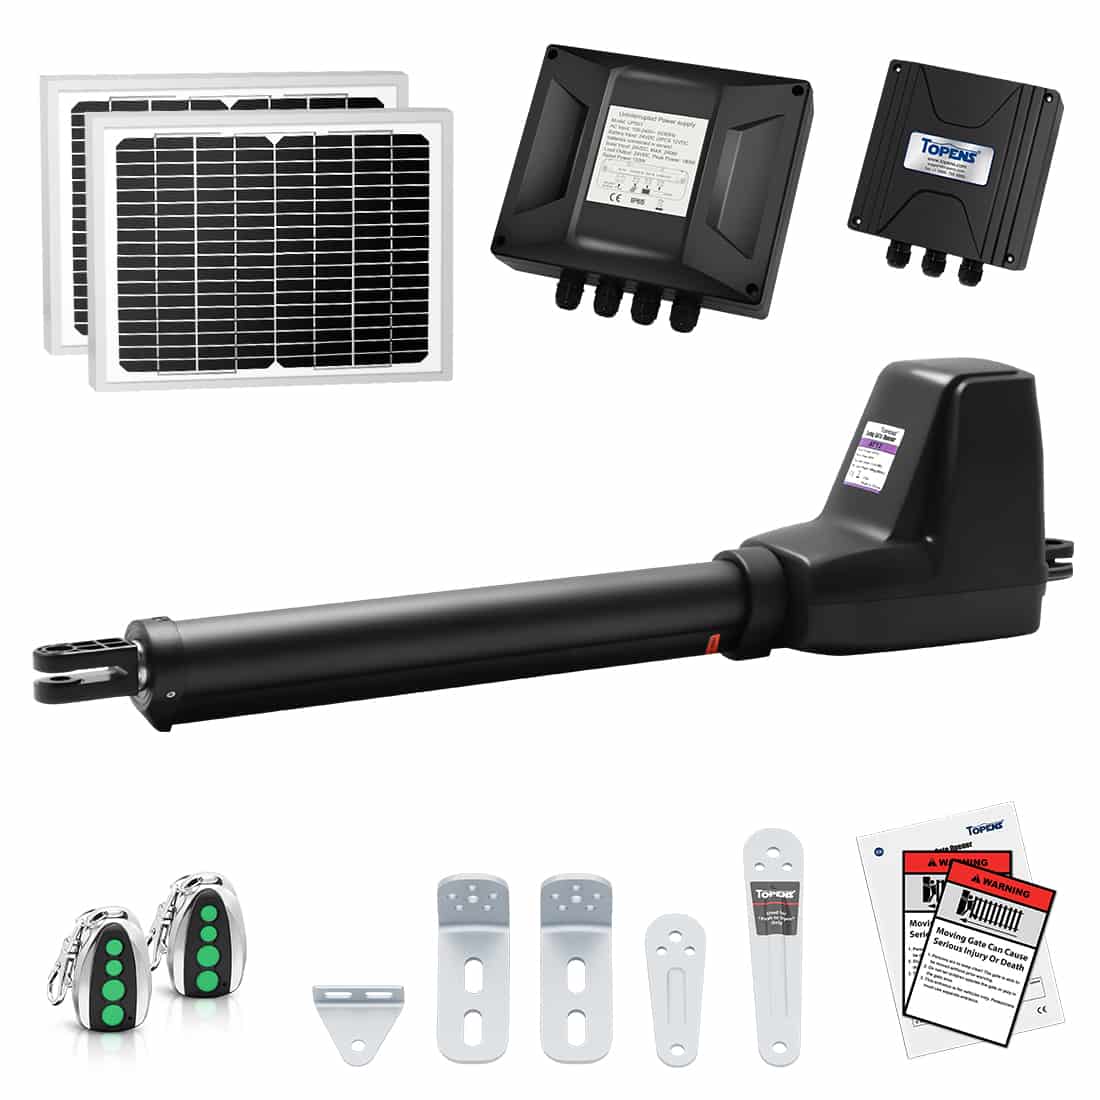
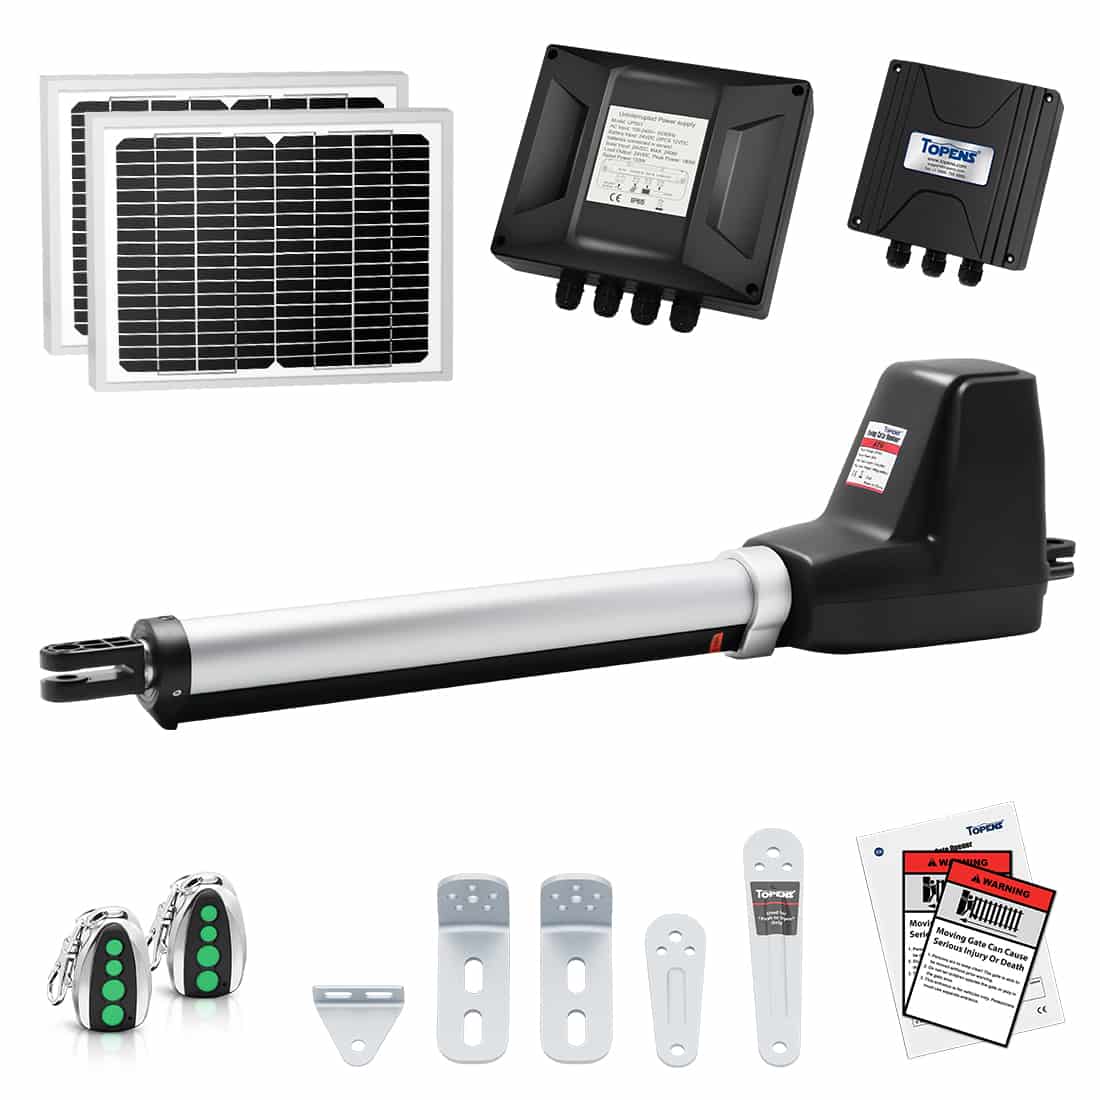
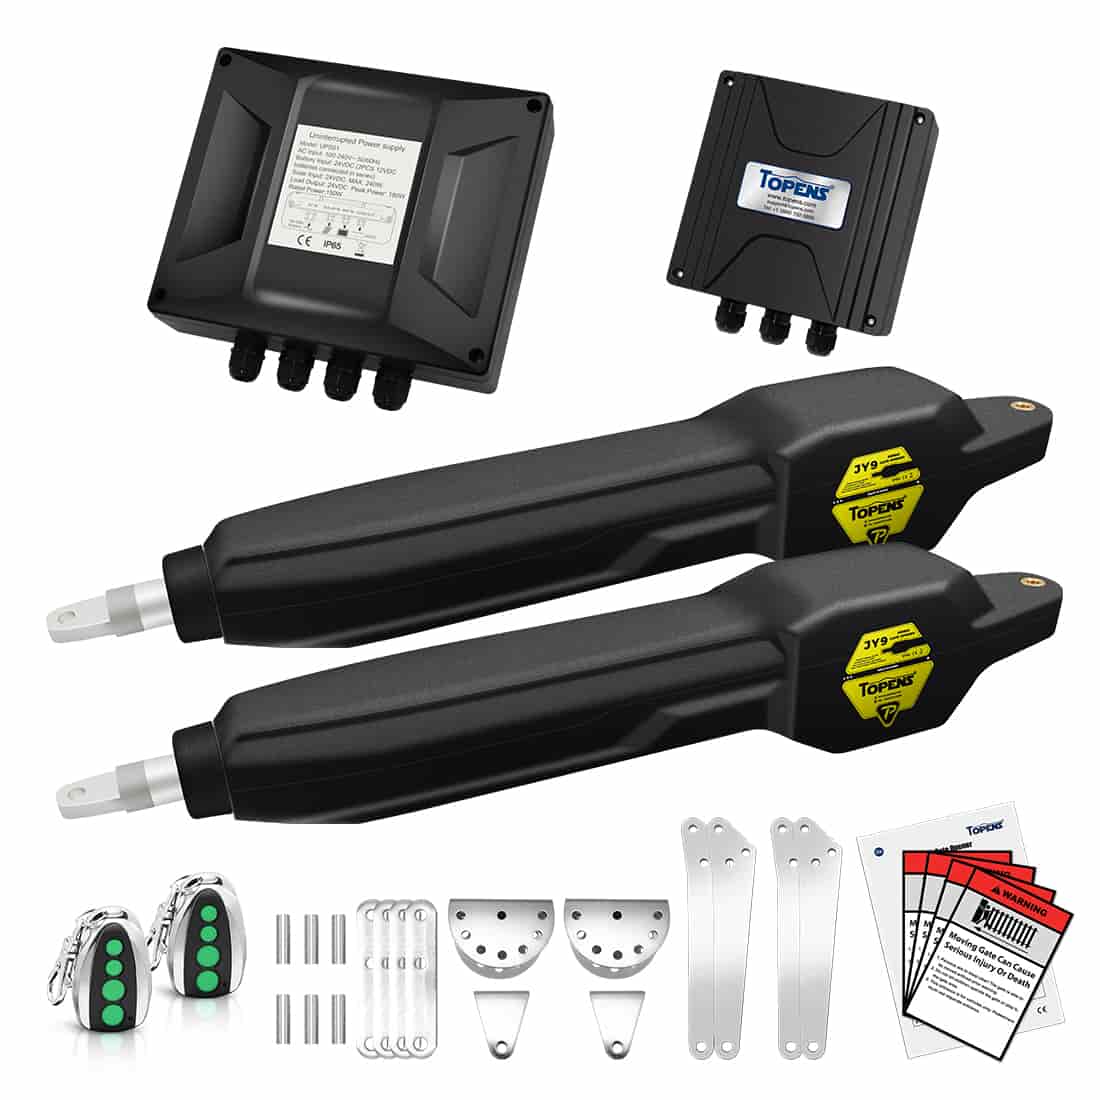
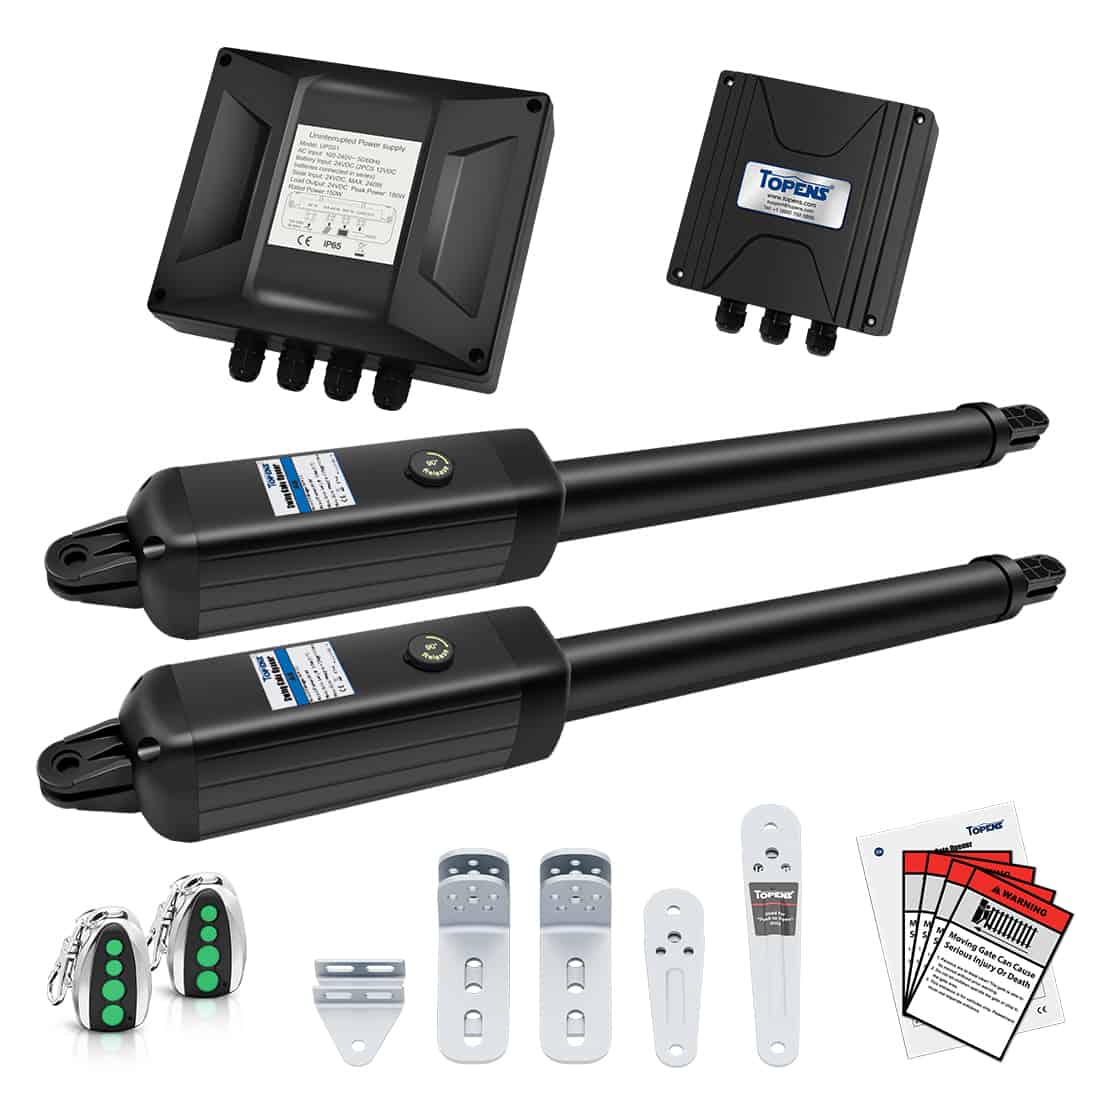
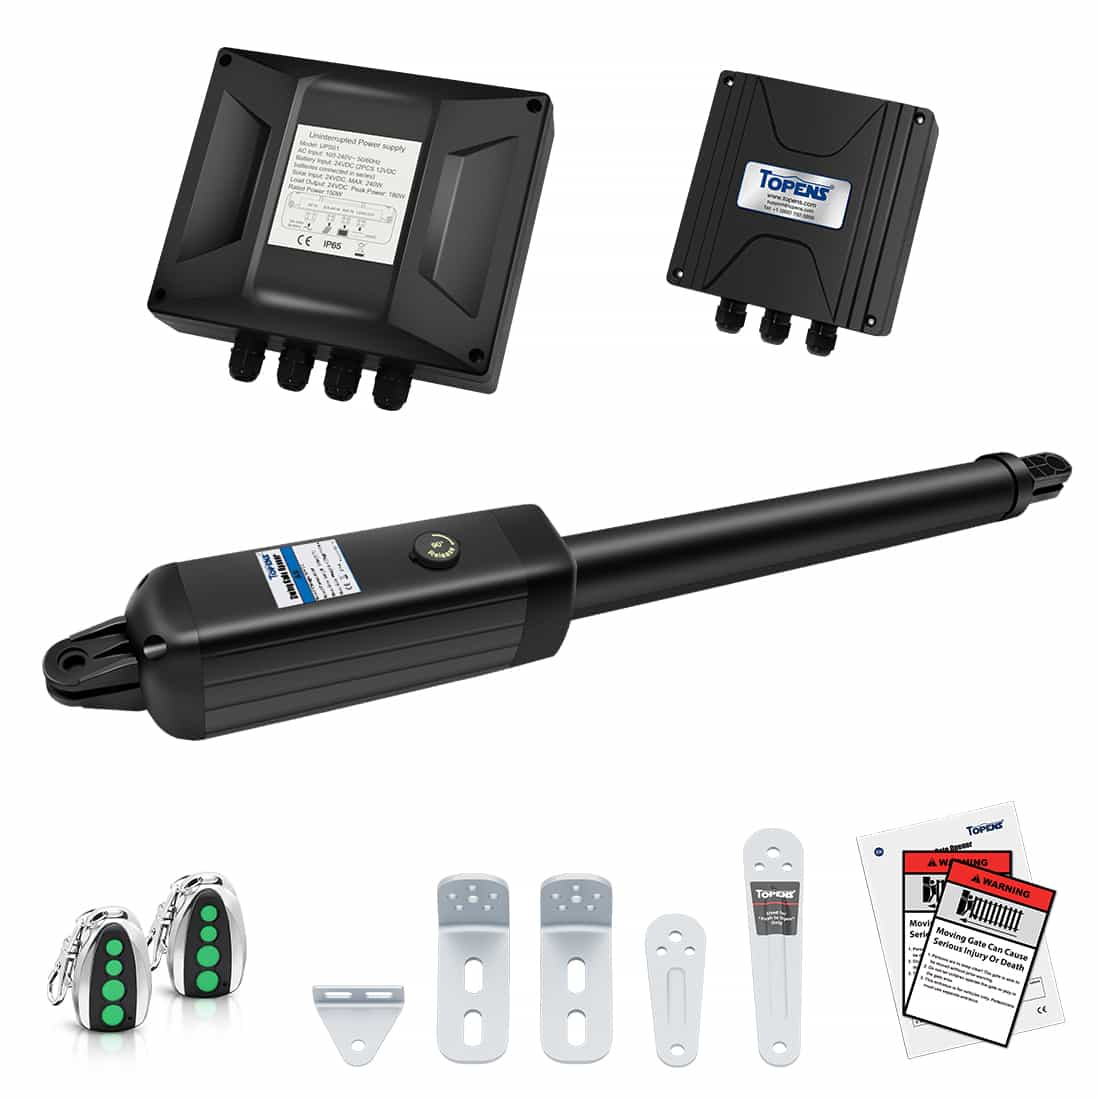
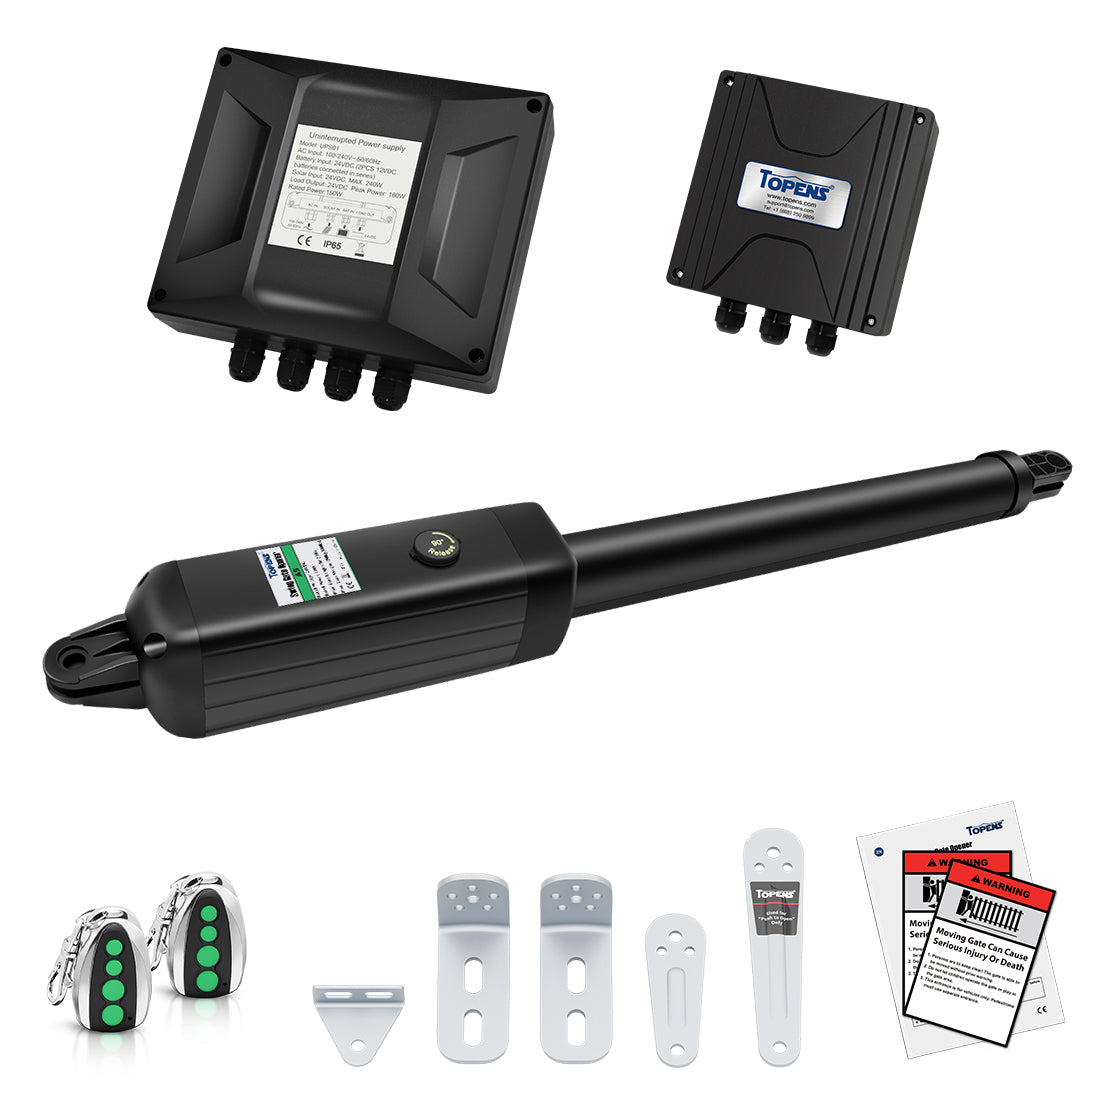
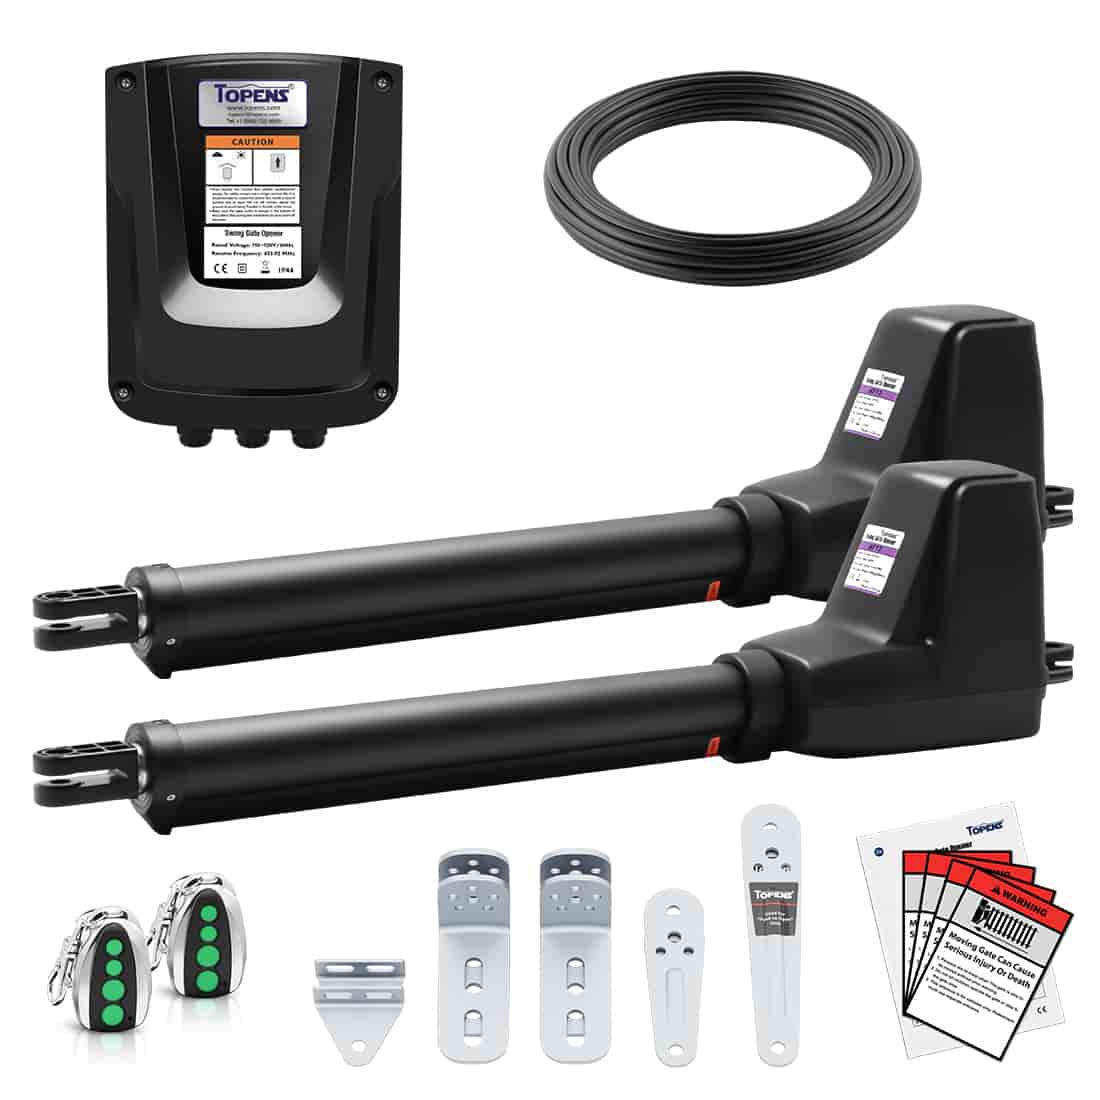
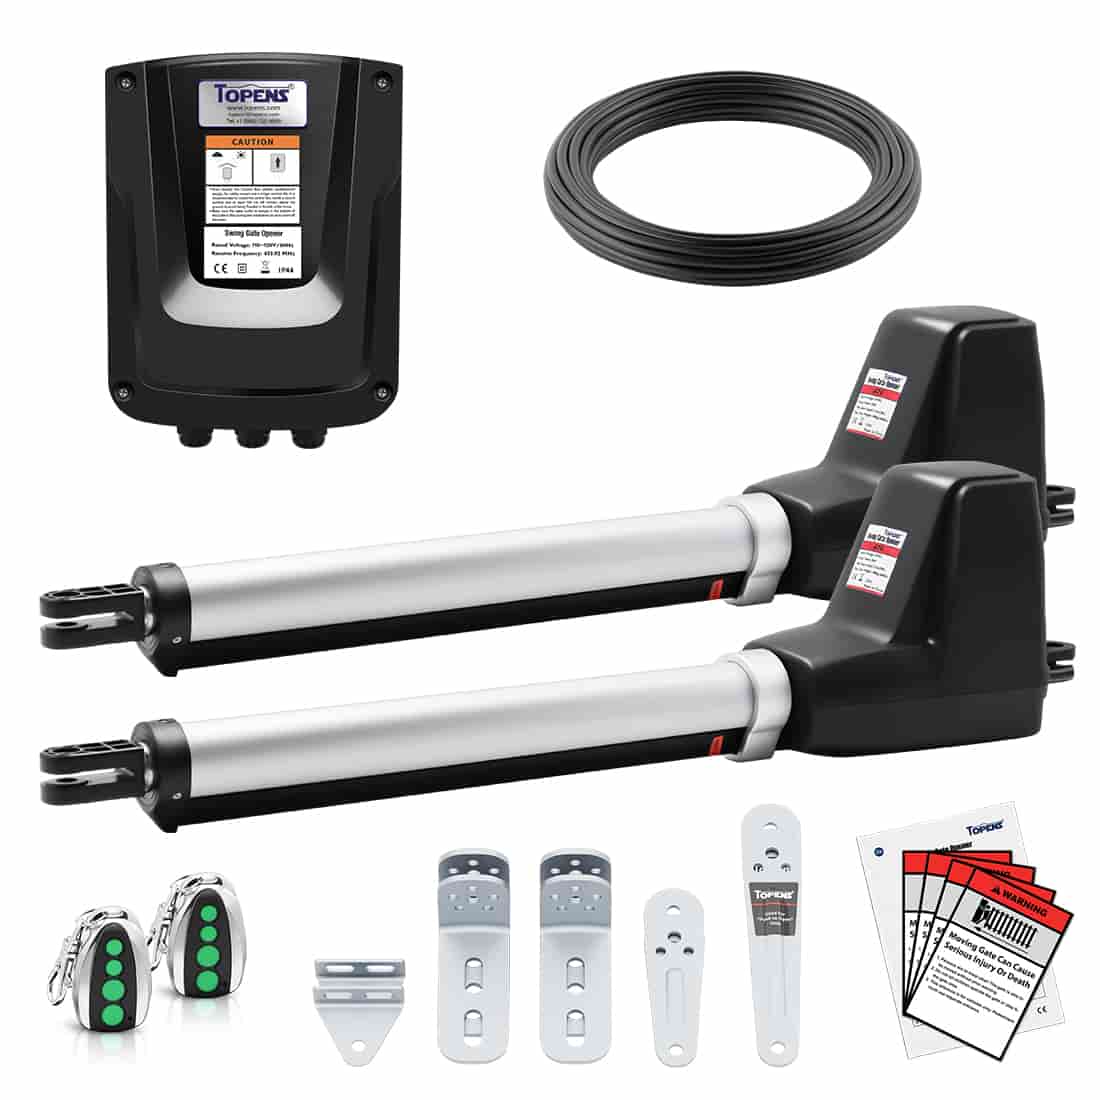
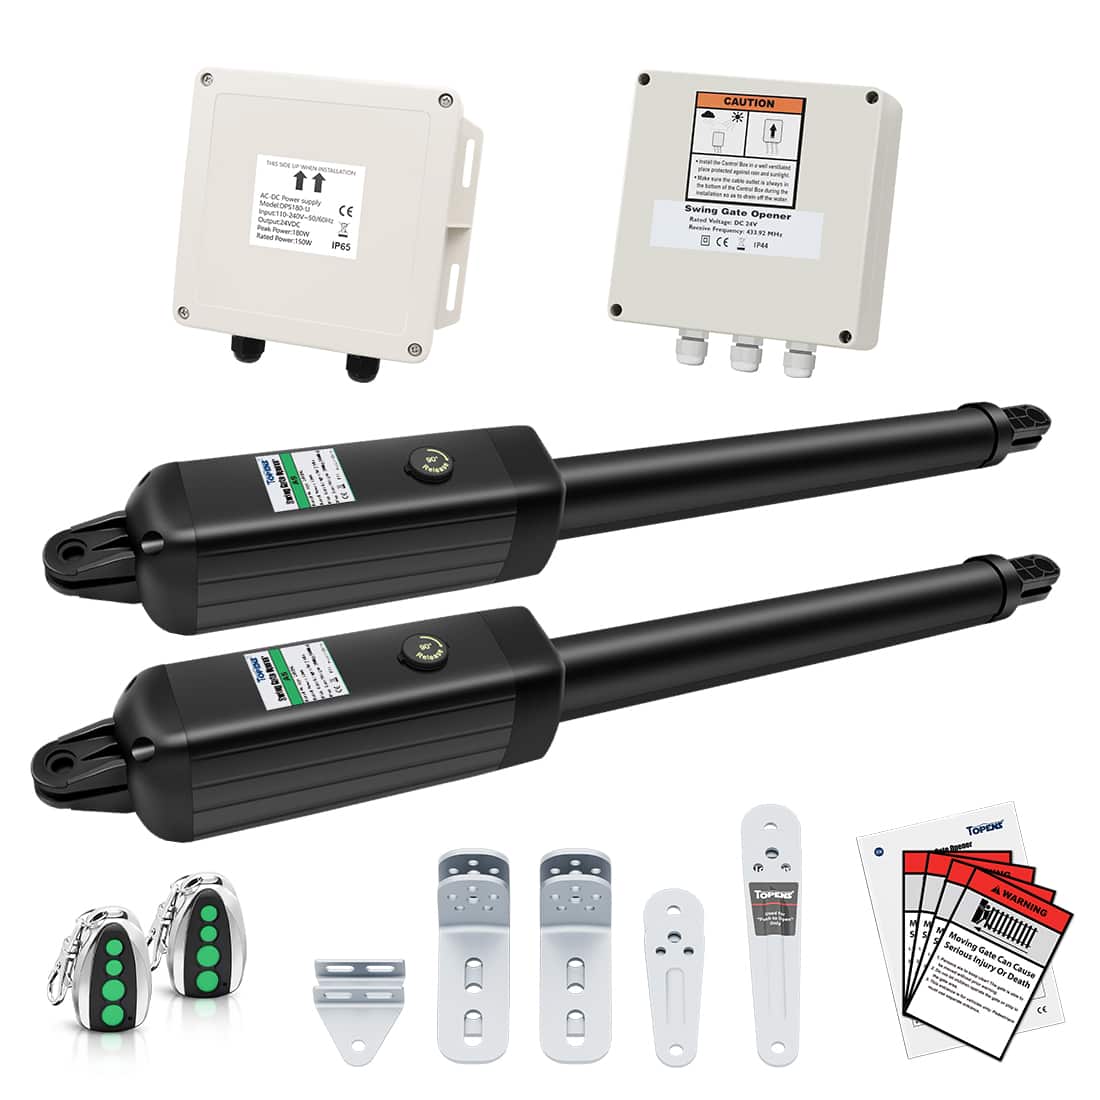
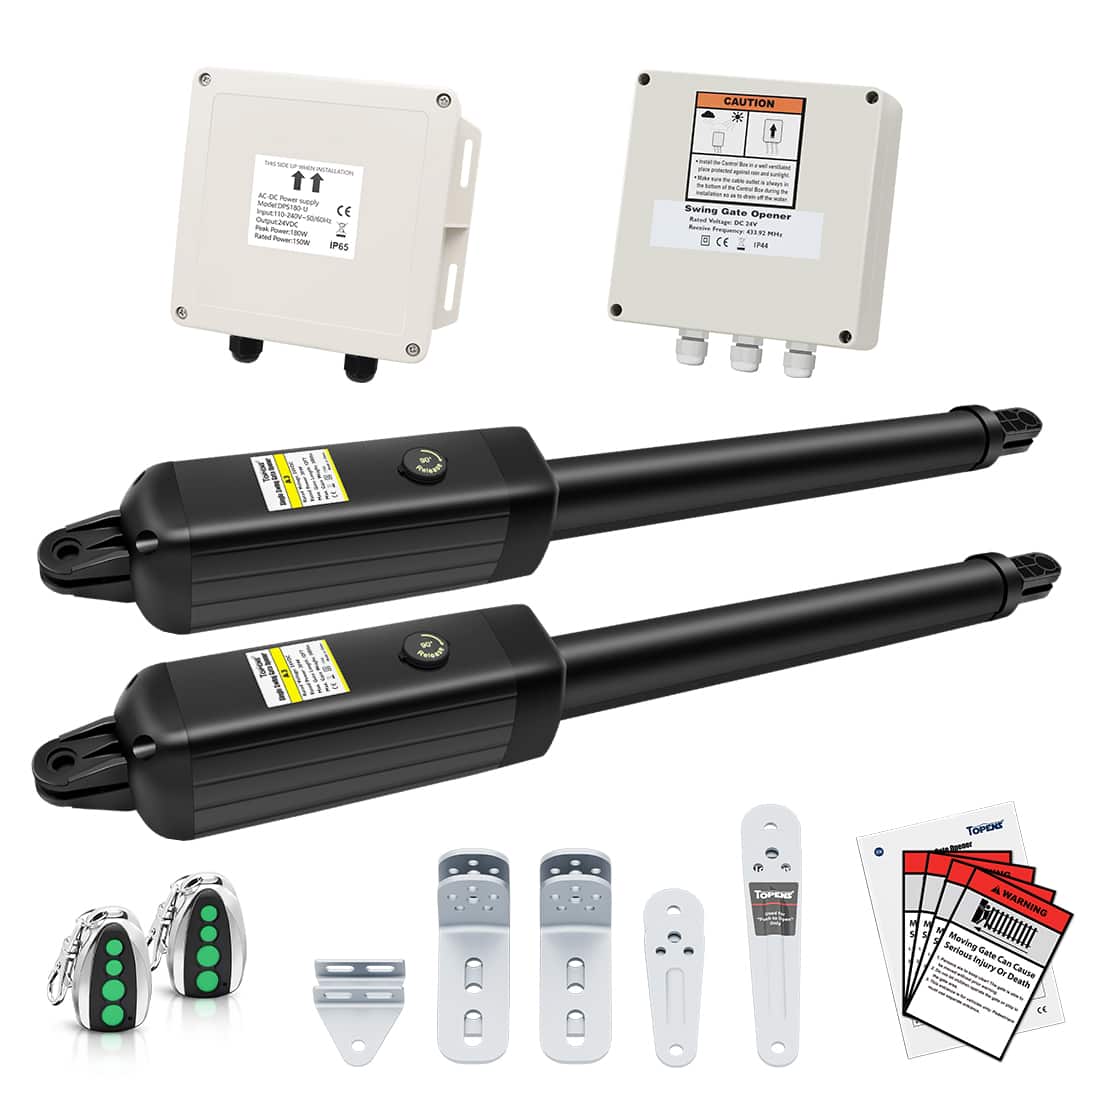
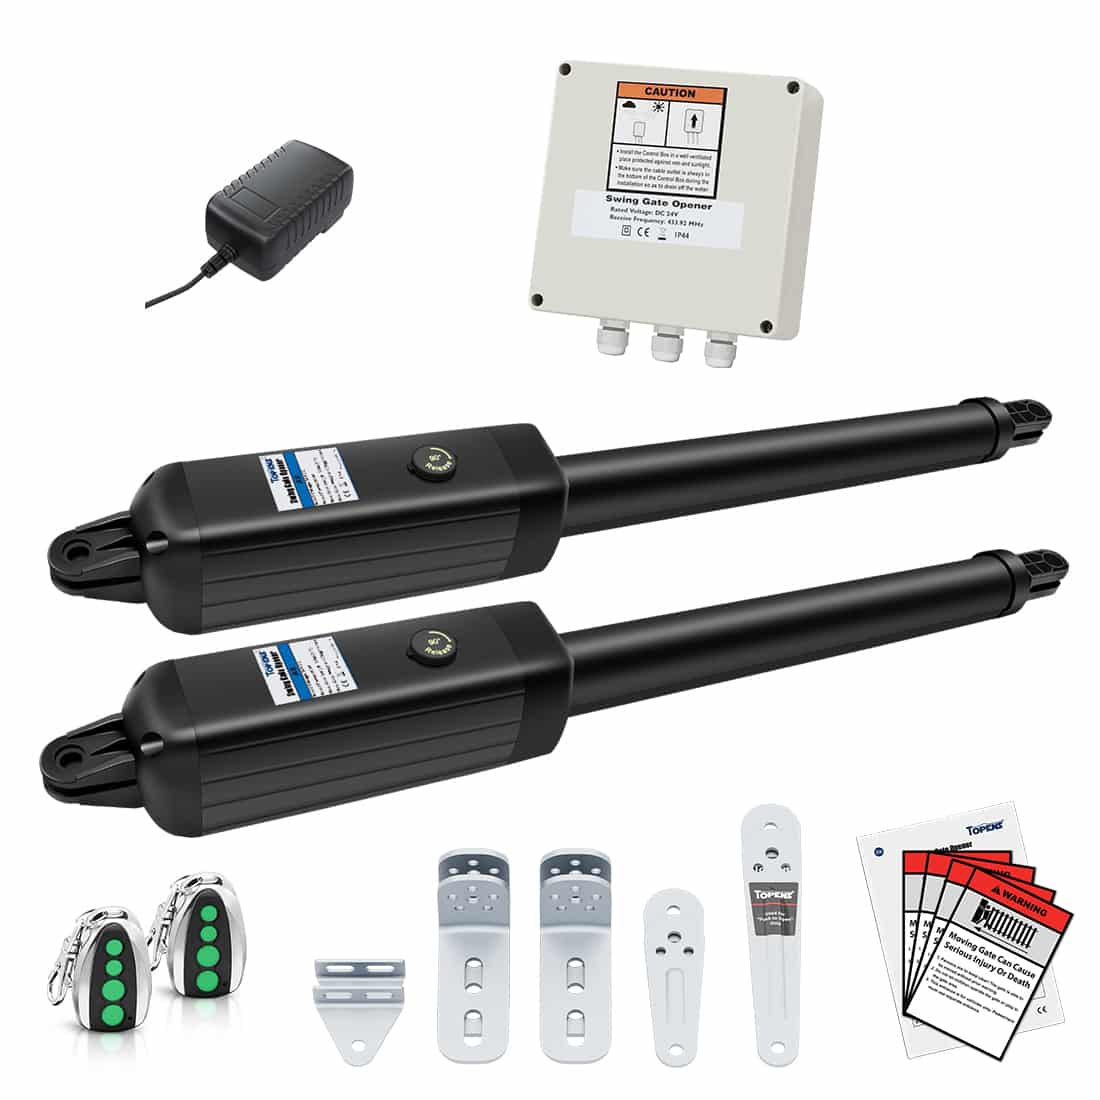
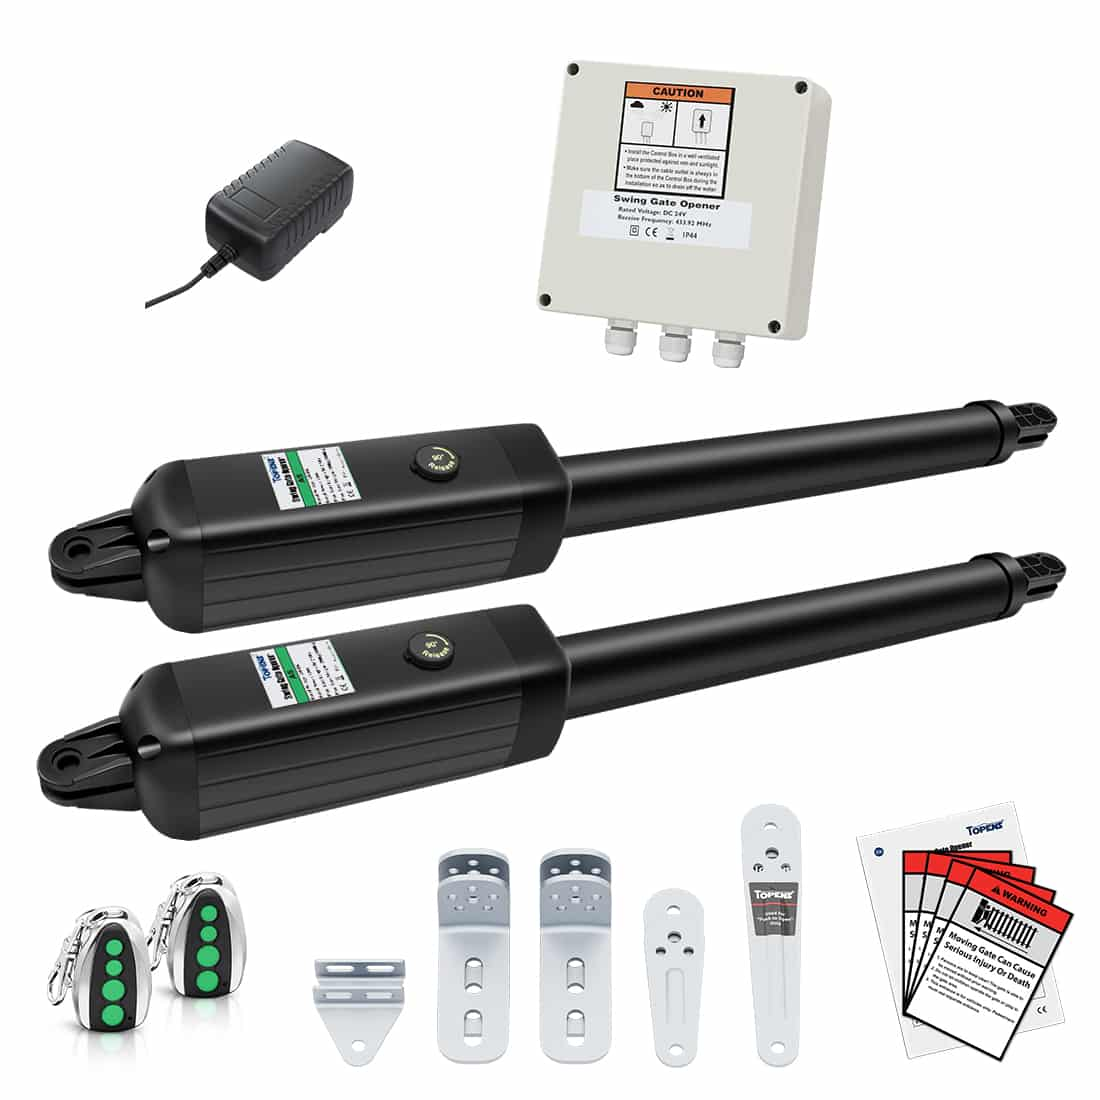
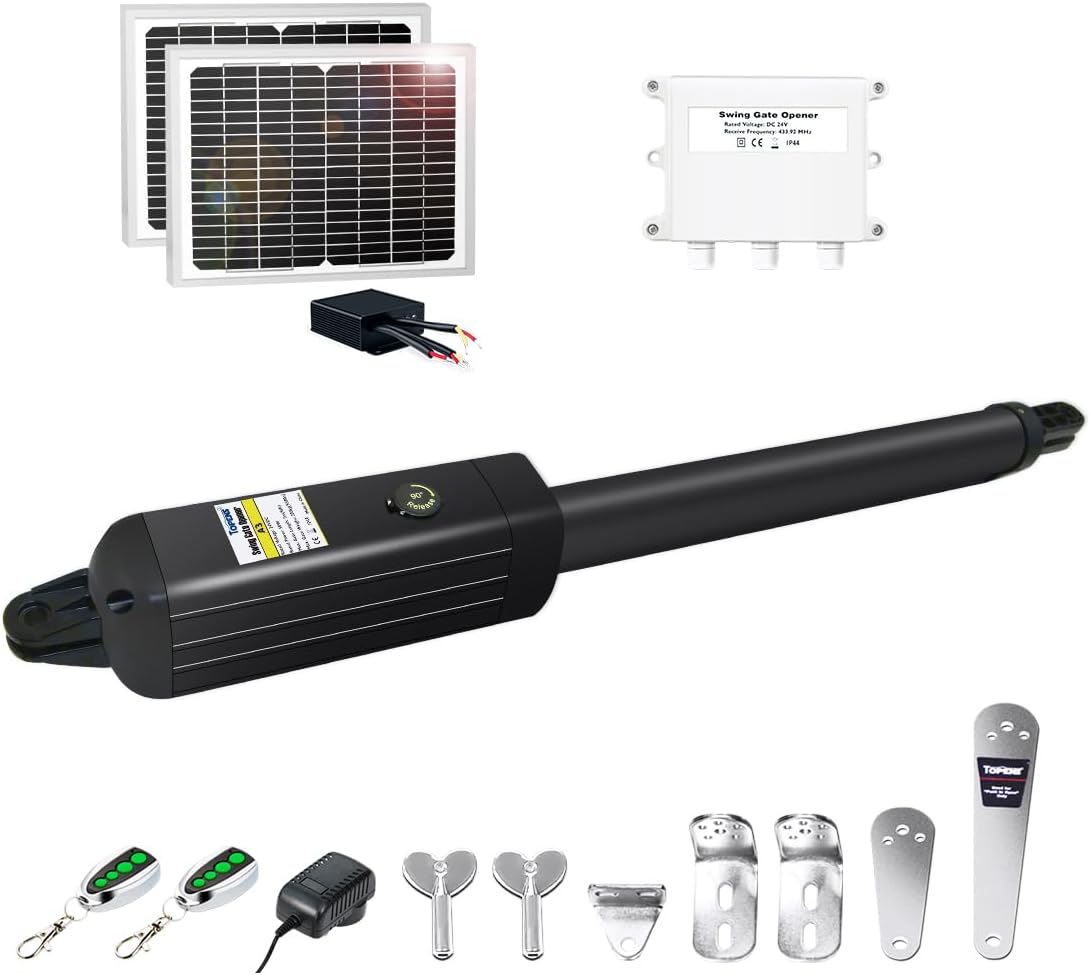
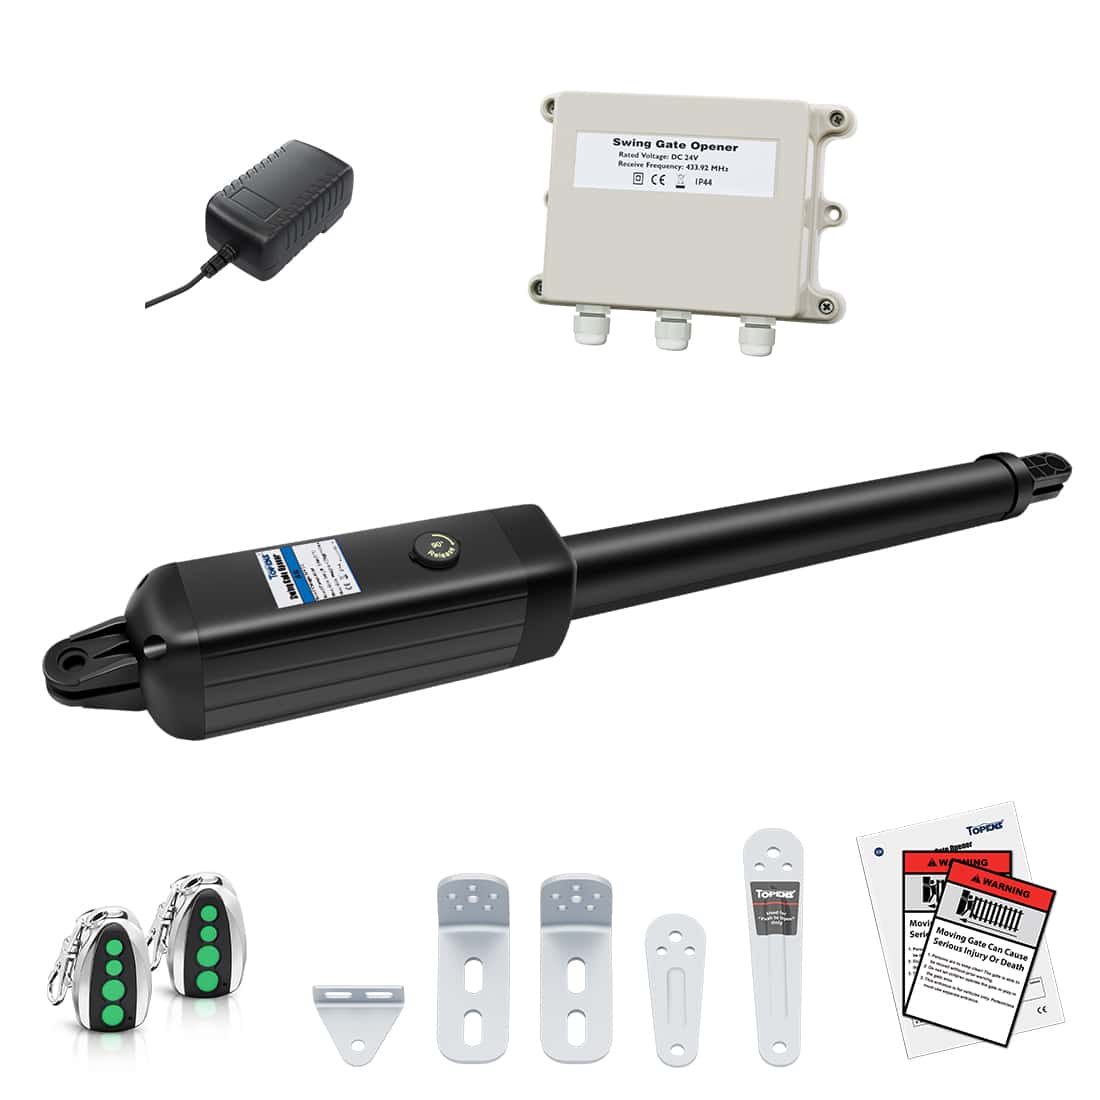
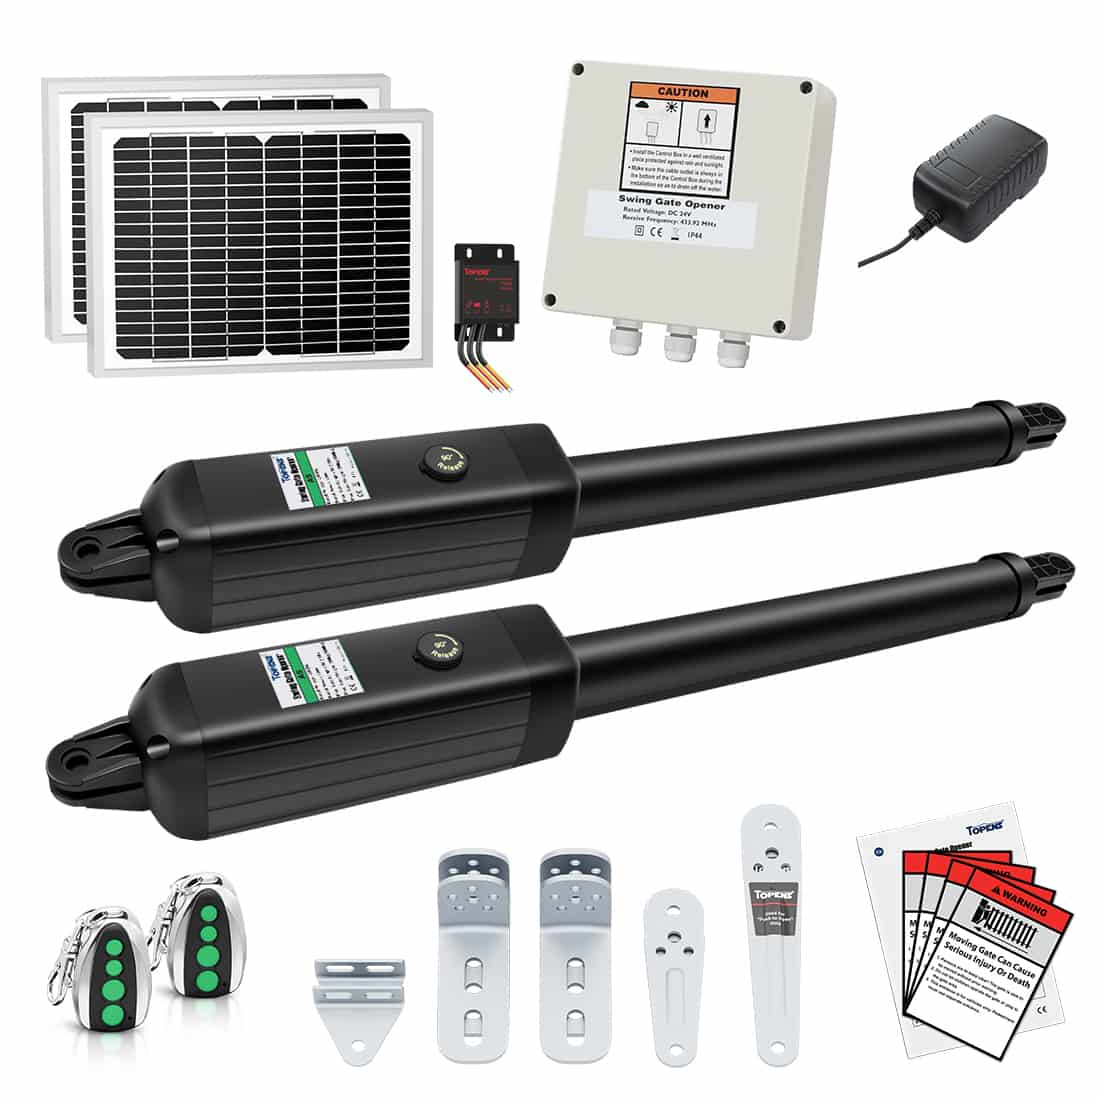
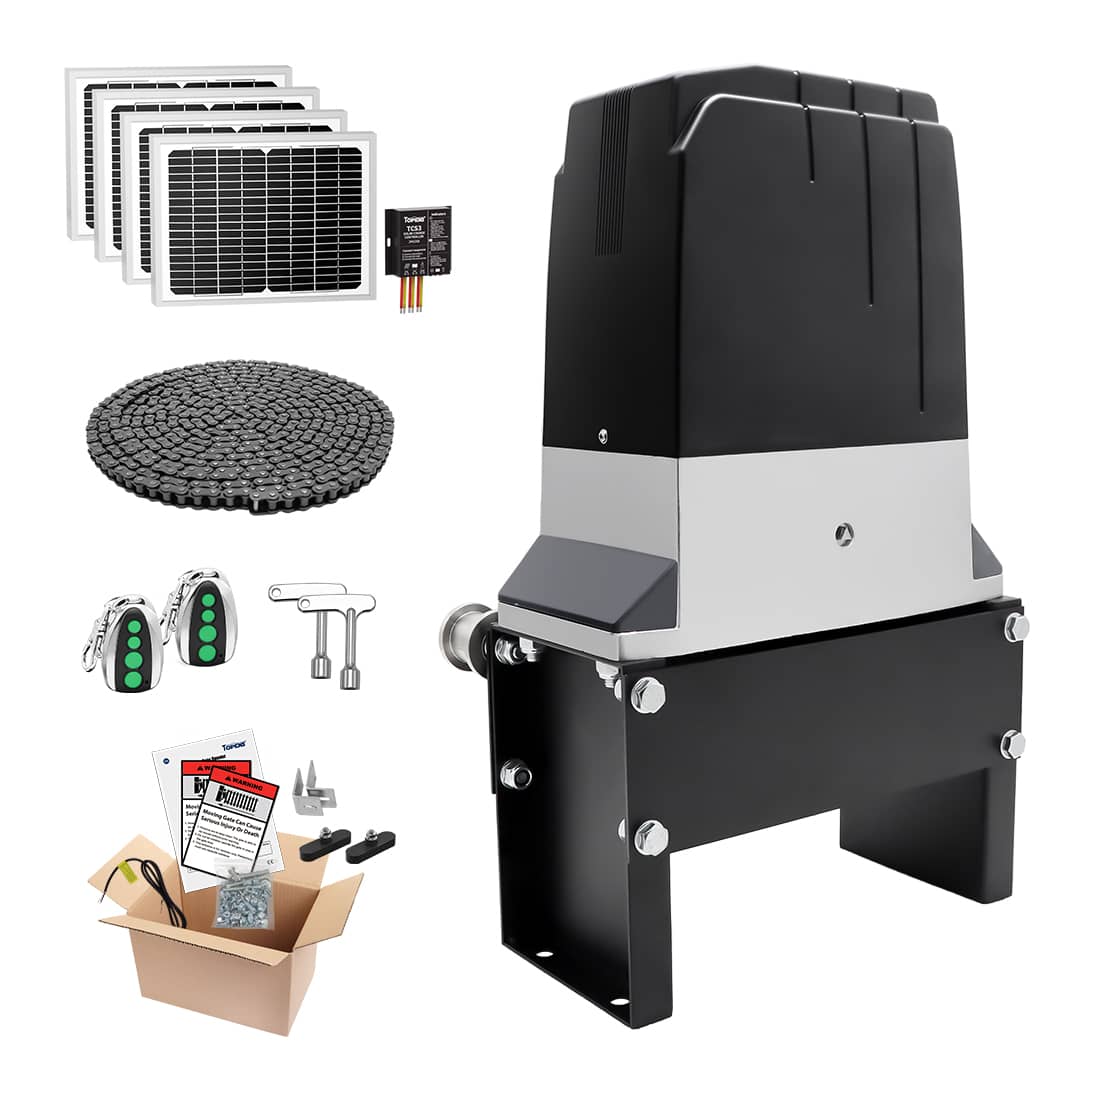
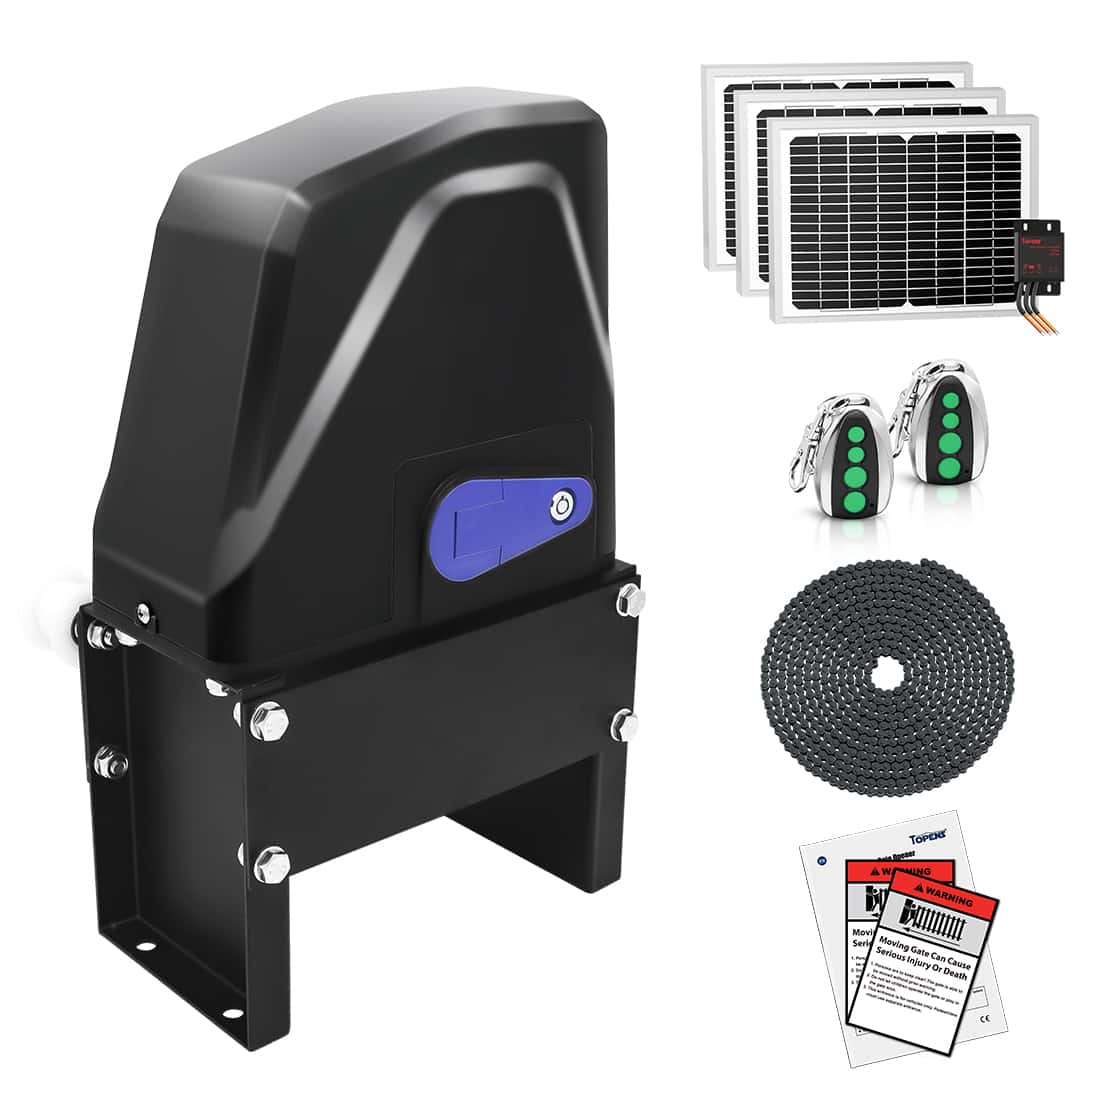
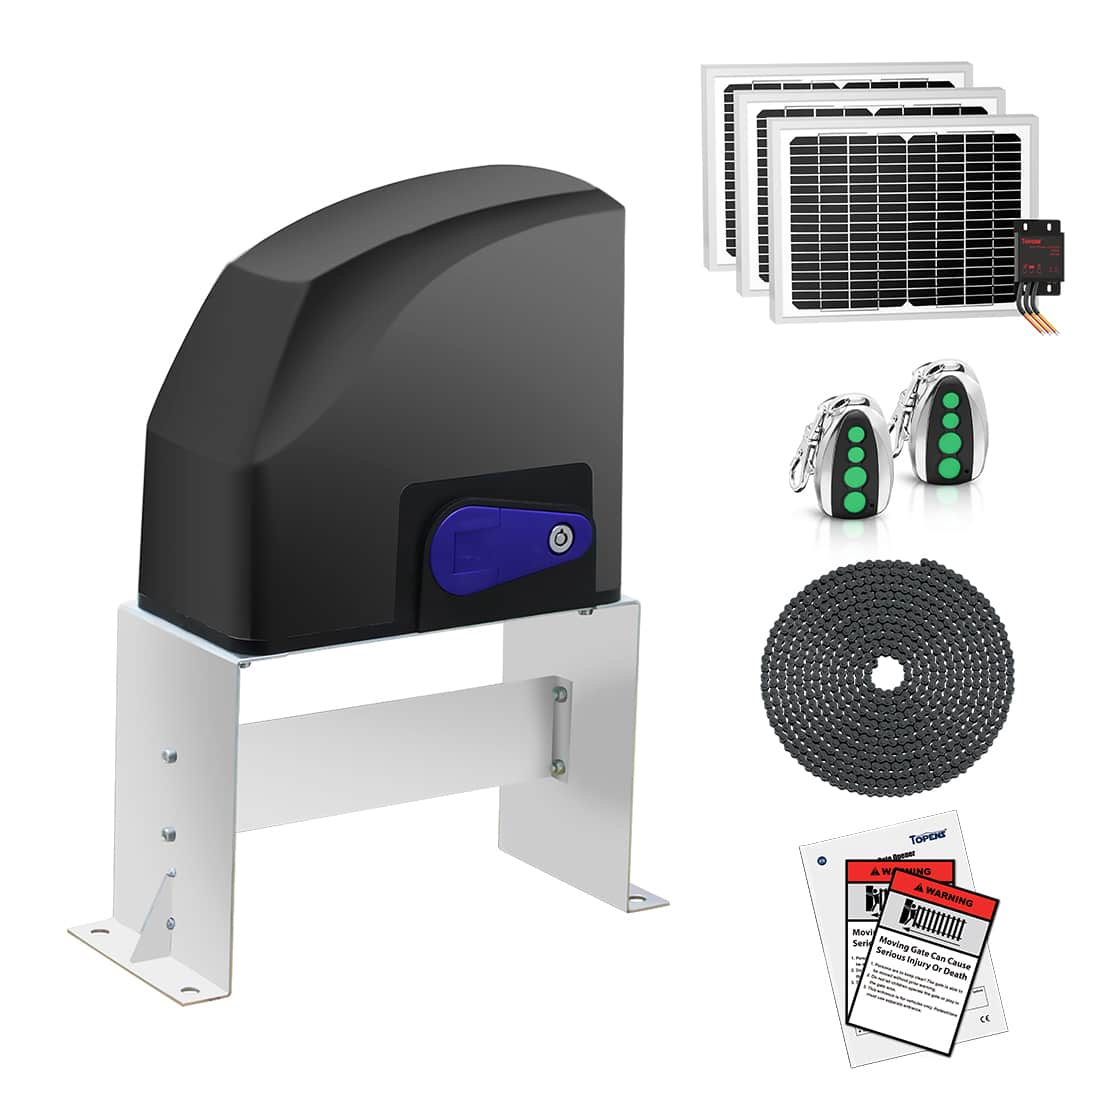
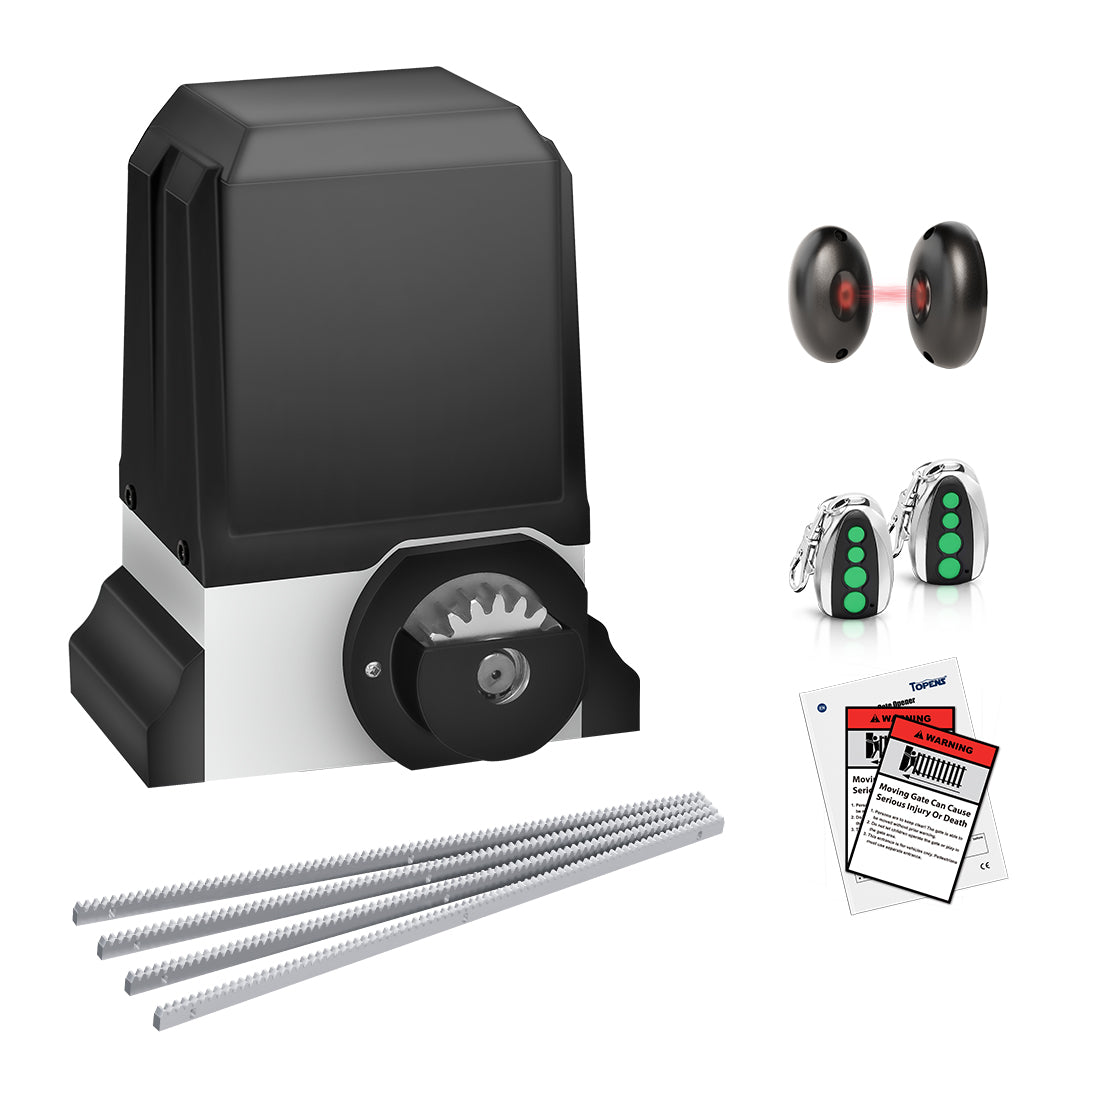
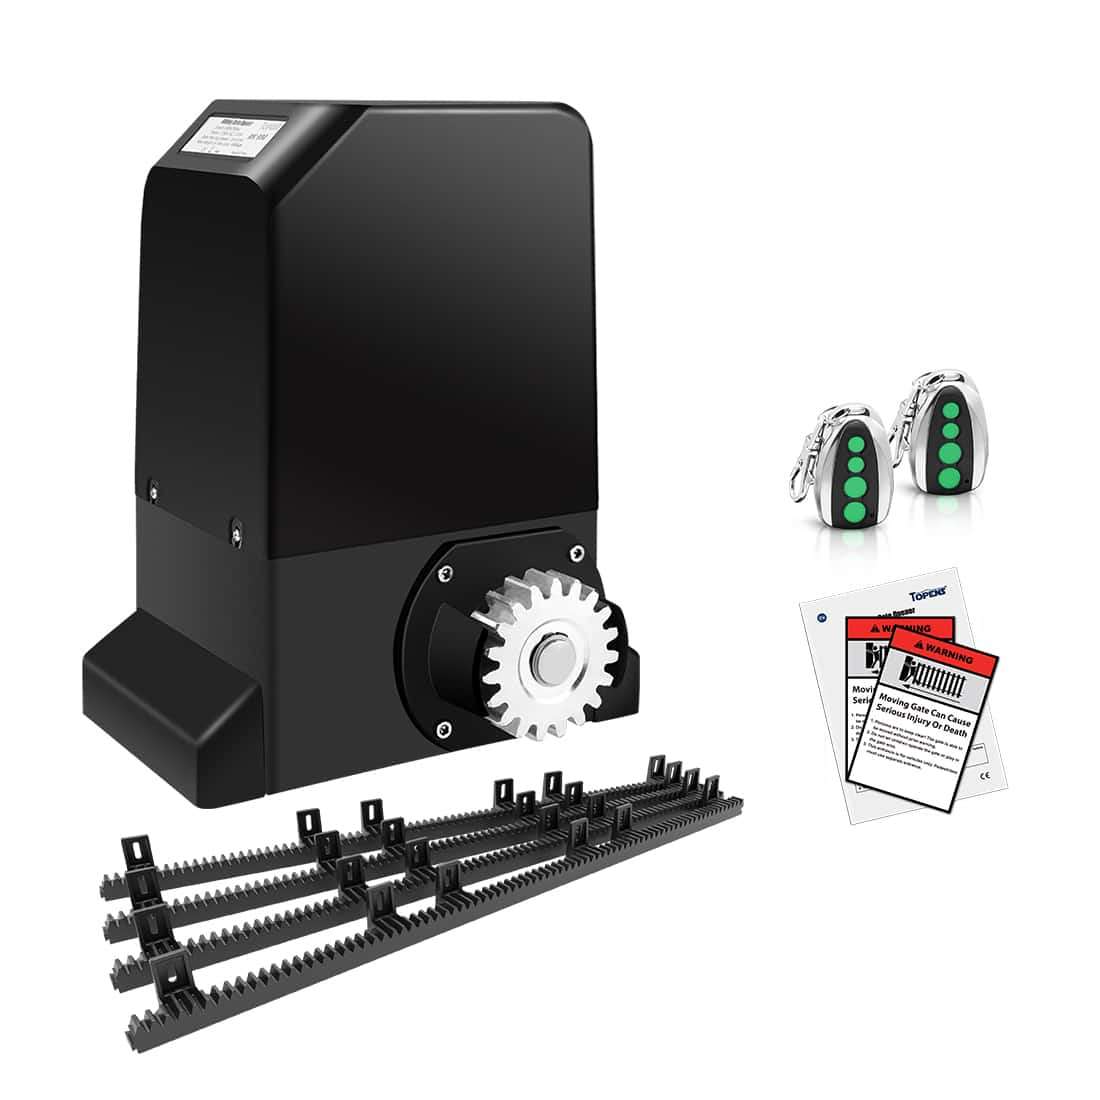
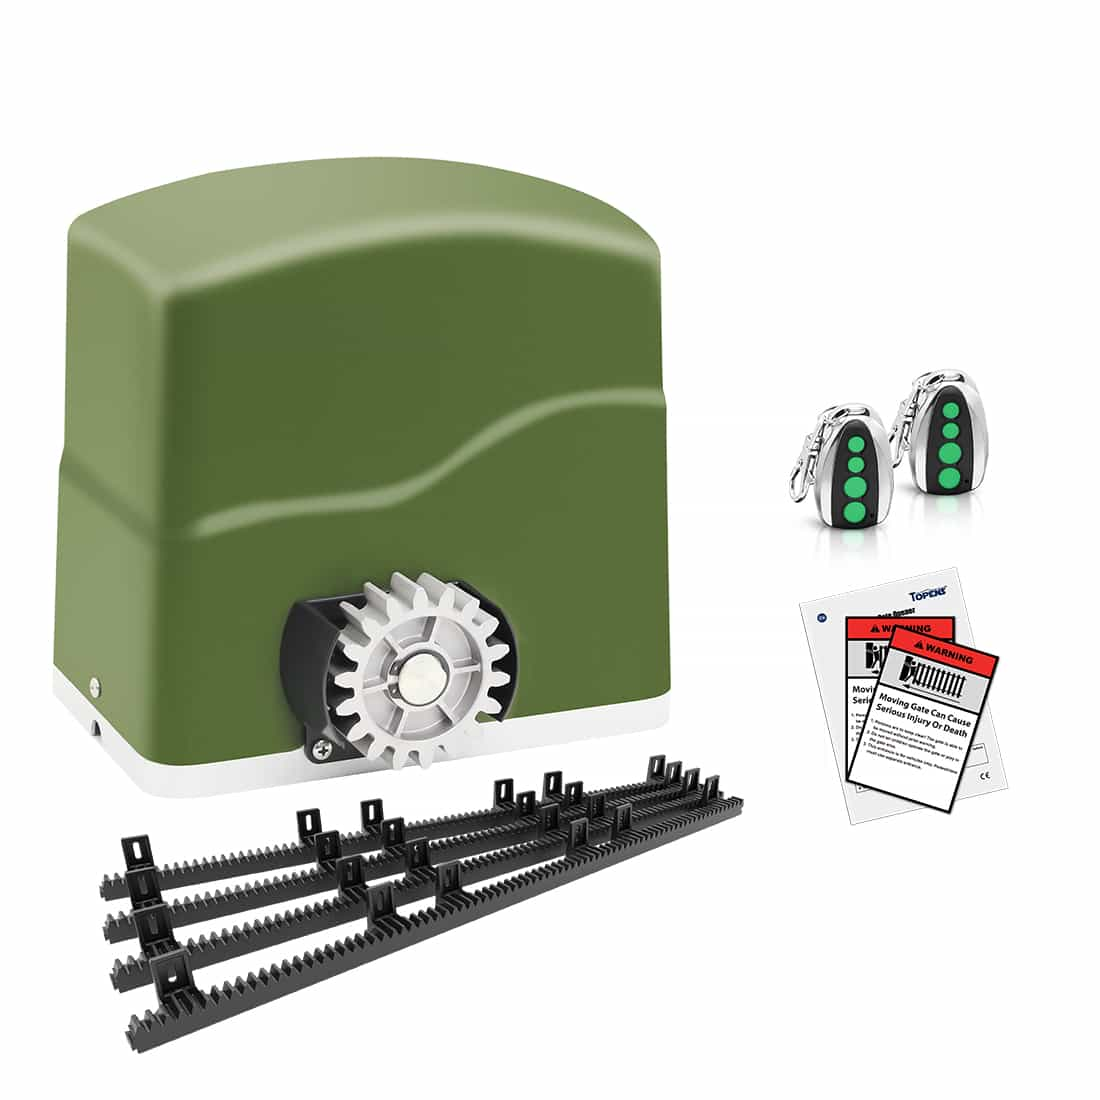
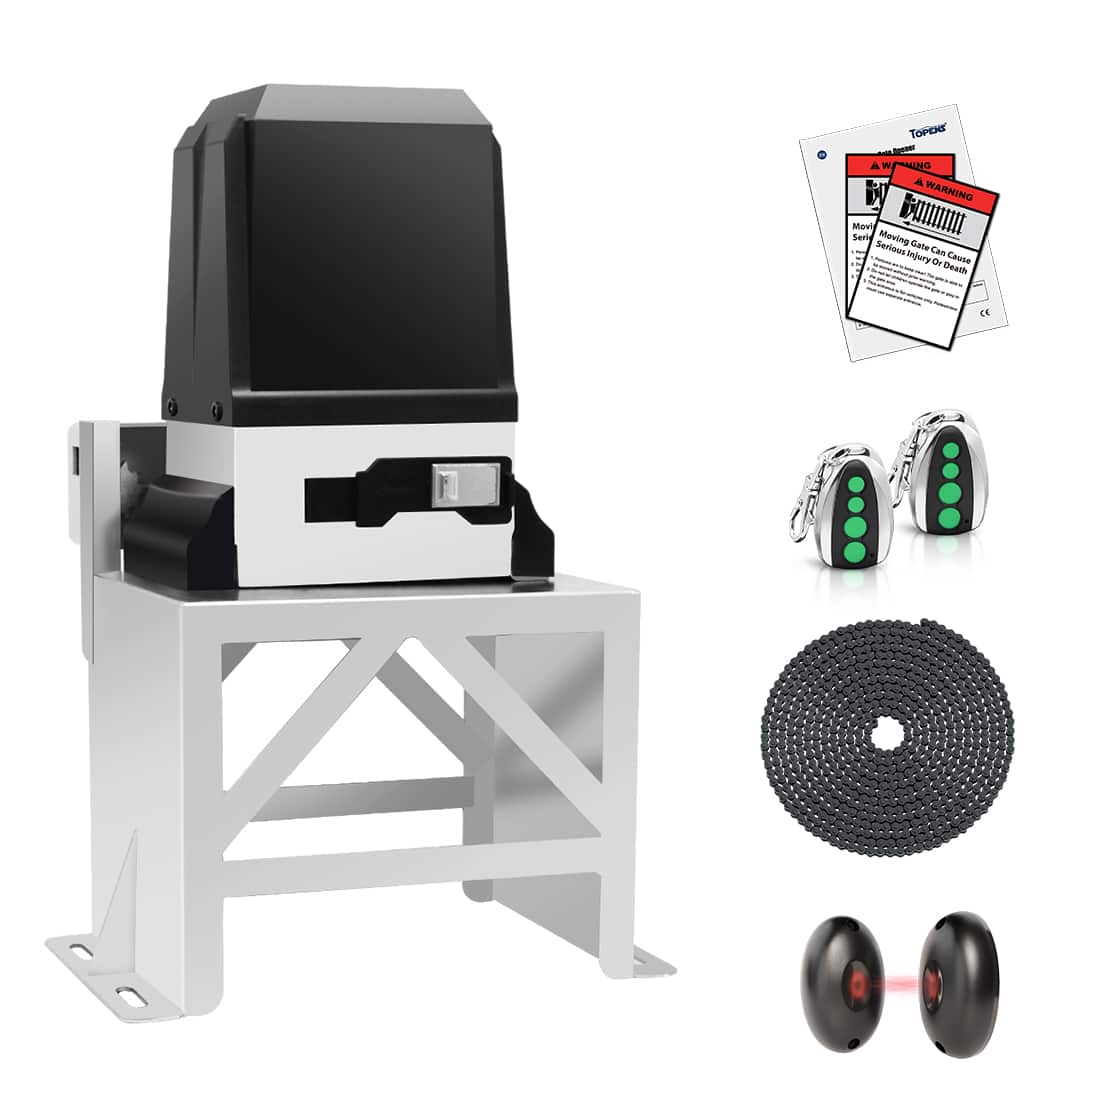
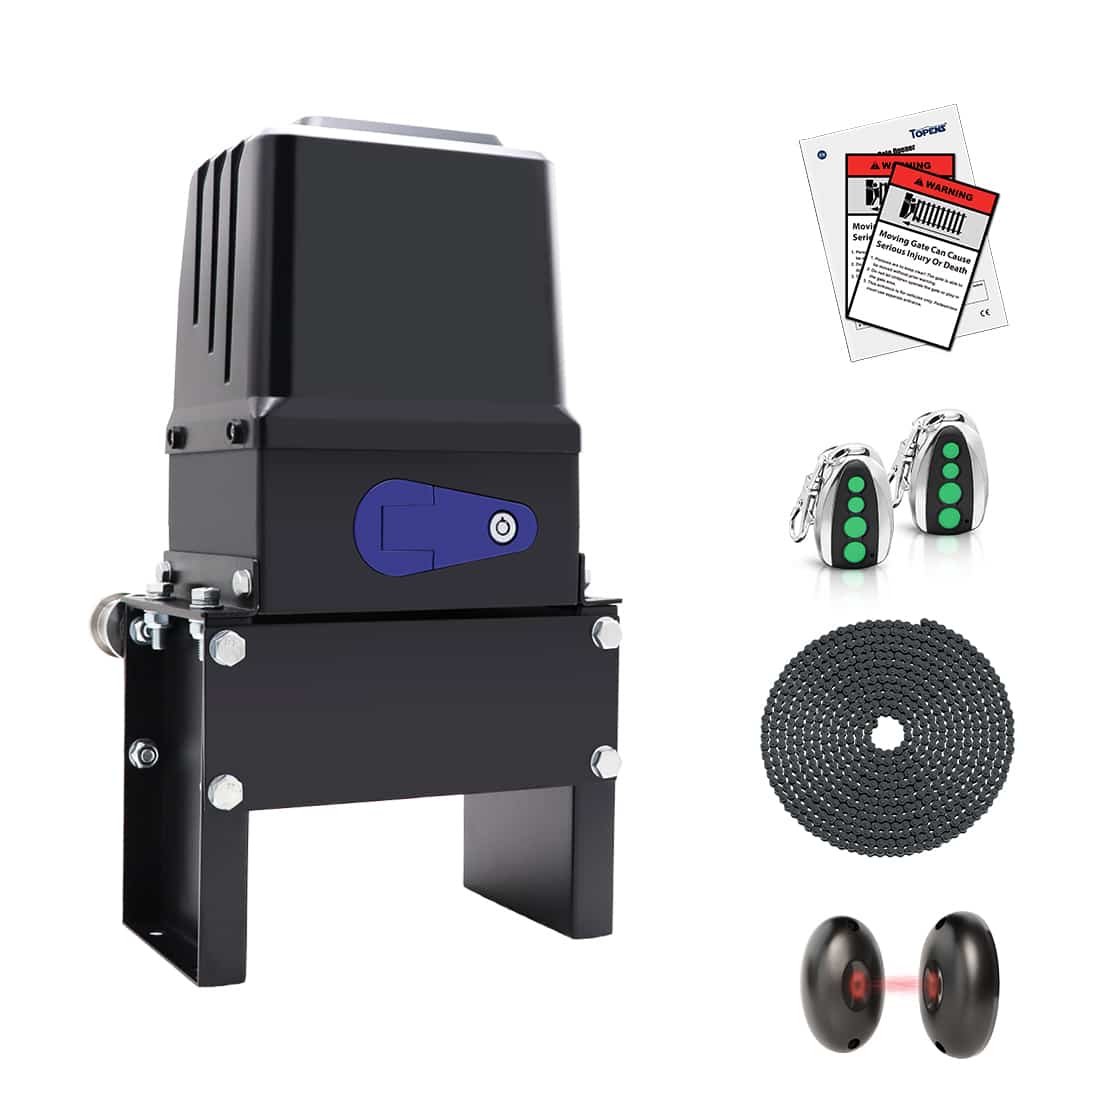
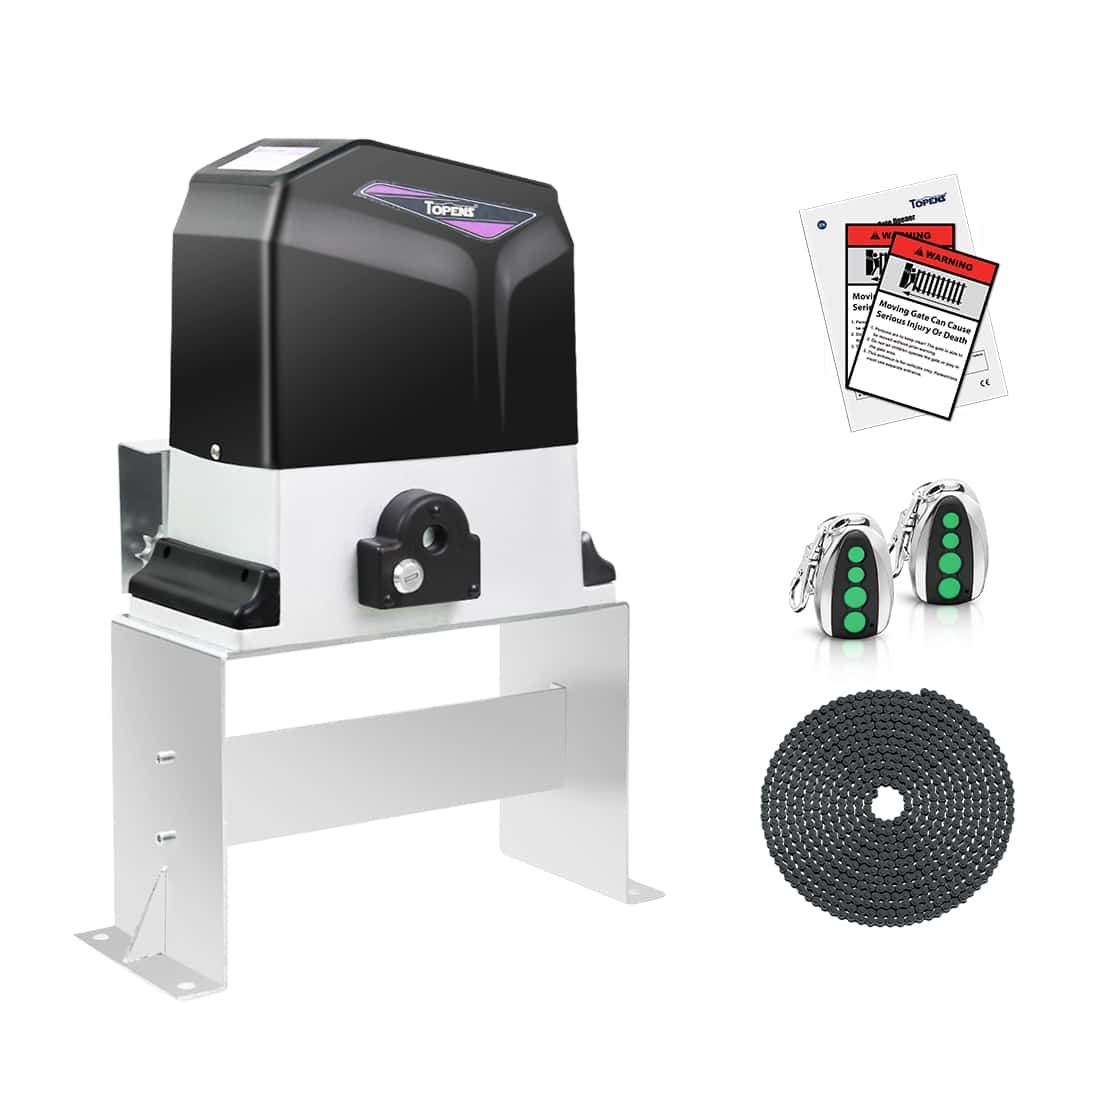
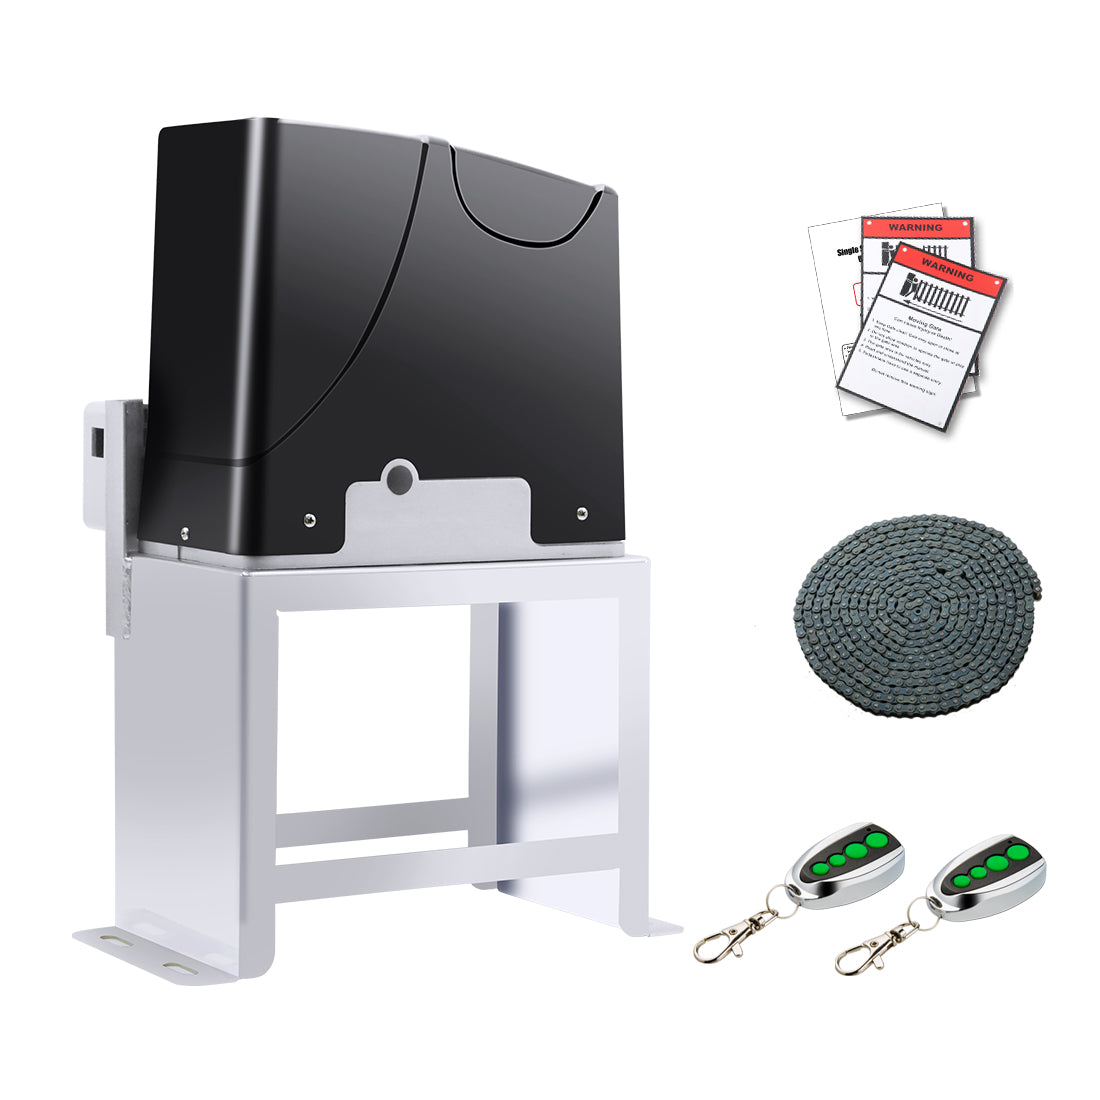
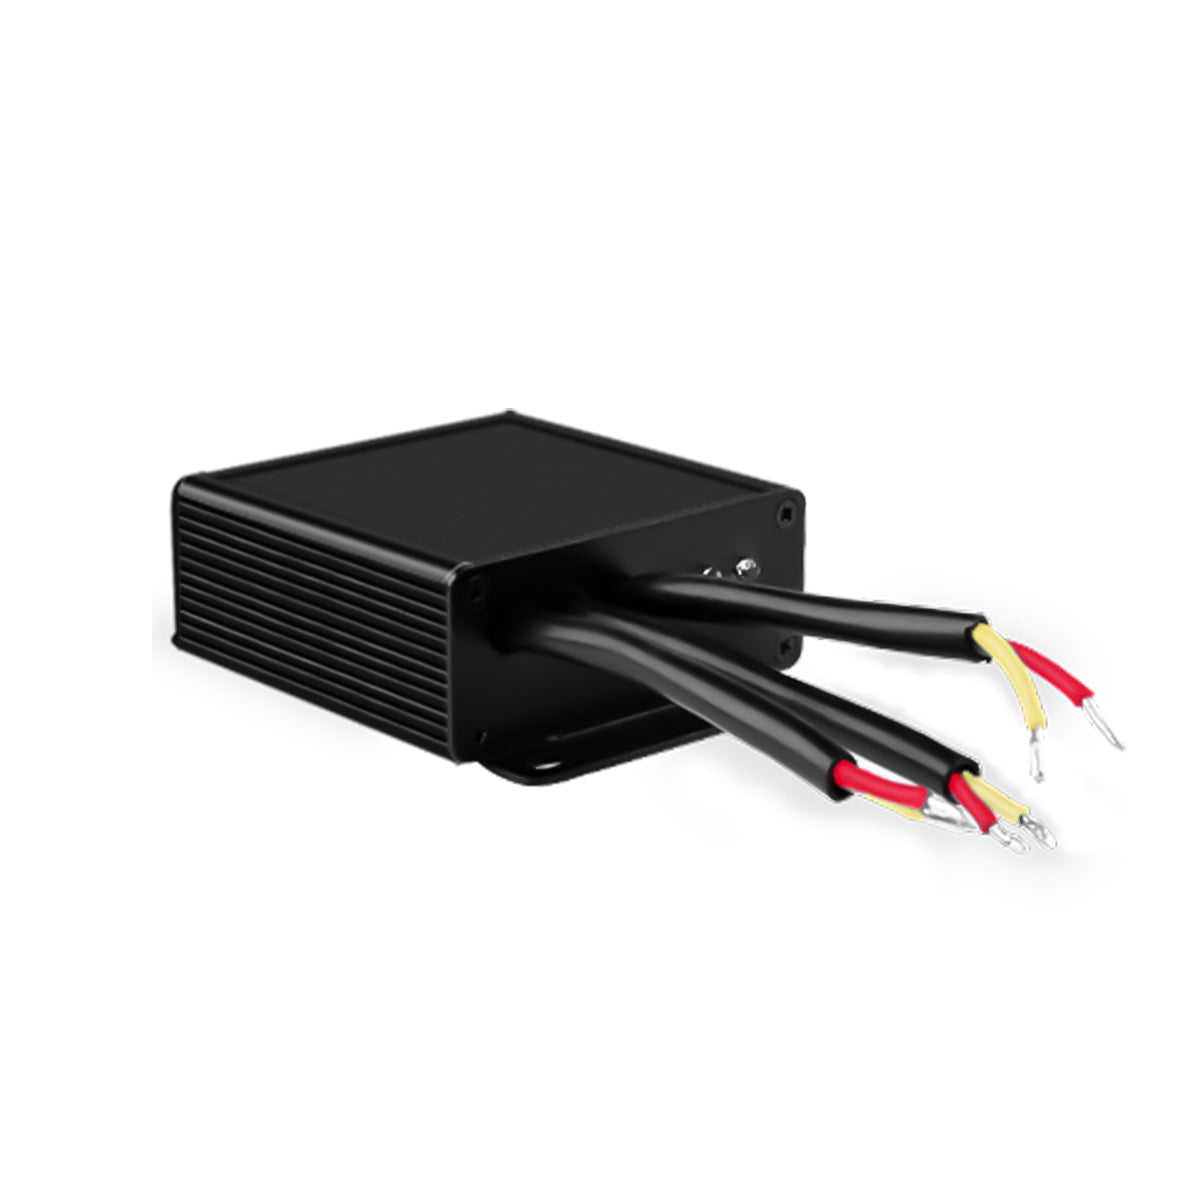
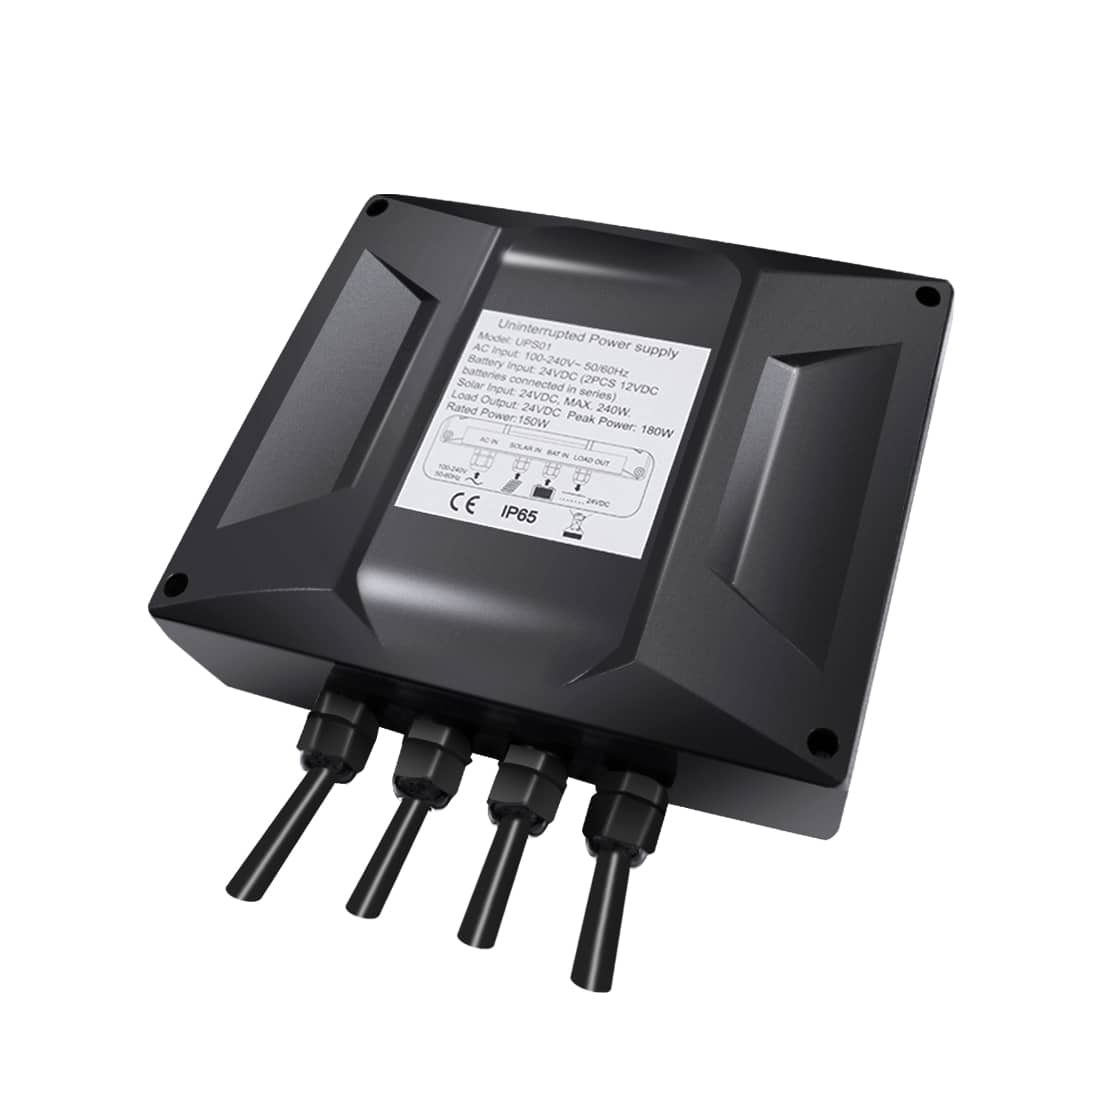
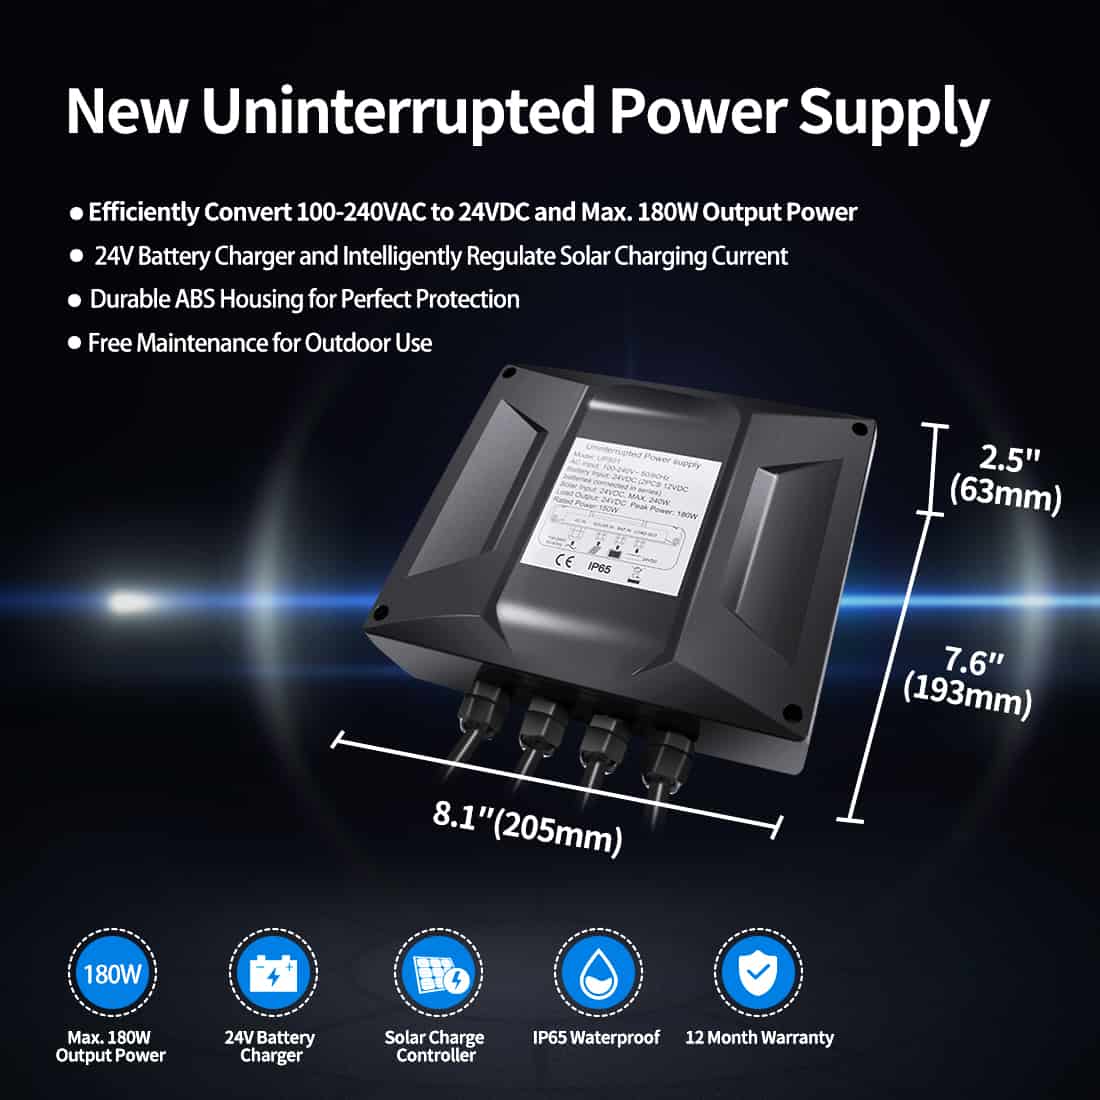
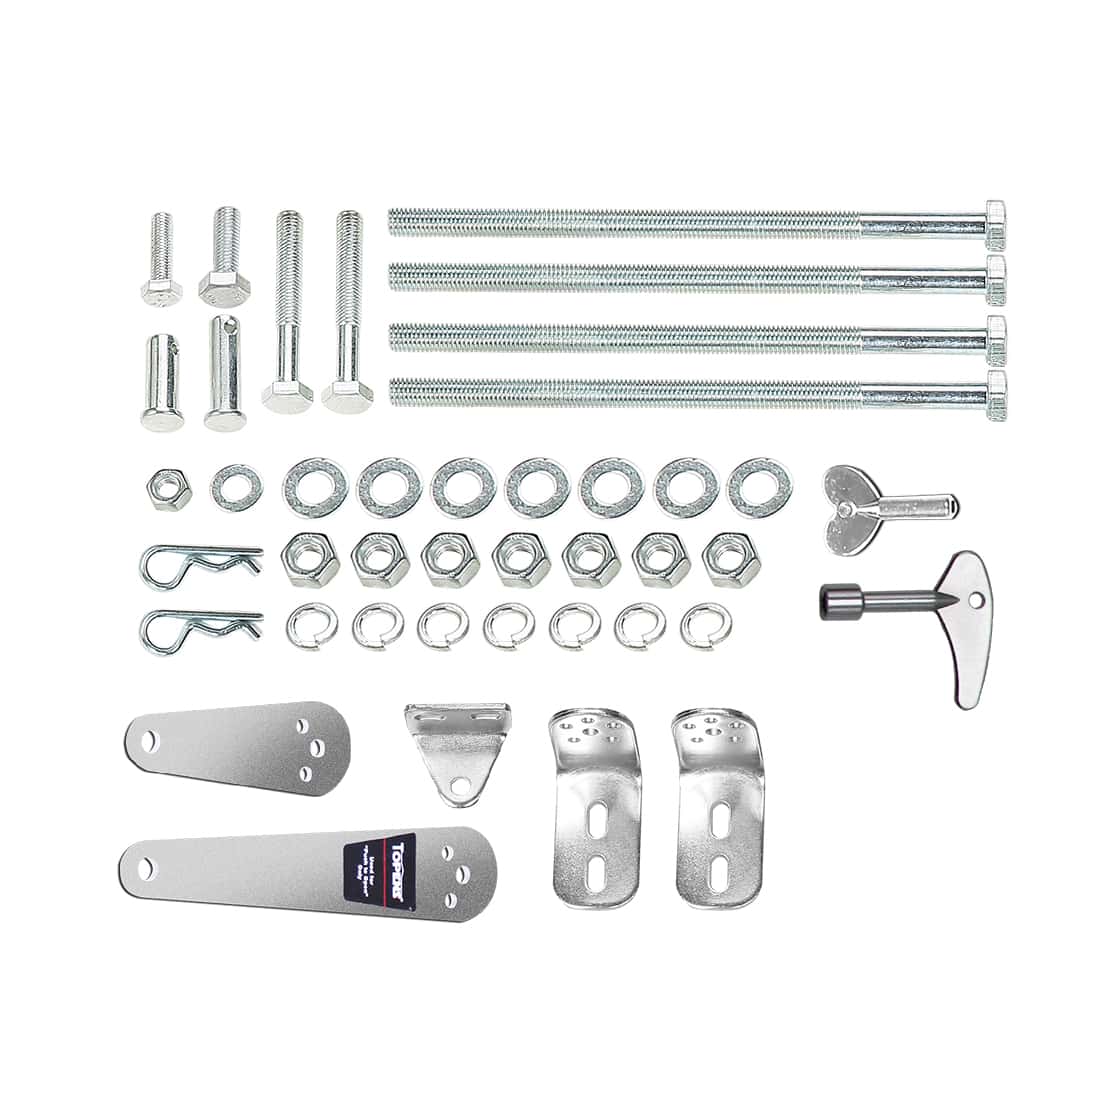
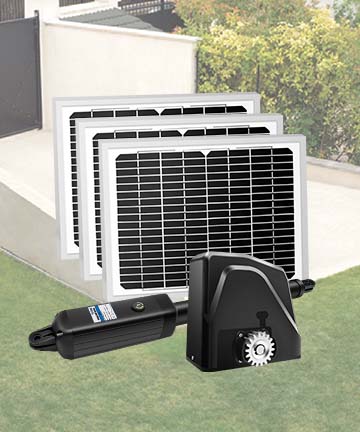
Before starting the installation, make sure you have all the necessary equipment and tools ready. These typically include the gate opener unit, solar panels, solar charge controller or UPS01 Uninterrupted Power Supply (functioned as a solar charge controller), batteries (Not Incl.), mounting brackets, necessary cables, hardware, and tools such as a wrench, drill, and wire strippers, etc. If your kit doesn't include some tools, you can easily find them at a hardware store.

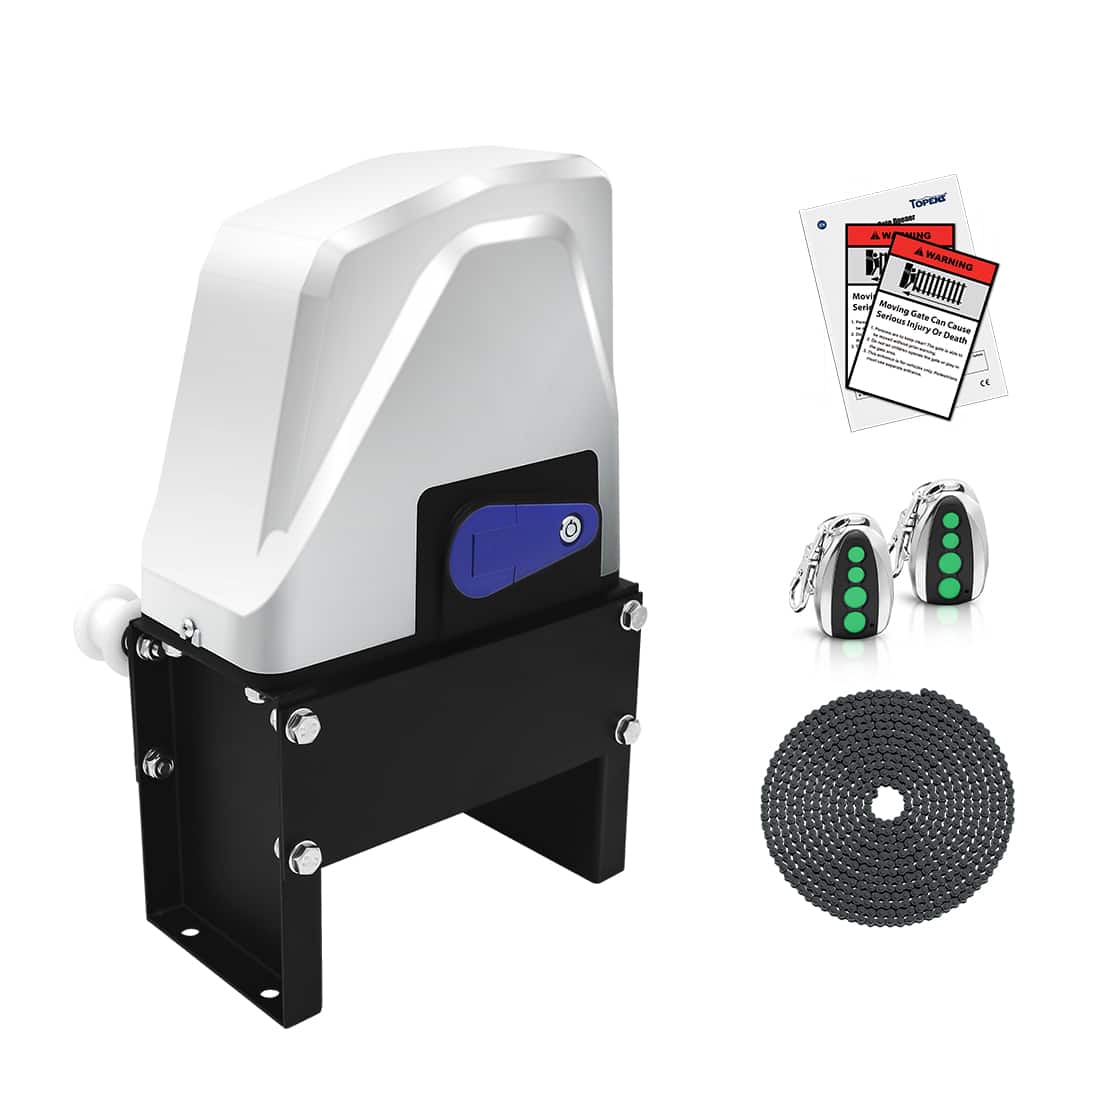
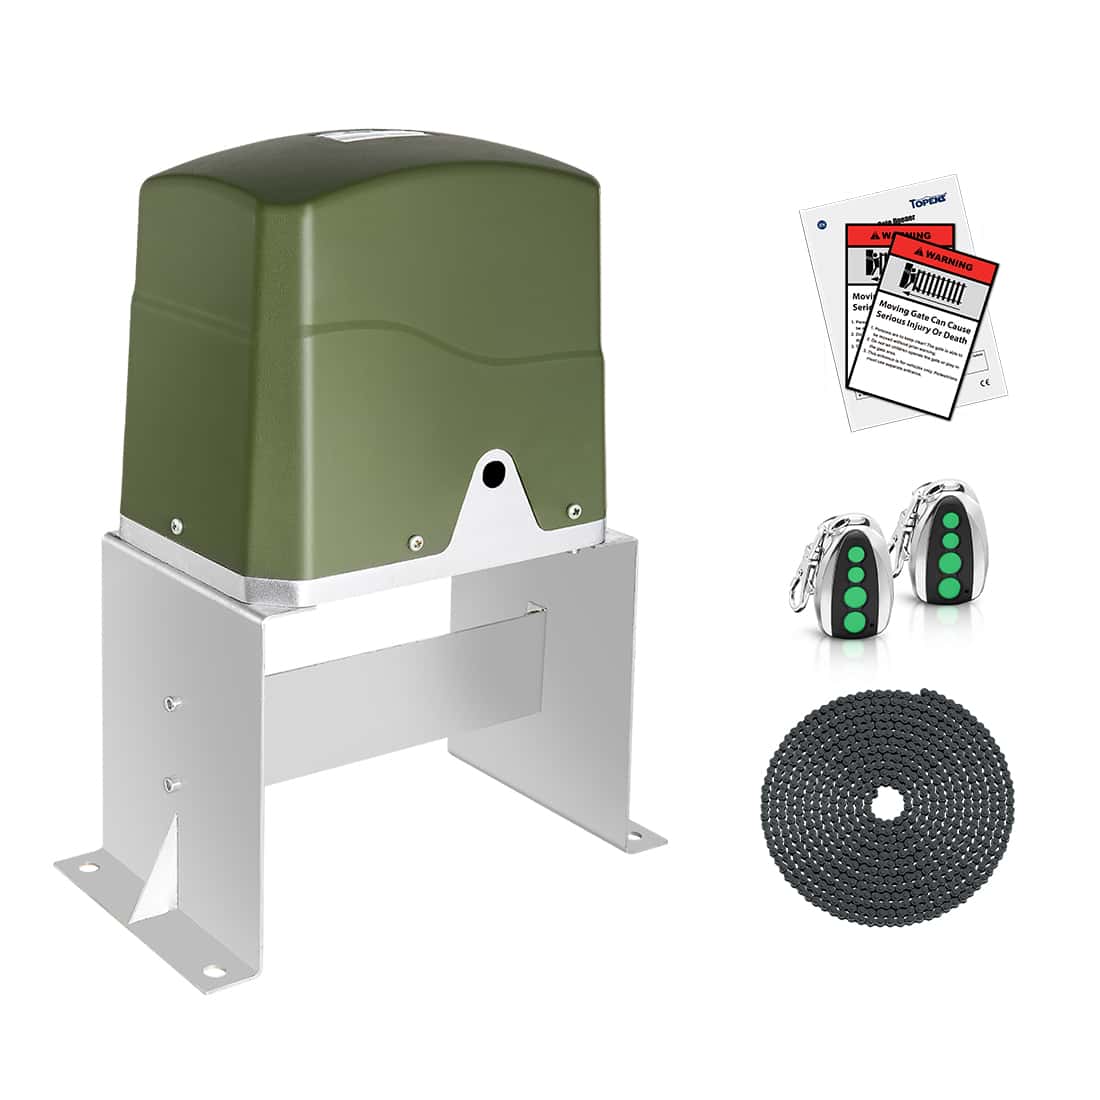
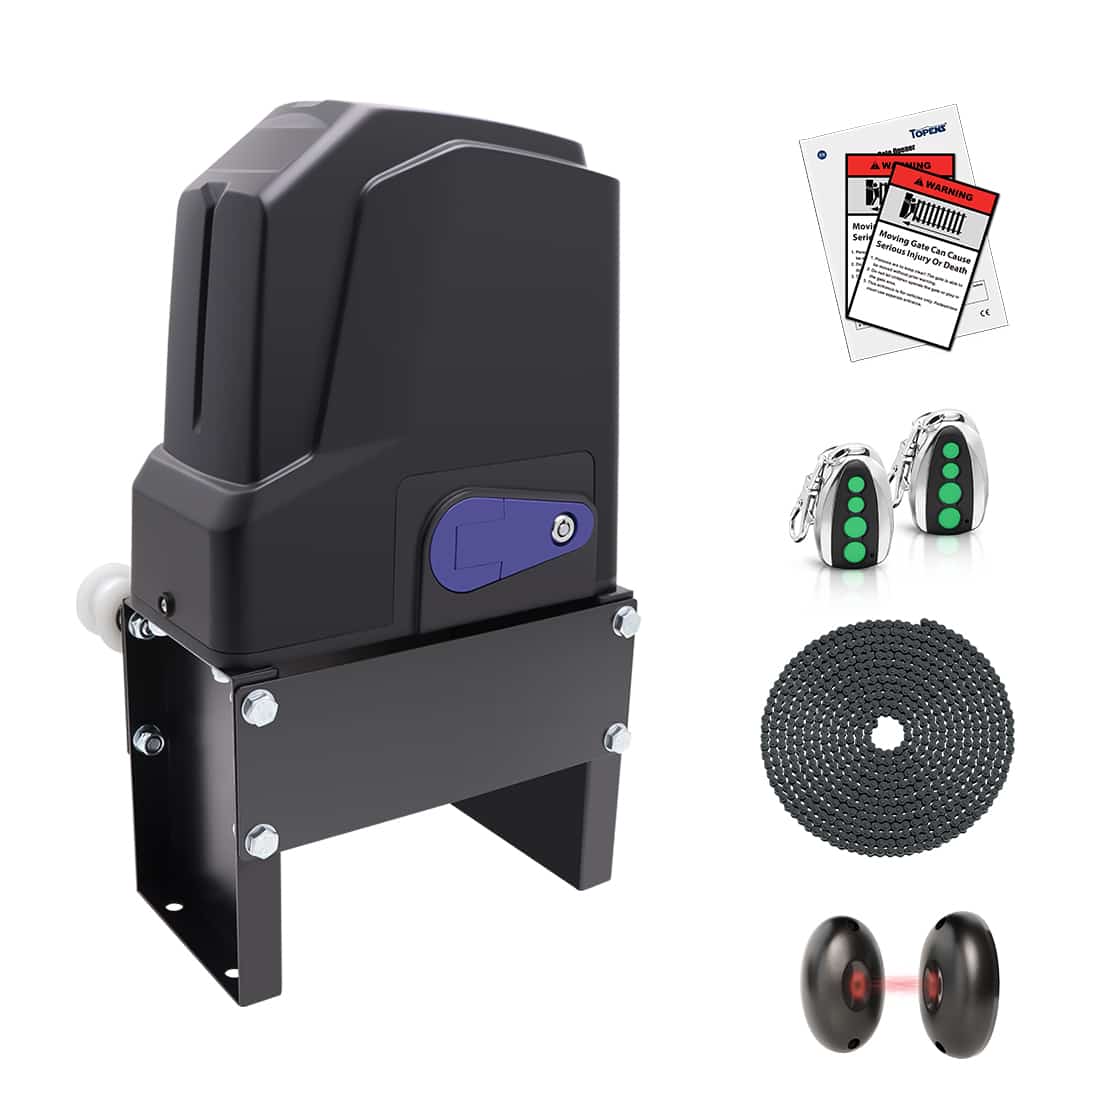
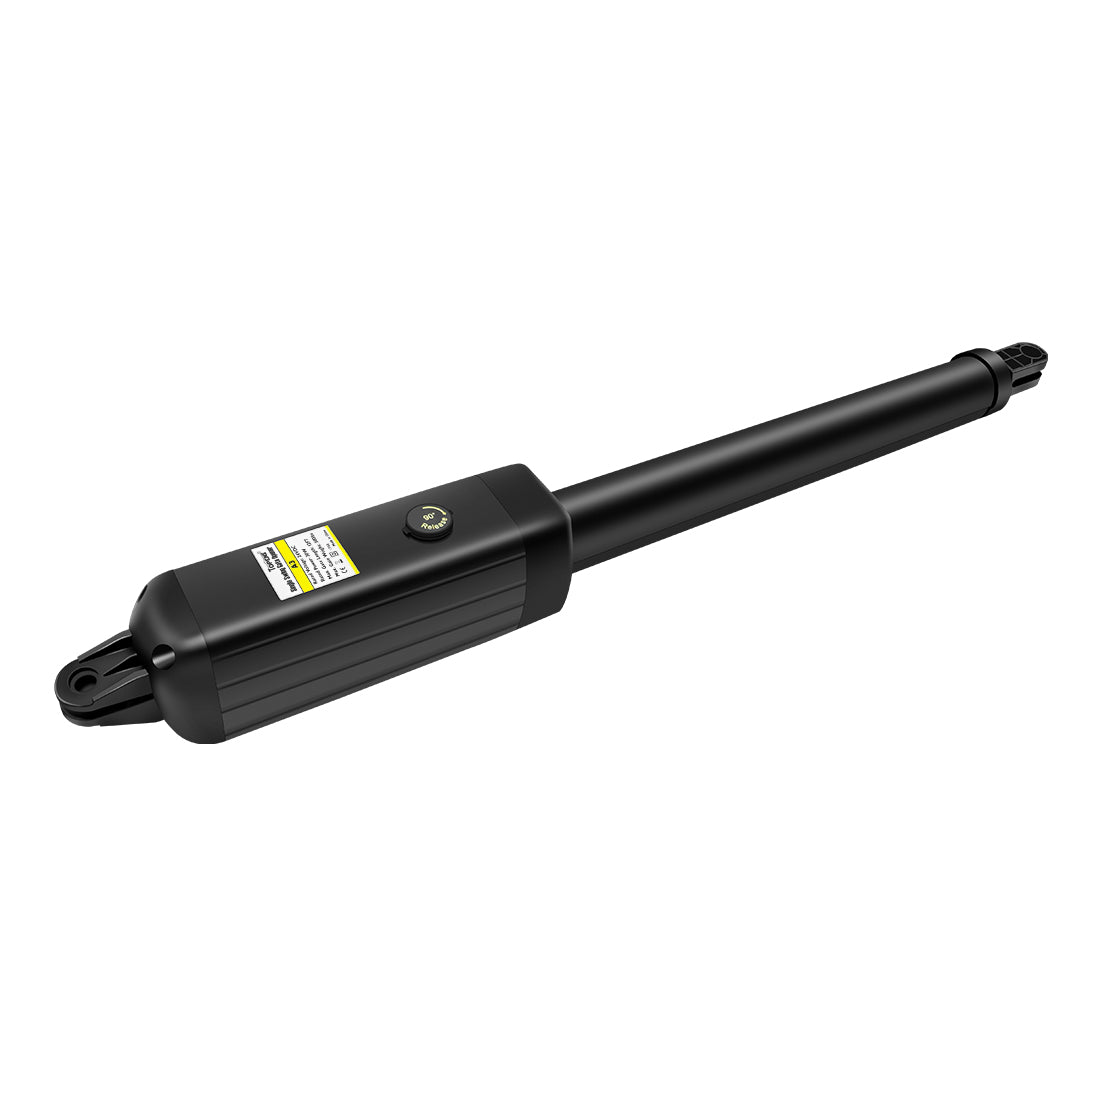
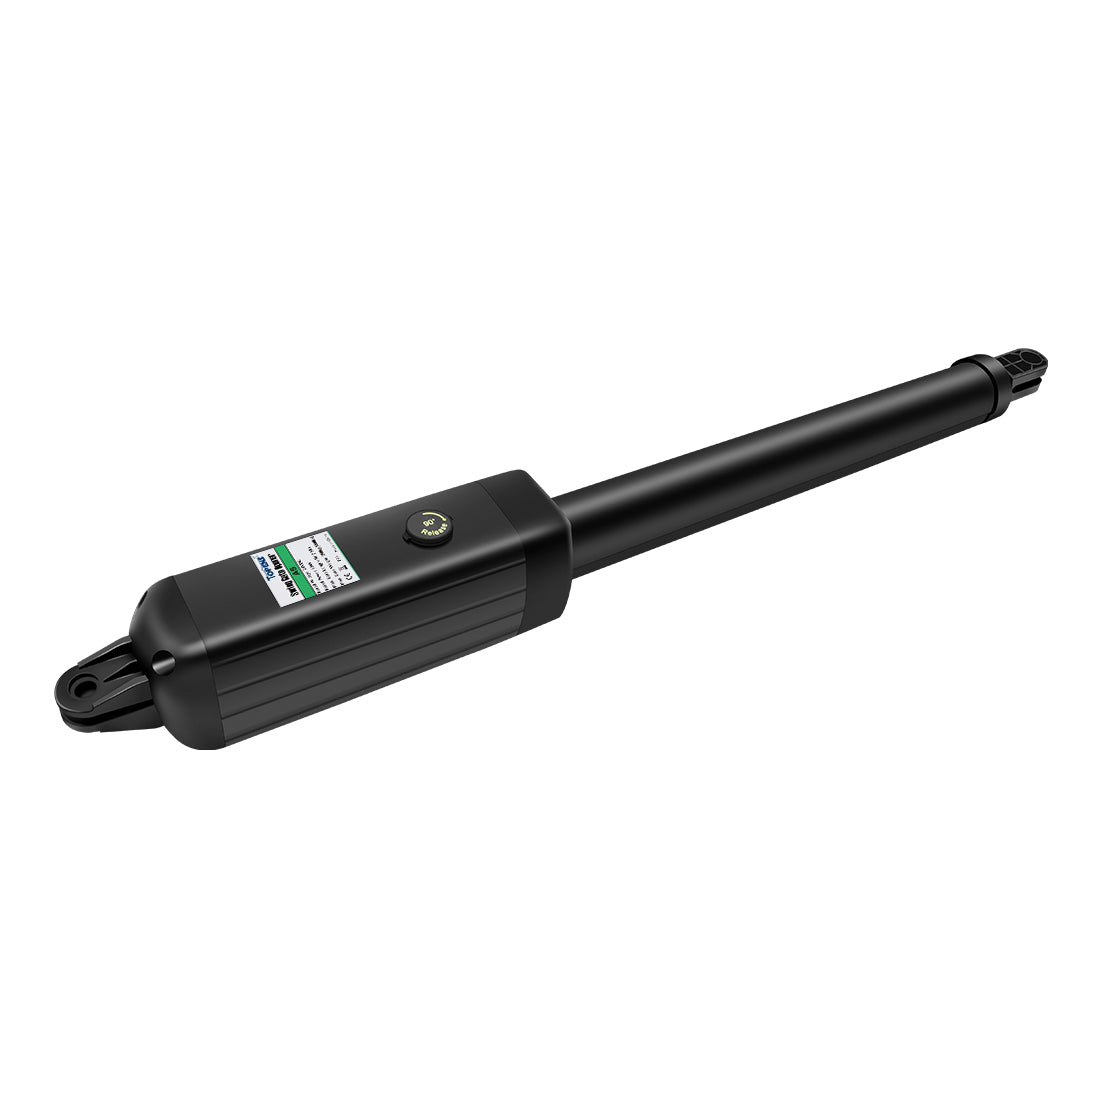
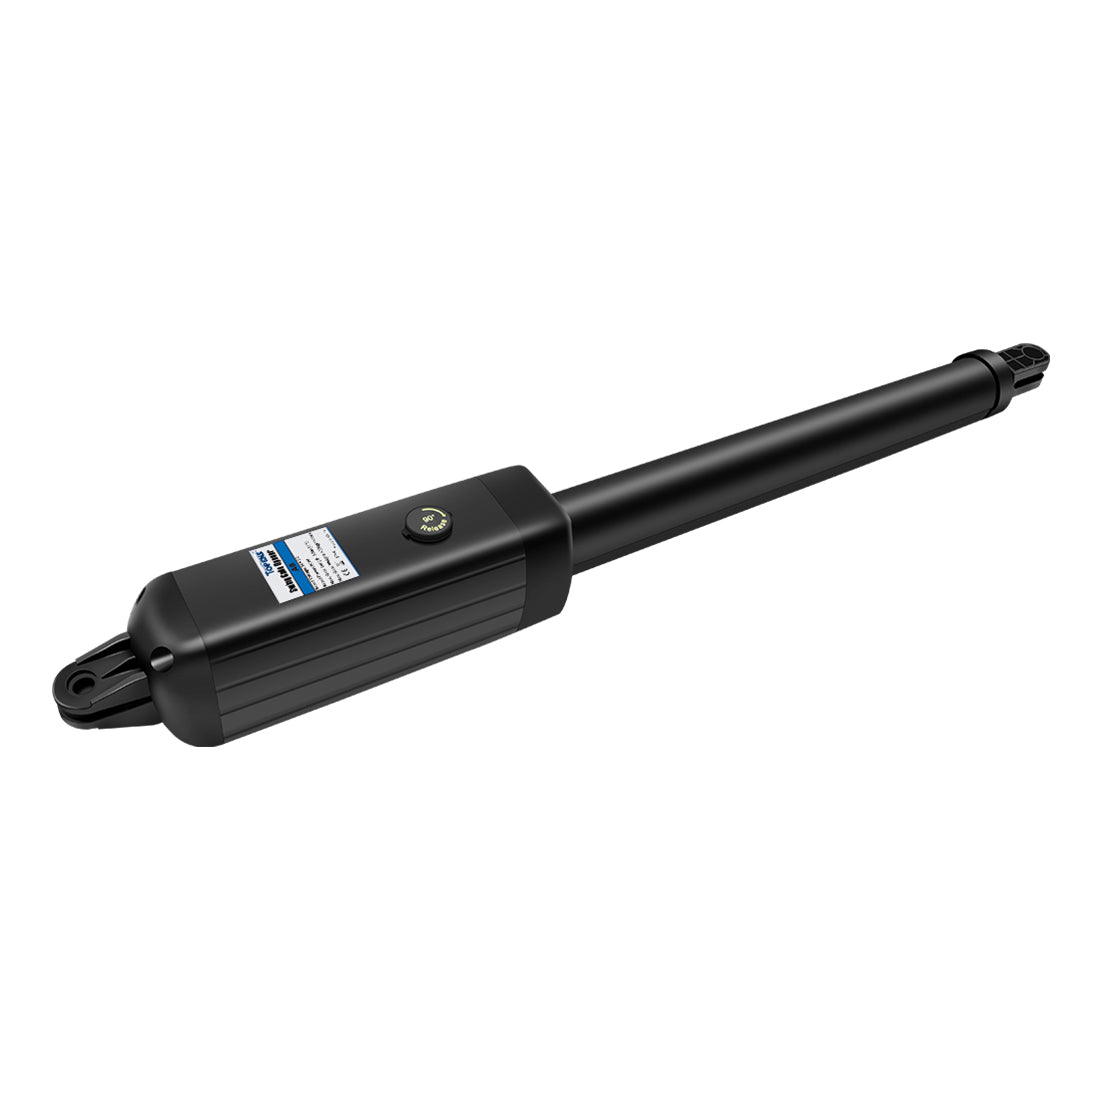
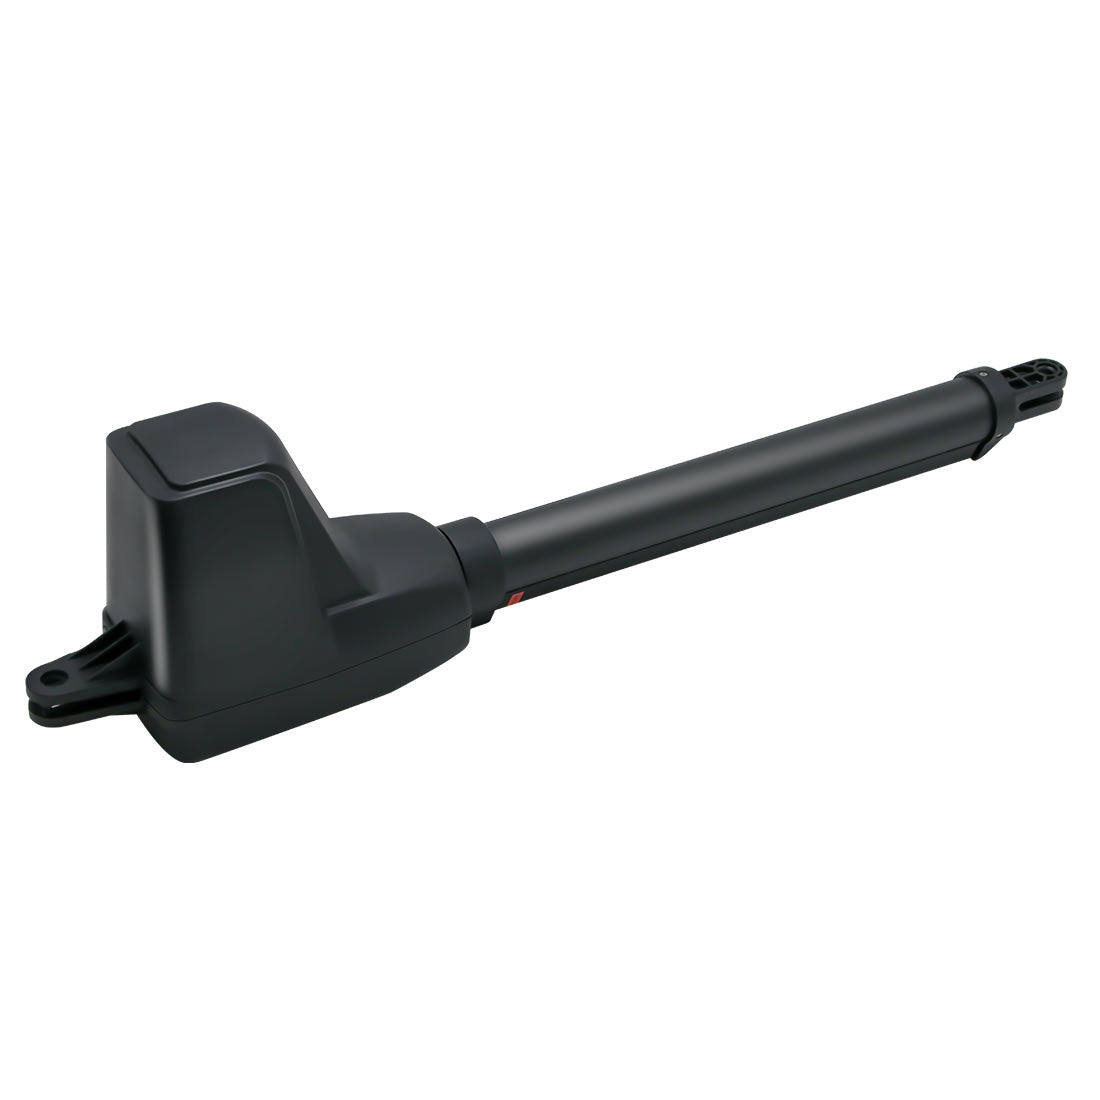
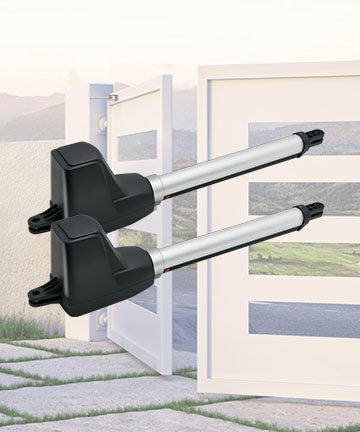
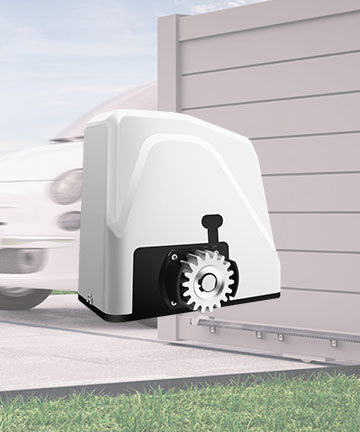
Step 2: Install the Gate Opener Unit
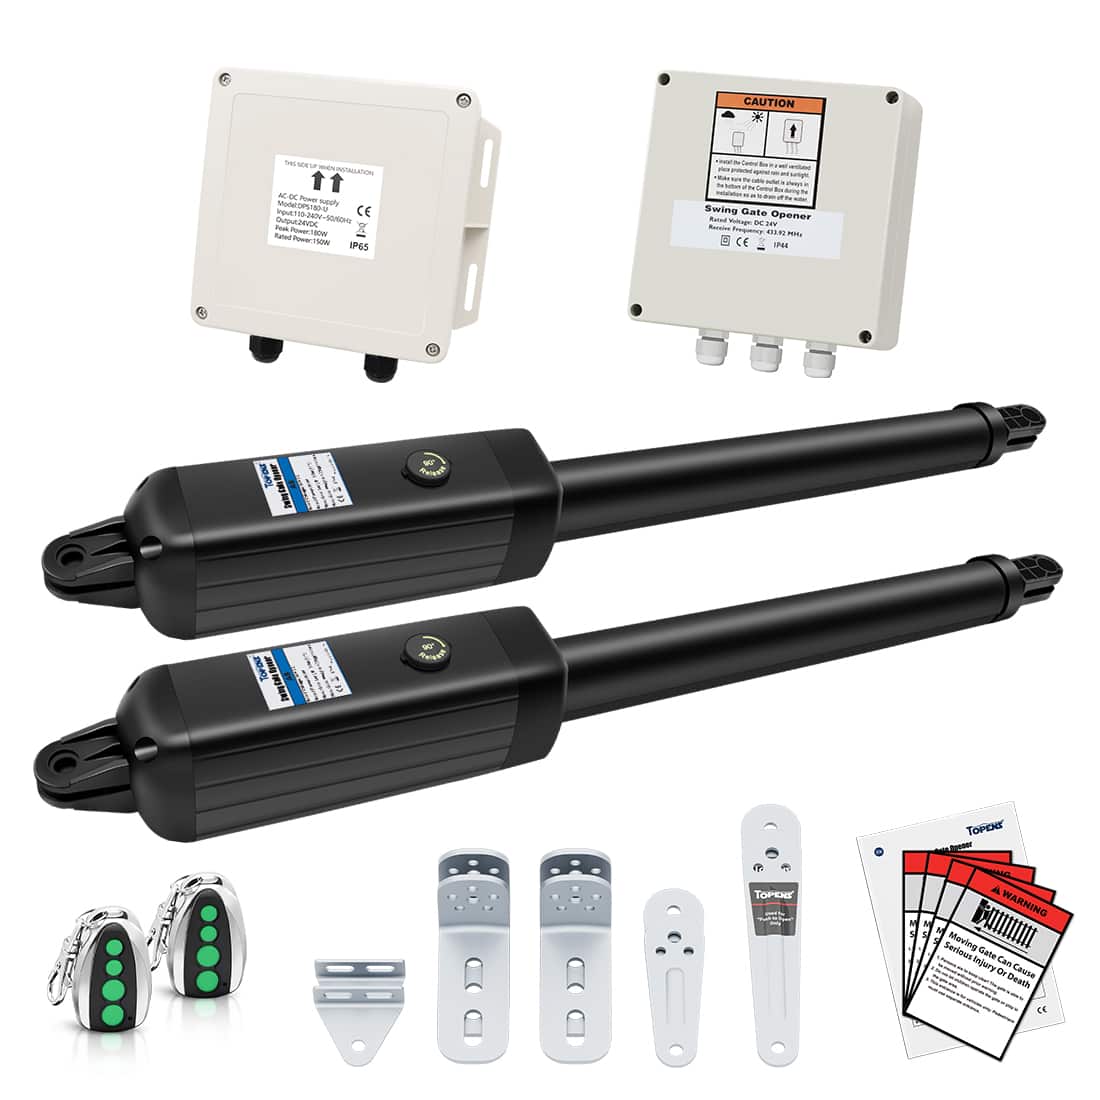
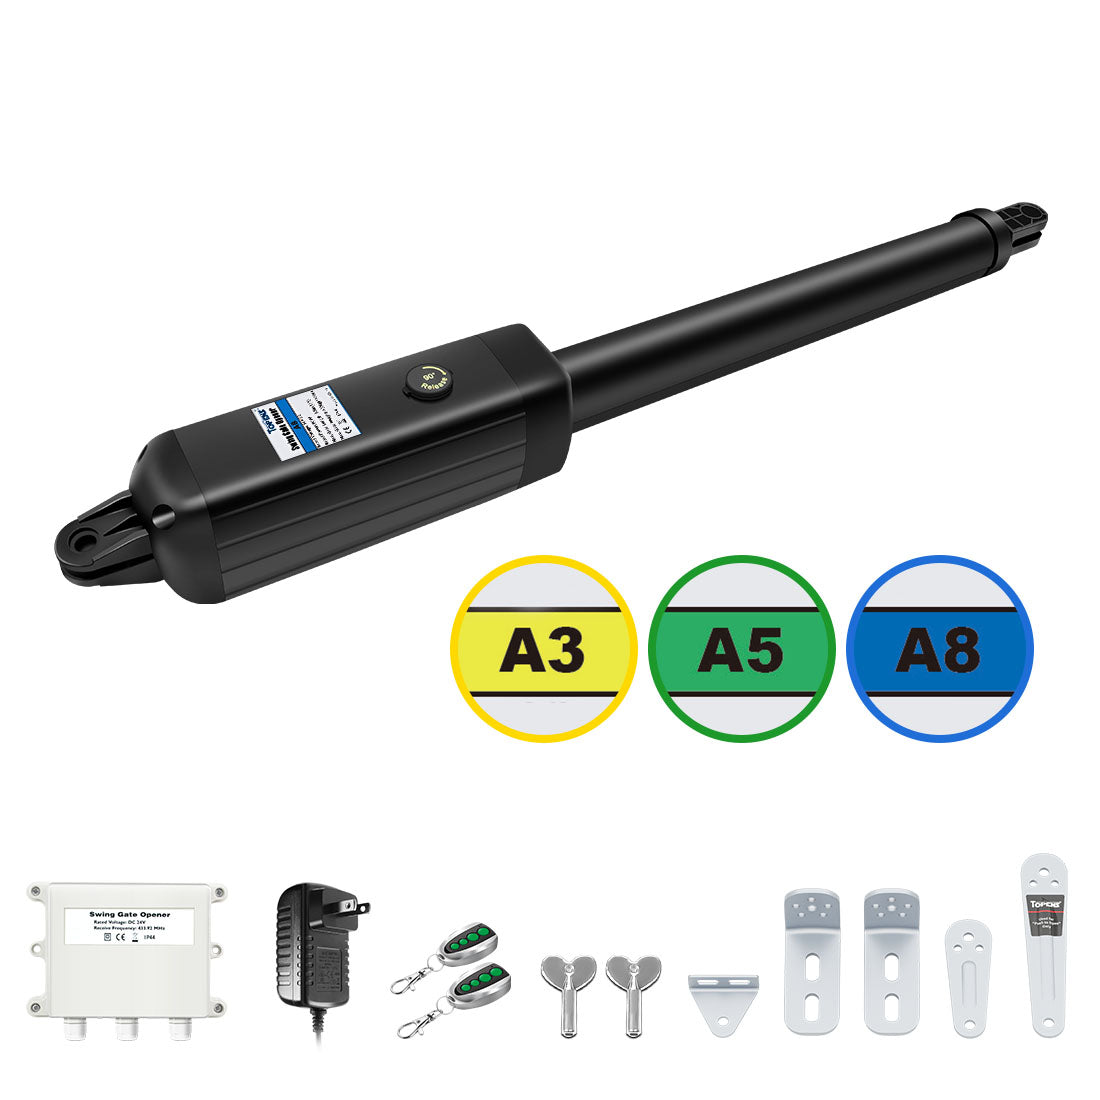
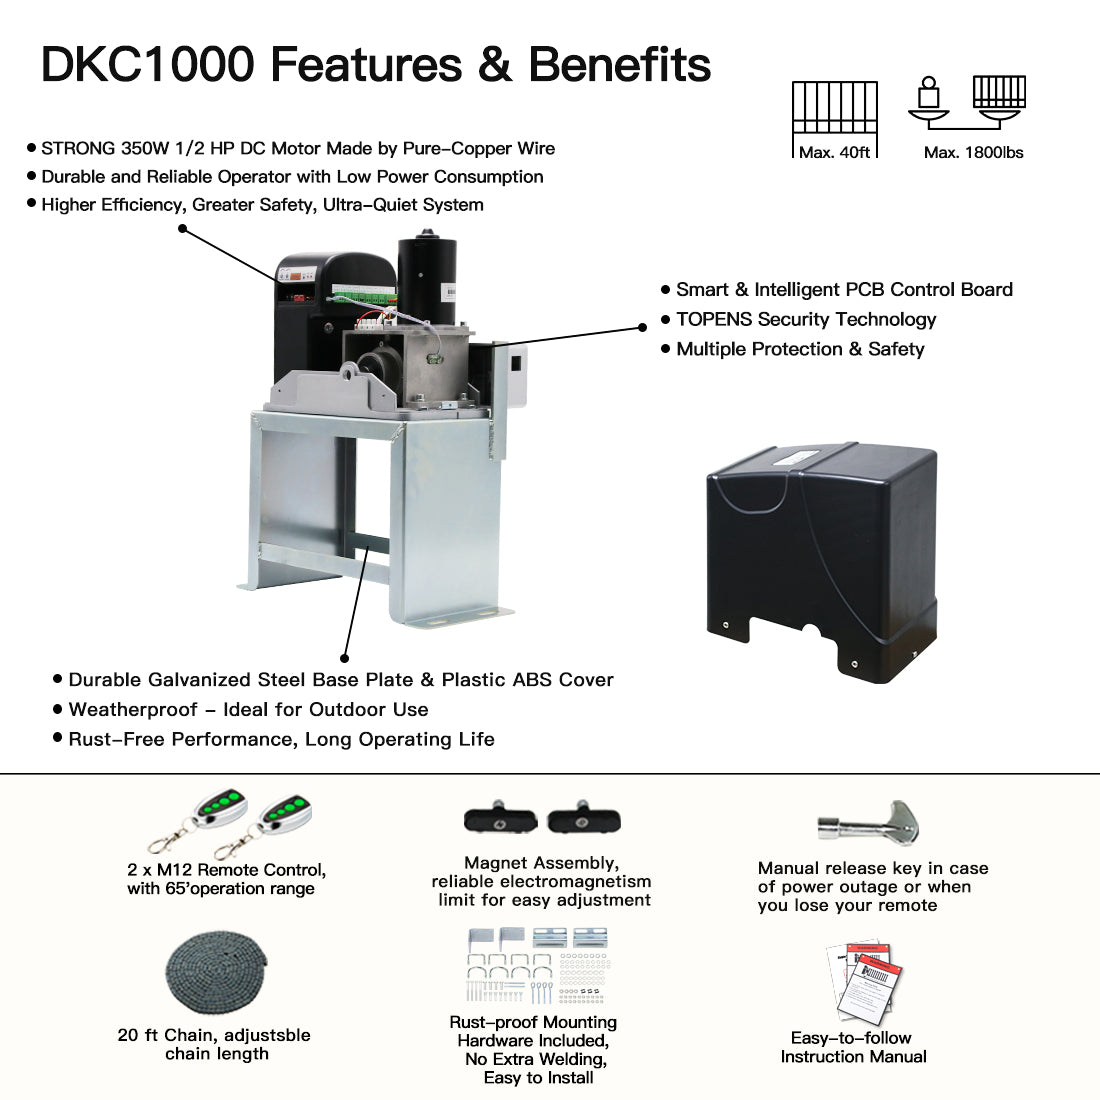
Determine the ideal position for your gate opener unit and install it according to the instructions in the user manual. Ensure that the gate opener is securely and correctly installed.
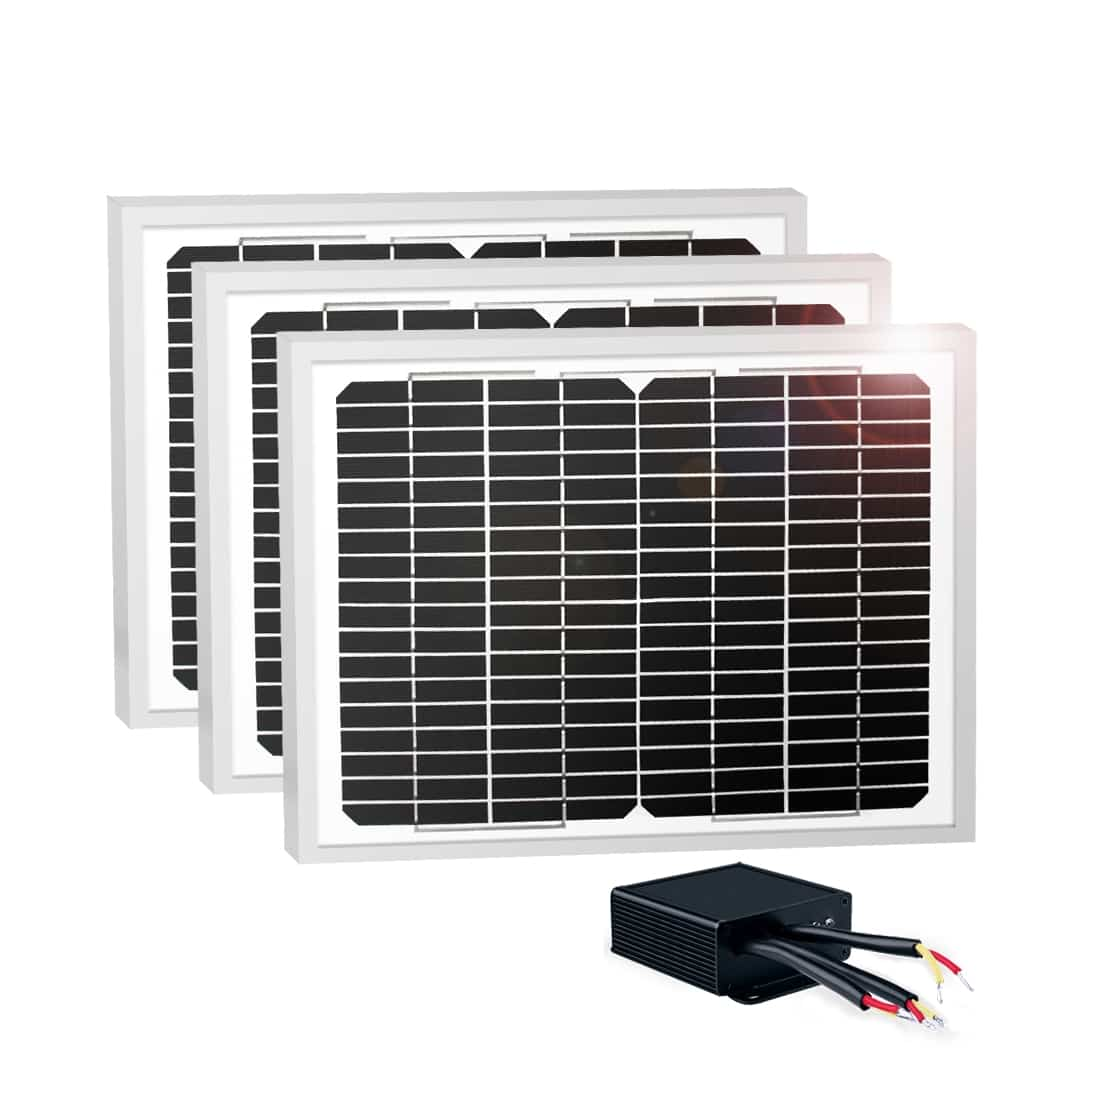
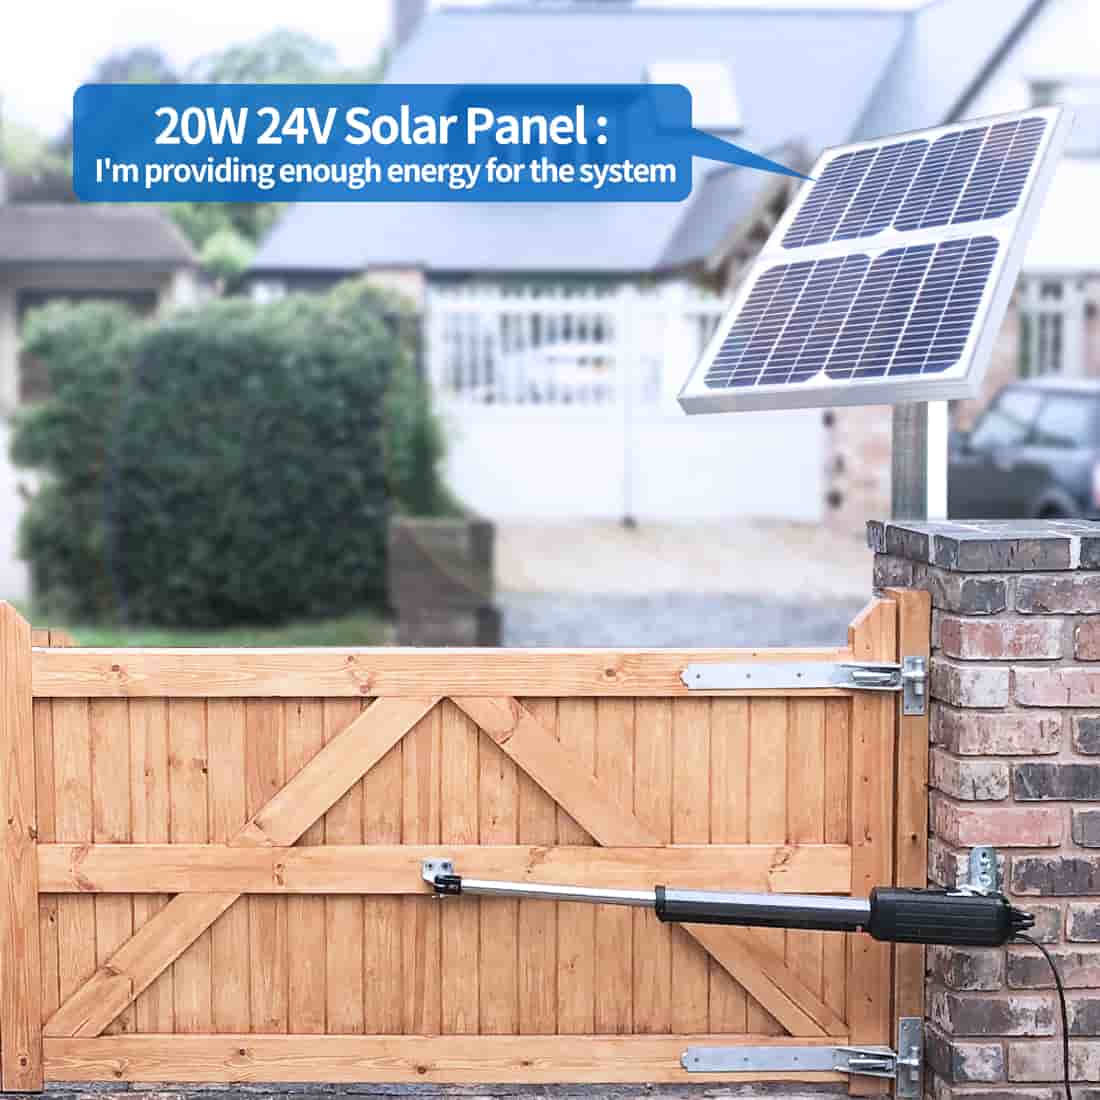
Step 3: Assemble the Solar Panels
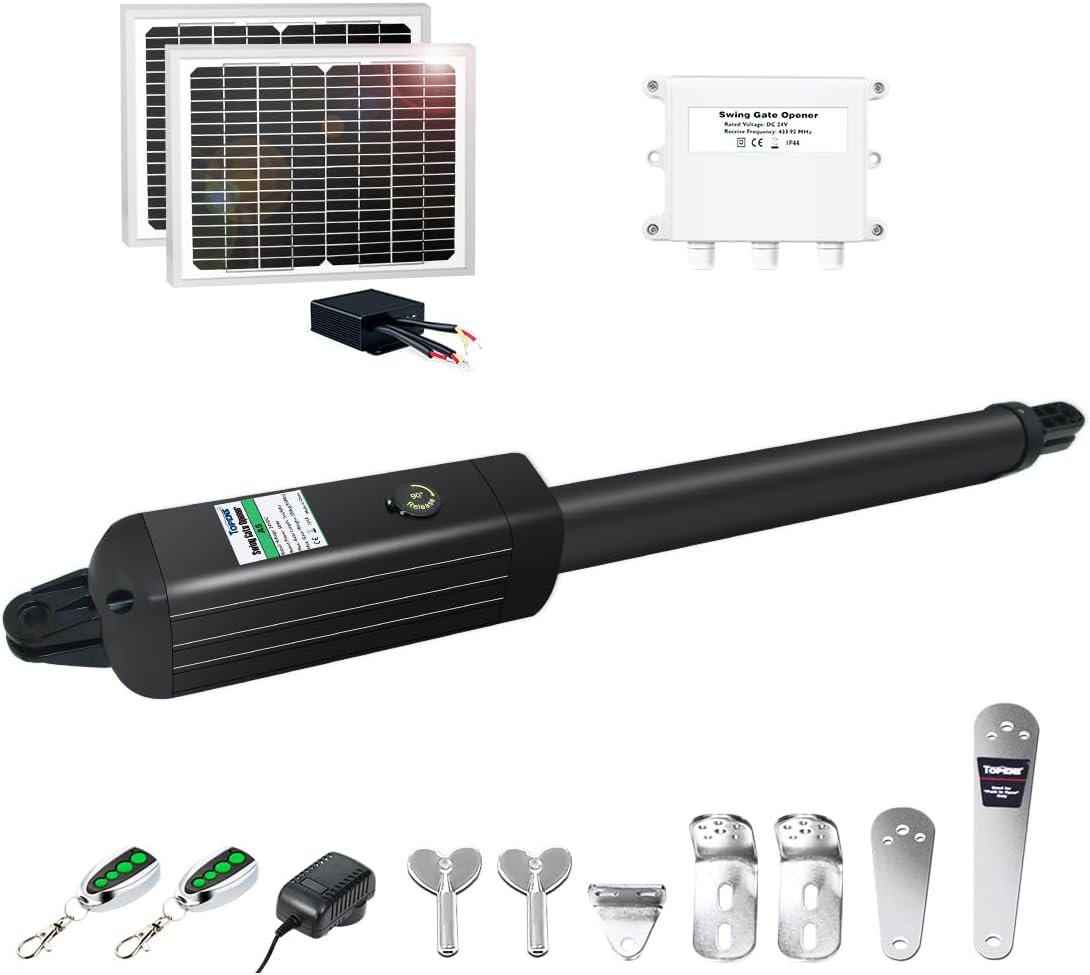
Assemble the solar panels with mounting brackets and screws. The supporting bracket provided is for maintaining the panels at the correct angle to maximize sun exposure.
Notes:
- The solar panel charging kit is ONLY included in some TOPENS solar supported models. Please refer to your specific package.
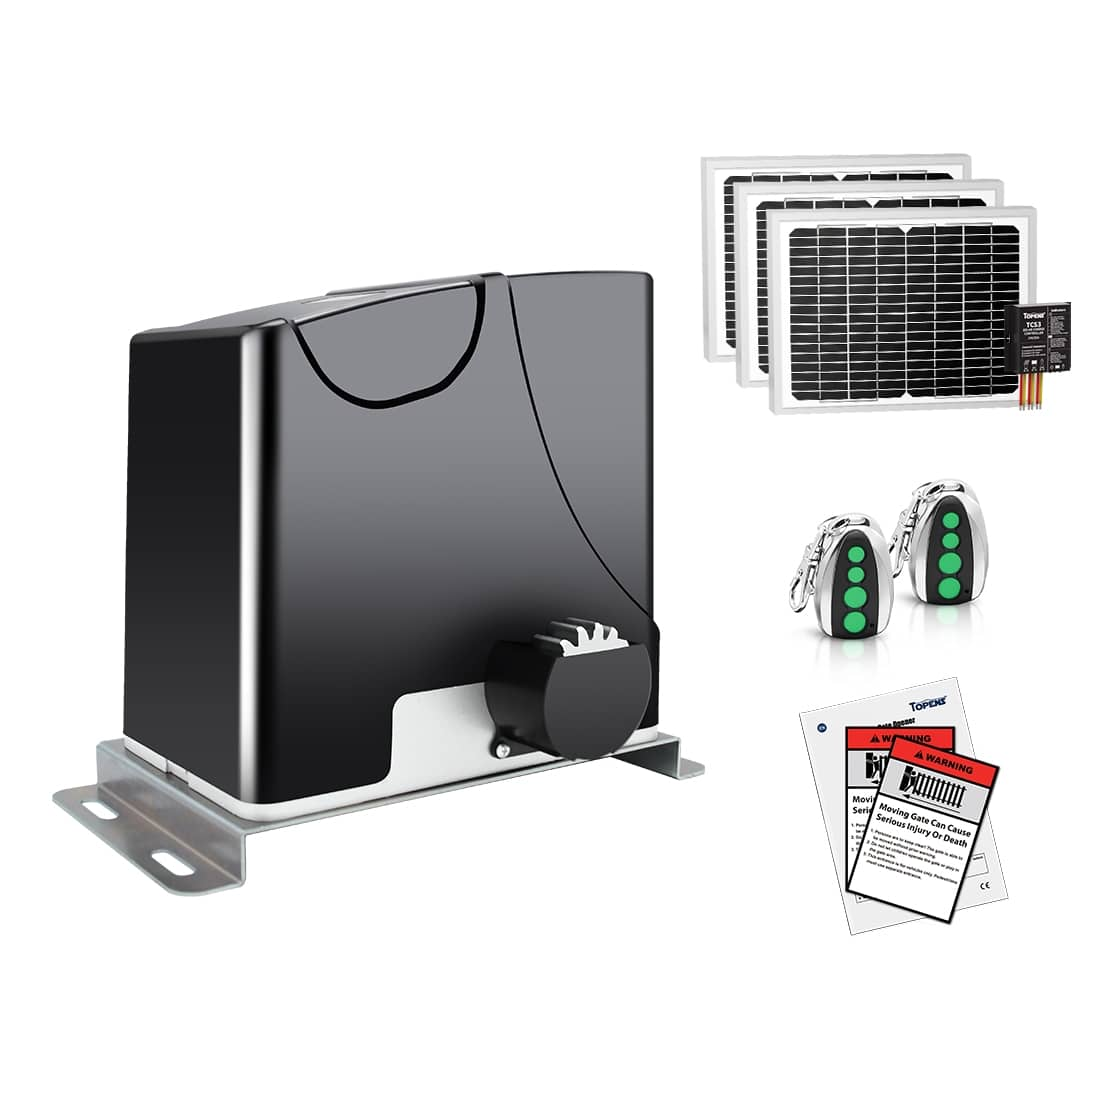
- There are two solar kit specifications available at TOPENS store: TSP30 24V 30W Solar Panel Charging Kit and TSQ20W 24V 20W Solar Panel Kit. Please buy according to your own needs.

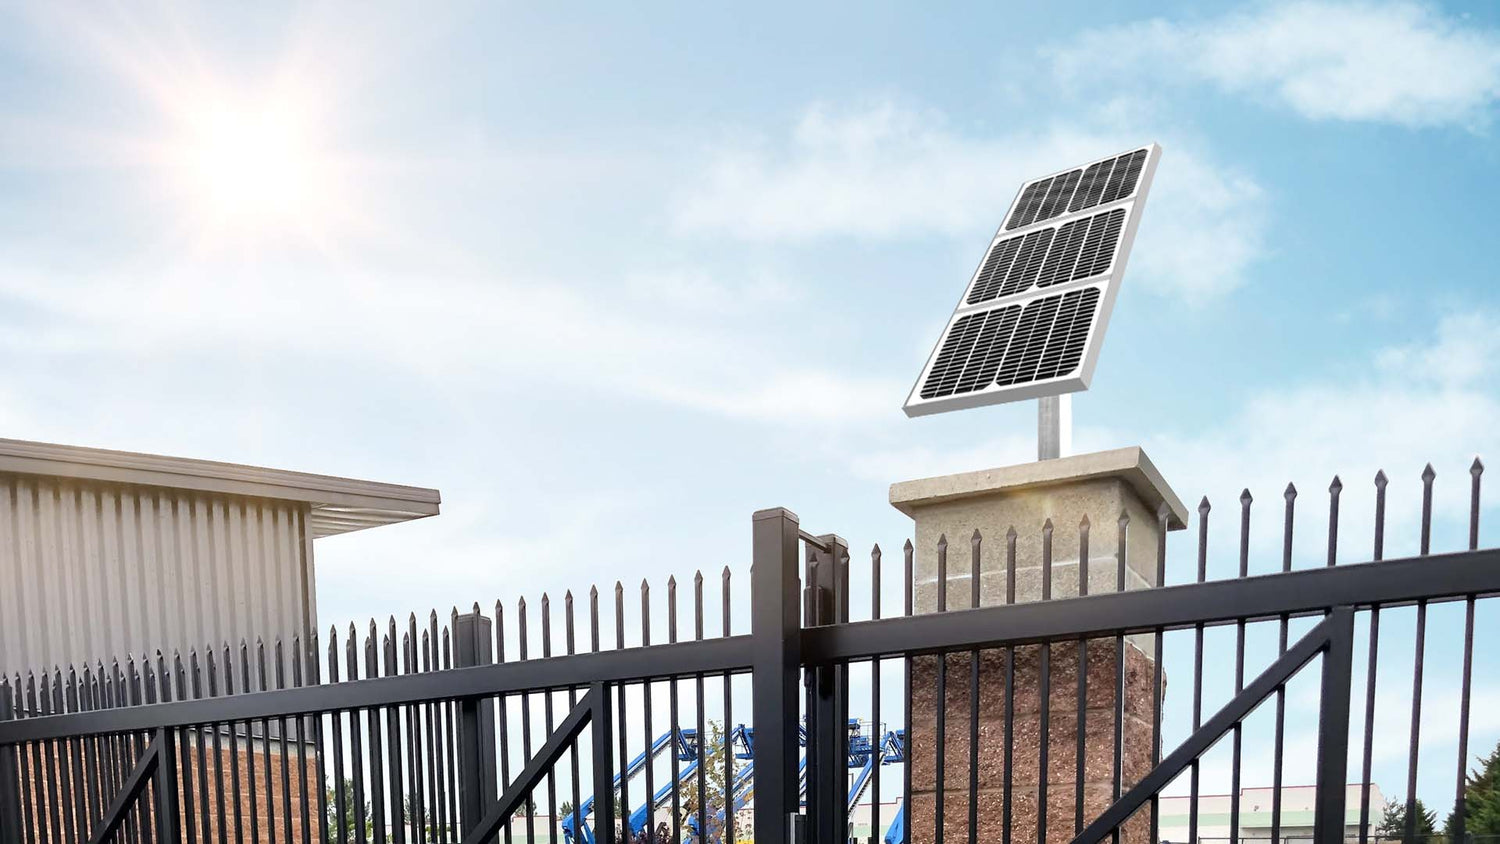
Step 4: Choose the Right Location for Solar Panels
Find a location close to the gate control box for the solar panels. Keep in mind:
- Ensure the solar panels are facing the true south or in the direction that receives the most sunlight.
- There must be no shade or obstruction that will block the solar panels.
- Use the supporting bracket provided to maintain the proper angle.
Step 5: Position and Mount Solar Panels
Adjust the solar panel assembly to achieve the optimal angle for capturing sunlight. Securely mount the panels in place using the hardware provided.
Step 6: Install the Battery
Mount the required 24V 12Ah battery (Not Incl.) in a safe, dry location near the control board. 2 pcs 12V batteries can be connected in series to 24V. The battery should be a rechargeable Sealed Lead Acid (SLA) battery. Lithium ion batteries cannot be used. A marine or automotive battery is compatible.

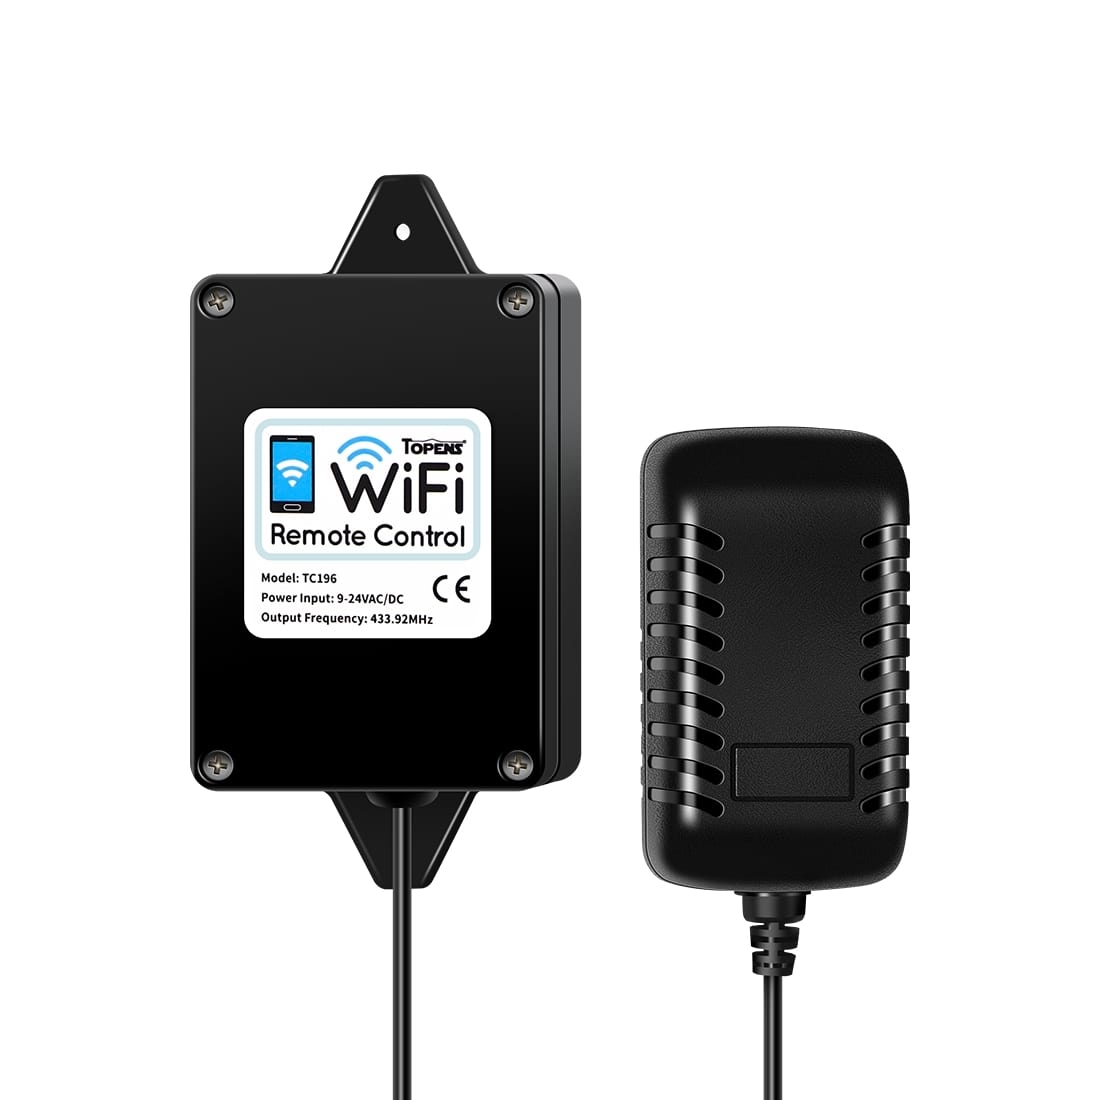
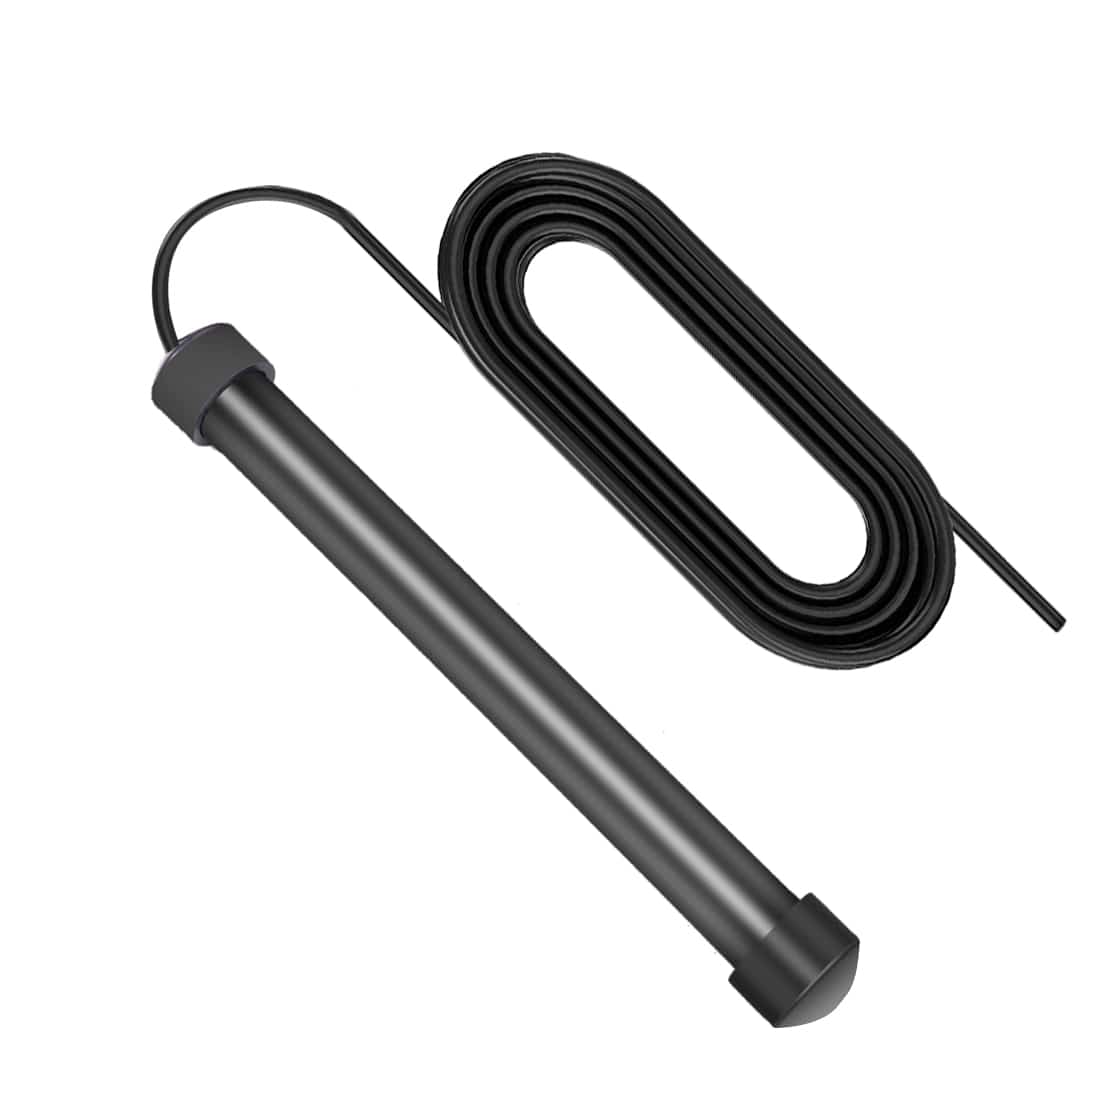
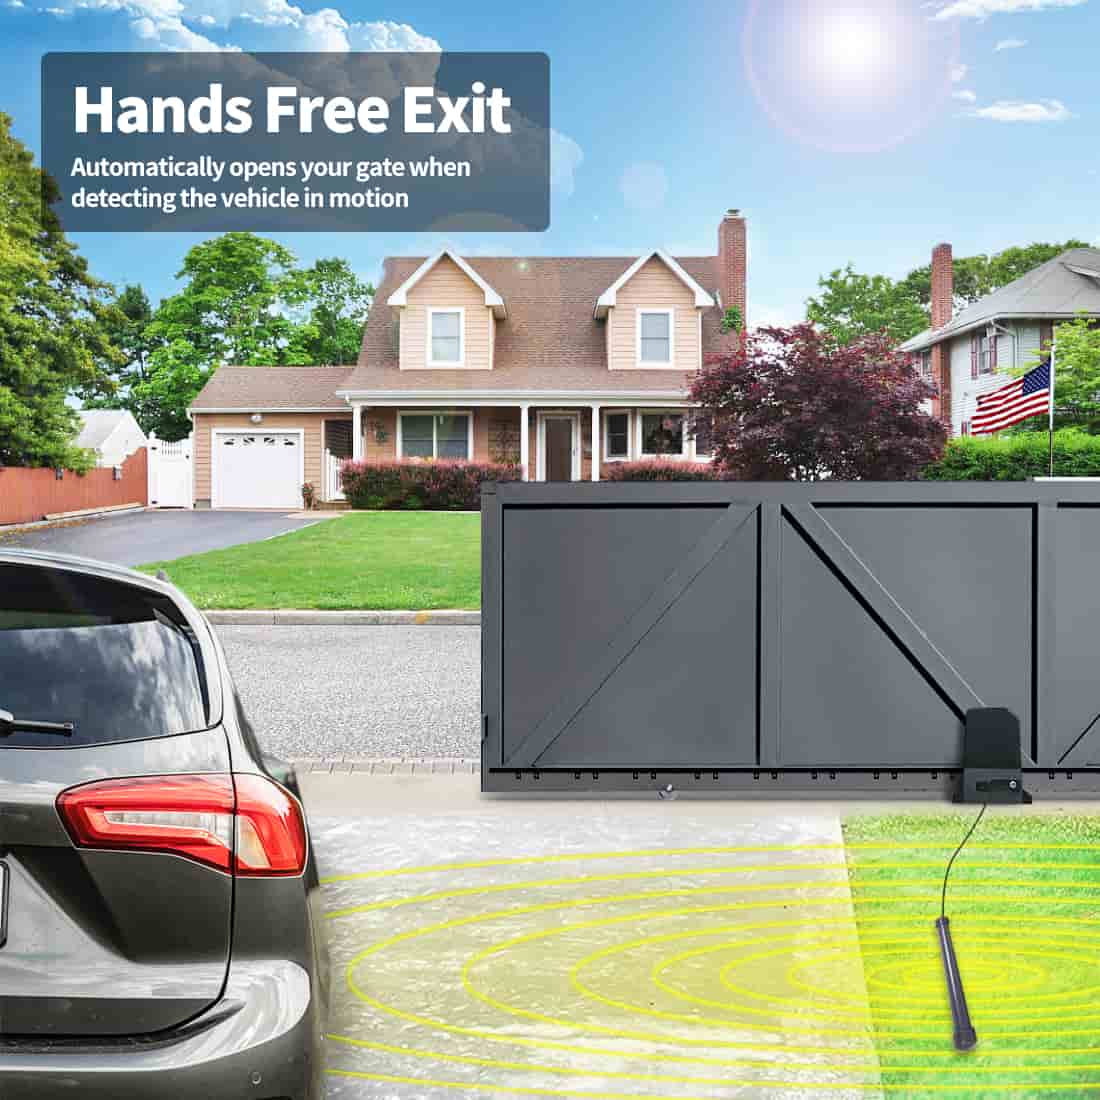
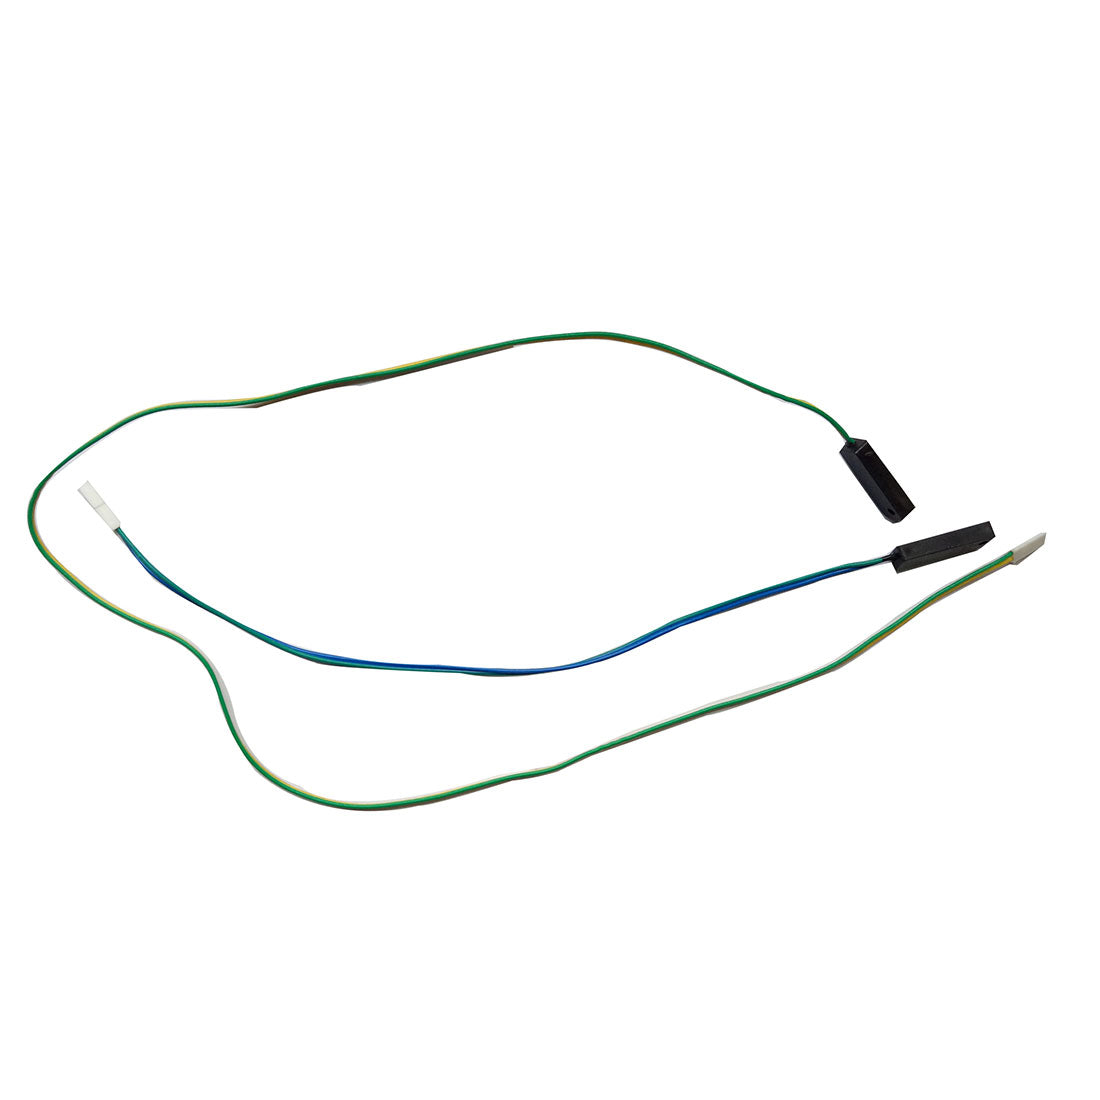
Kindly note that the connection of some wired accessories (such as the TEW3 gate exit wand) will speed up the battery drain. If batteries are chosen as the main power source and only charged by the solar panel, both the power of the solar panel and the battery capacity should be increased accordingly. Contact our customer service via email support@topens.com for detailed information.
Step 7: Wiring
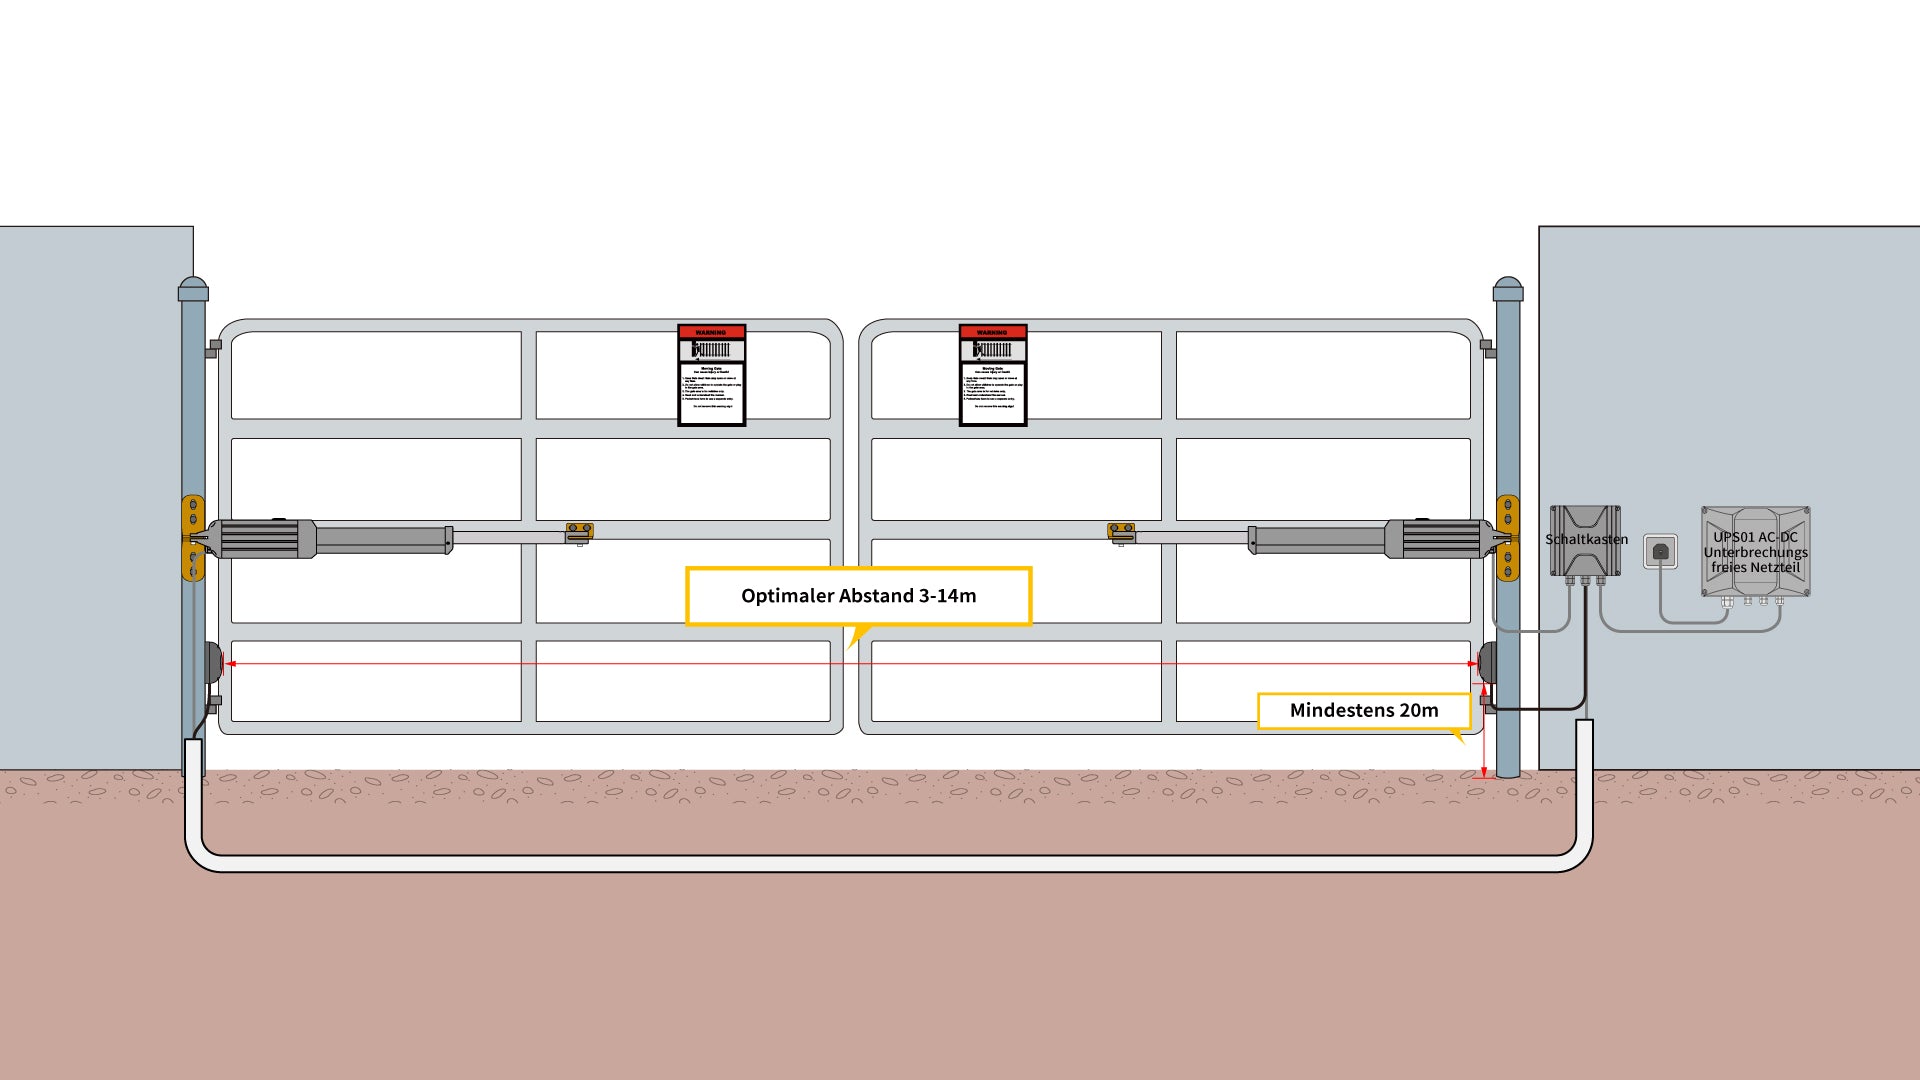
Turn off your gate control box. Carefully connect solar panels in parallel and follow the wiring diagram provided in the user manual to connect the solar controller / UPS01 power supply to the control board, batteries, and solar panel in sequence. Be sure to pay close attention to the positive and negative terminals during the wiring process, and remember to wear protective gear such as gloves for safety.
If there are trees or buildings nearby, and your solar panel needs to be installed several feet from the control box to receive adequate sunlight, use an extension cable. Ensure that the maximum distance between the solar panel and the solar controller / UPS01 does not exceed 50 feet (15 meters).

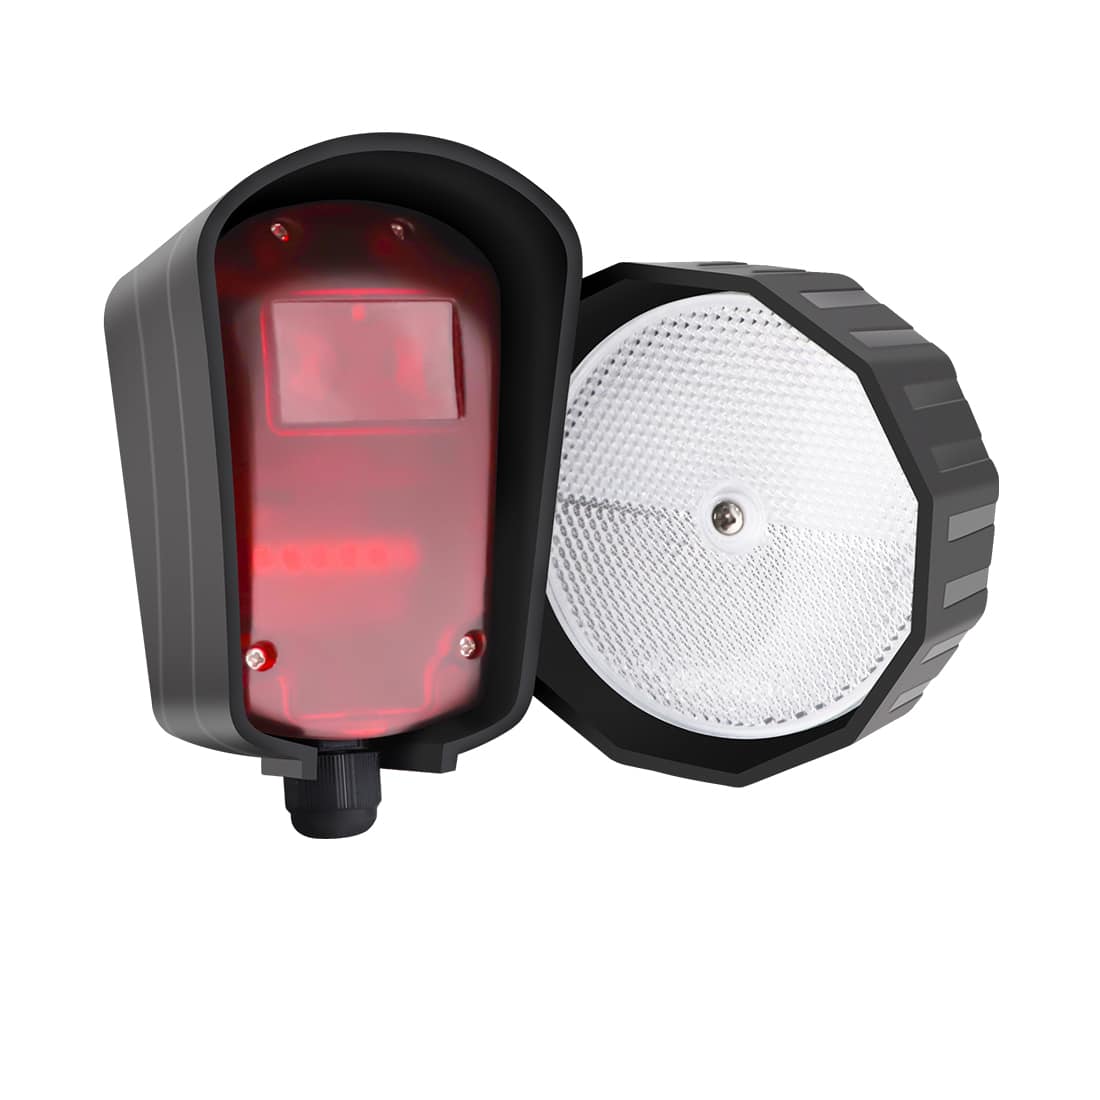
Step 8: Test the System
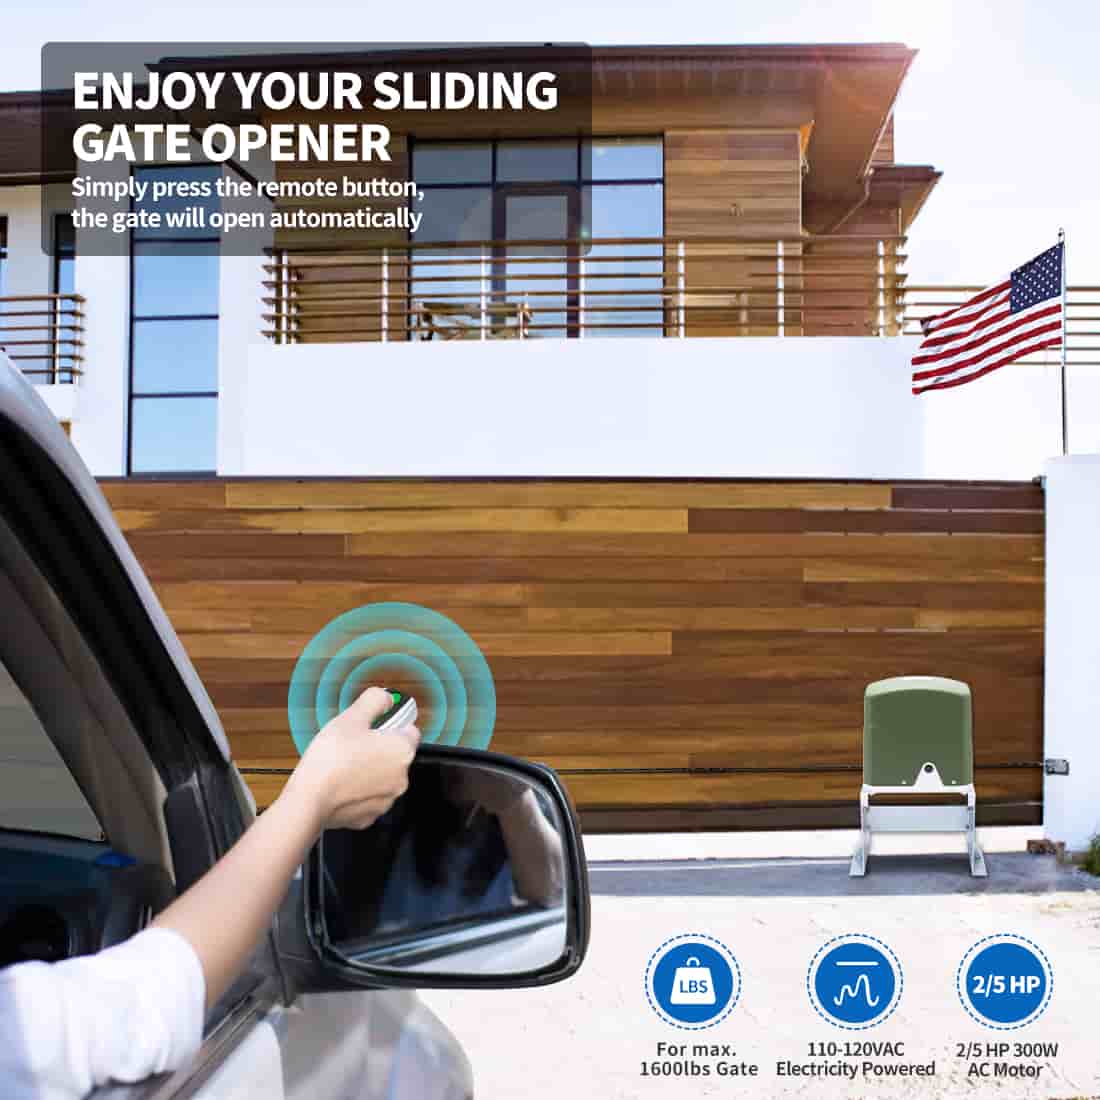
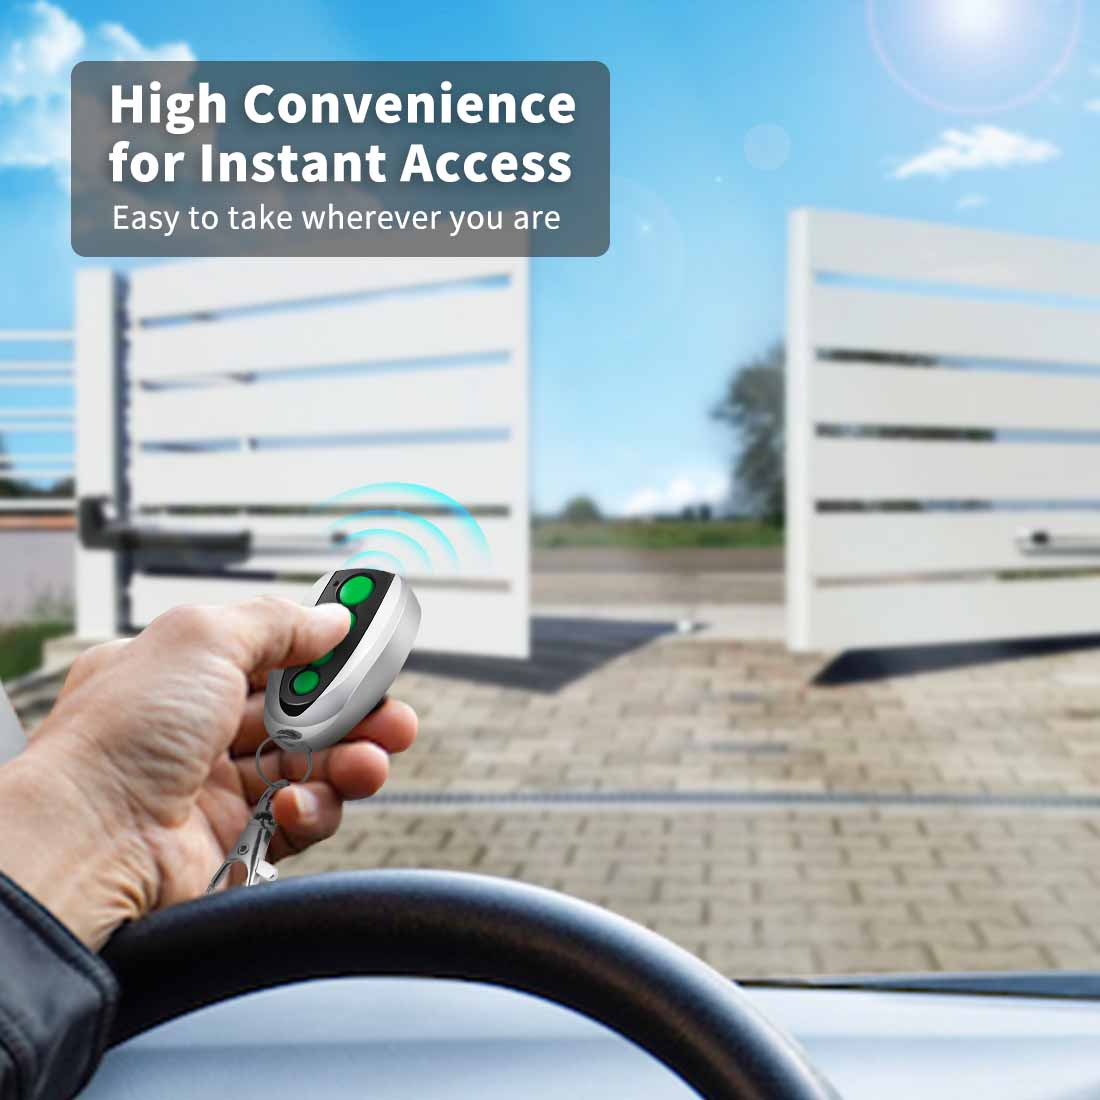
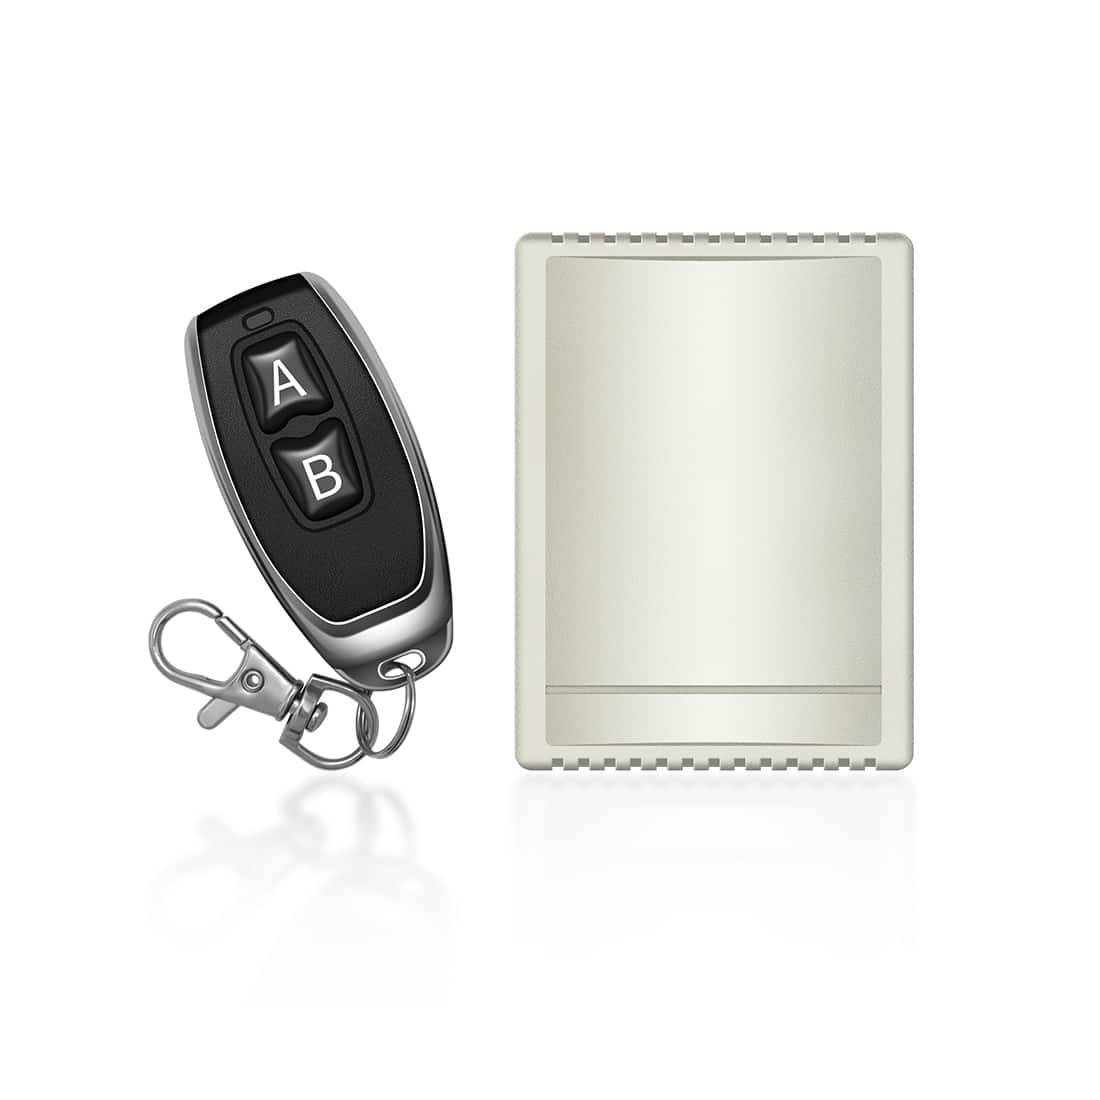
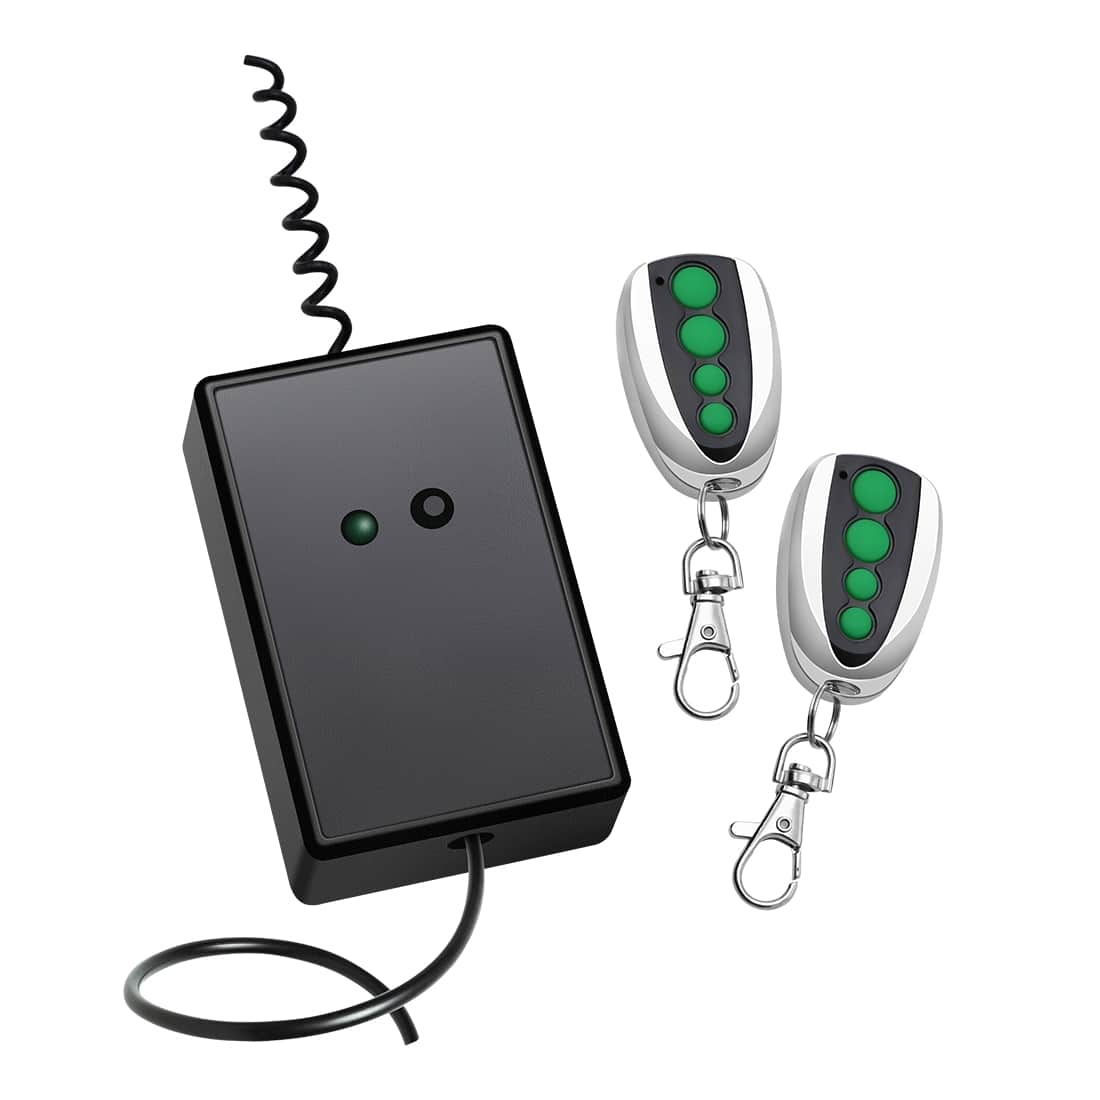
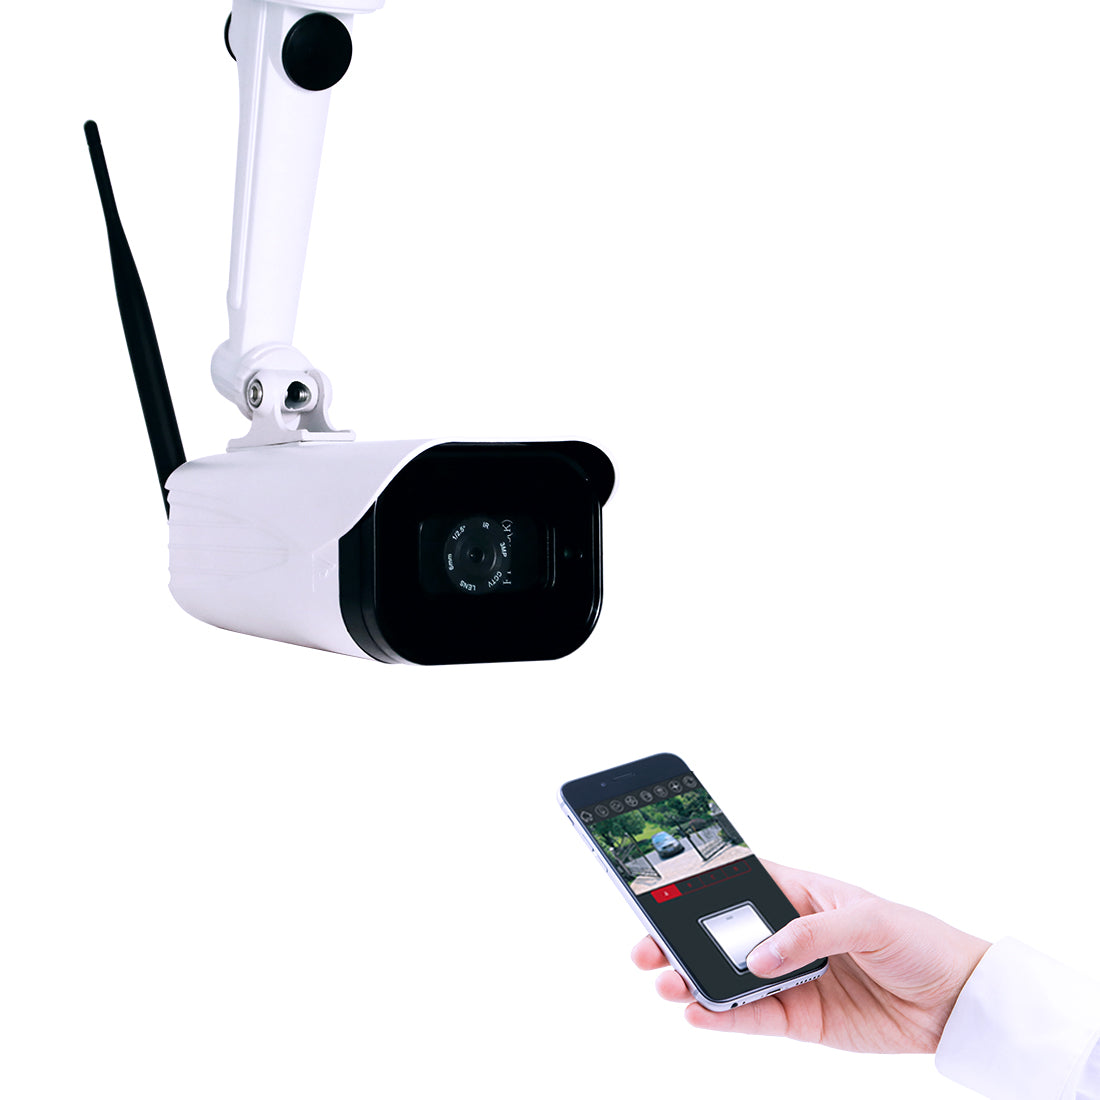
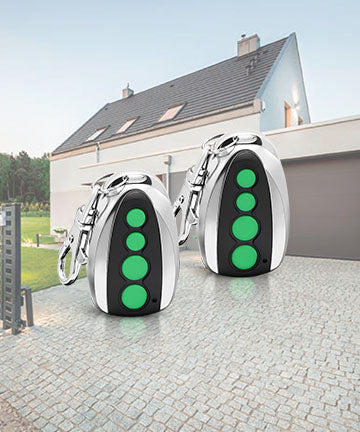
Before completing the installation, use the included remote controls to open and close the gate. Make sure it runs smoothly and without any issues.
Regular Maintenance:
- Clean the Solar Panel: Keep the solar panel clean from dirt, debris, and bird droppings to ensure optimal charging.
- Battery Maintenance: Periodically check battery health and connections, replace if needed.
For those looking for a visual of this whole process, we highly recommend TOPENS AT6132S Gate Opener Installation Video or TOPENS DKR1100ST Gate Opener Installation Video.
Installing a TOPENS solar gate opener is a rewarding DIY project that enhances the security and convenience of your property. By following this guide and user manual carefully, you can enjoy hassle-free access to your property with the power of the sun.